How To Reformat SD Card

Table of Contents
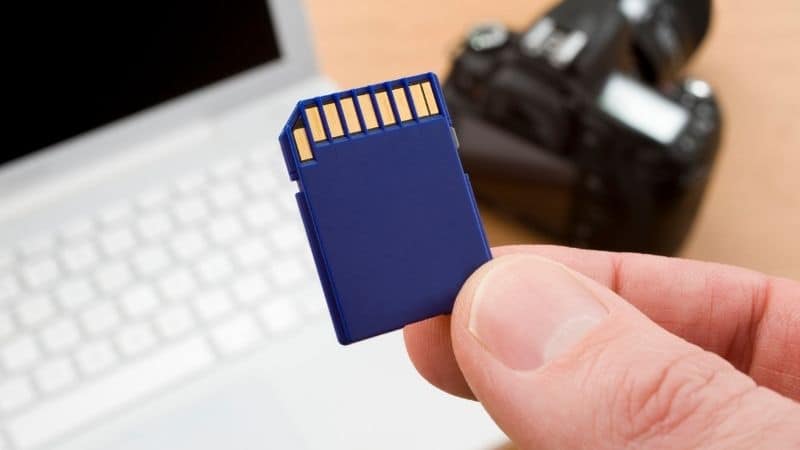
SD cards are used in almost every piece of technology we use in our daily lives, from video game consoles to digital cameras, all the way to mobile phones, though they usually use the micro SD card variant.
When SD cards have been used a lot and are no longer new, you can run into problems with them. They can corrupt and lose all their data or they can simply break, so it's in your best interest to reformat them every once in a while.
In this article, we will show you just how you can do that without making it complicated.
What Is Formatting An SD Card?
In short, terms, formatting an SD card erases all the data that is currently on the SD card. It wipes the whole SD card clean and you can use it again to store new data.
If you use your SD card a lot, it is heavily advised that you reformat it every once in a while, especially if you're starting a new project or you've already used up most of the SD card's memory.
When it comes to formatting your SD card, you will want to back up any data you already have on there, or you will lose it forever. So bare this in mind before you reformat your SD card.
Method 1 – Formatting On A Camera
If you use a digital camera, you can format the SD card without taking it out. Follow these steps to do it:
Step
Head To The Camera Menu
Head to the camera menu.
Step
Next Go To Camera Settings
Next Go To Camera Settings
Step
Scroll Down
Scroll down until you find the “Format Card” option.
Step
Press OK
Press OK and the card will begin reformatting.
METHOD 2 – Formatting Using Windows Computer
For this method, you need to make sure you have an SD card reader. Once you have it, follow these steps:
Step
Using The Card Reader
Using the card reader, connect your SD card to your computer.
Step
Go To This PC
Go to This PC and open Windows Explorer.
Step
Right-Click On The SD
Right-click on the SD card option and press Format.
Step
You Need To Then Specify The File System
You need to then specify the file system, give your SD card a new label, and press OK.
Step
Your SD Card Will Now Start
Your SD card will now start the formatting process.
METHOD 3: Formatting Using Disk Management
This option also requires you to use a card reader on your PC. Follow these steps for method 3:
Step
First Insert The SD Card
First, insert the SD card into the card reader and connect it to the computer.
Step
Right Click This PC
Right click “This PC” and choose the Manage option.
Step
Go into Disk Management
Go into Disk Management
Step
Find The SD Card And Right-Click On It
Find the SD card and right-click on it.
Step
Now Choose Format
Now, choose Format.
Step
Click On Yes
Click on Yes to continue, set a new file system, and label.
Step
Finally Click OK
Finally, click OK and your card will then start to format.
Tips & Tricks
- Always Format, Don't Erase. For your SD card to be clean and completely blank again, always go for the format option. Erasing data on your SD card doesn't fully clean off all the data and you could risk corrupting your SD card.
- Regularly Back-Up Your Card. If you use your card a lot and want to ensure its longevity, make regular backups of the data on the card, so you can format it as many times as you need to in the future. This way, you won’t lose any of your files in between reformats.
Conclusion
There are lots of options and methods for reformatting when it comes time to do it. In some cases, you can even reformat your SD card straight onto your phone, so it's an accessible feature across many different forms of tech you can use.
Reformatting your SD card is quick and easy and will save you lots of stress in the long run!
