How to Format a micro SD card

Table of Contents
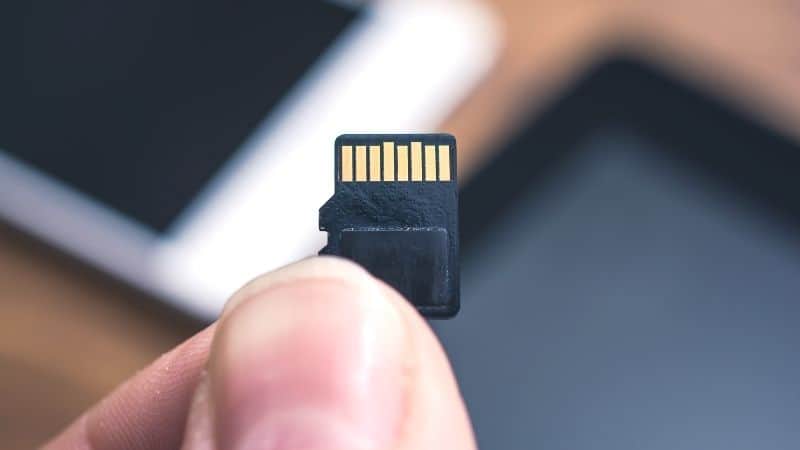
Micro SD cards are the type of SD card you'll usually find in your smartphone. They are also used in GPS devices and some types of cameras. If an SD card of any kind has been with you for a long enough time, you're likely going to have to format it at some point – especially if you want to clear it. To know how to format a micro SD card and why you need to format it, read on.
Why Do I Need To Format My Micro SD Card?
There are a few different reasons why a micro SD card would need to be formatted. Formatting a micro SD card essentially resets it and wipes any information or files that are on it, giving you a blank micro SD card.
Prime Day is finally here! Find all the biggest tech and PC deals below.
- Sapphire 11348-03-20G Pulse AMD Radeon™ RX 9070 XT Was $779 Now $739
- AMD Ryzen 7 7800X3D 8-Core, 16-Thread Desktop Processor Was $449 Now $341
- ASUS RTX™ 5060 OC Edition Graphics Card Was $379 Now $339
- LG 77-Inch Class OLED evo AI 4K C5 Series Smart TV Was $3,696 Now $2,796
- Intel® Core™ i7-14700K New Gaming Desktop Was $320.99 Now $274
- Lexar 2TB NM1090 w/HeatSink SSD PCIe Gen5x4 NVMe M.2 Was $281.97 Now $214.98
- Apple Watch Series 10 GPS + Cellular 42mm case Smartwatch Was $499.99 Now $379.99
- ASUS ROG Strix G16 (2025) 16" FHD, RTX 5060 gaming laptop Was $1,499.99 Now $1,274.99
- Apple iPad mini (A17 Pro): Apple Intelligence Was $499.99 Now $379.99
*Prices and savings subject to change. Click through to get the current prices.
The main reason you may want to do this is if a micro SD card has stopped working properly or it has corrupted. Formatting it can sometimes save it, which in turn saves you from having to buy a new one.
Additionally, if the micro SD card is full, it is highly recommended that you format it if you want to re-use it. This will free up space and lower the chance of the micro SD card corrupting.
In this instance, only format it if you have backed up all the data on an external hard drive or to your computer.
If your micro SD card hasn't been formatted in a while, it may be in your best interest to format it now. Regularly formatting an SD card can help its longevity and sometimes save it from corrupting prematurely.
How To Format a Micro SD Card
You can format your micro SD card on your phone, but in case you use it in a camera or a GPS device too, we'll use the computer method here:
Step
Insert Micro SD Card into Computer
Insert your micro SD card into your computer.
To connect your micro SD to a computer, you will probably need a micro SD adapter/card reader, or a USB that also operates as a card reader.
Step
Open File Explorer
Open your File Explorer by pressing your Windows/Start button and typing ‘File Explorer’.
Select ‘File Explorer’.
Step
Right-Click Micro SD and choose Format
Step
Ensure that unit sizes are properly configured
You need to make sure that the “Capacity”, “File System”, “Volume Label” and “Allocation” unit sizes are properly configured for use before moving on to the next step.
(These can will depend on the size, age and type of SD card you use).
Step
Press ‘Start’
Press Start at the bottom of the menu.
Step
Press OK on the pop-up window
A warning pop-up window will appear. All you need to do is press OK.
Step
Click OK when ‘Format Complete’ appears
When the Format Complete window appears, just click OK and you are done.
Formatting From Your Android Phone
For those who'd prefer to format straight from their smartphone, just follow these easy steps:
Step
Open your phone’s Settings app
Step
Go To Device Care/Device Maintenance
Step
Go to Storage and select ‘Advanced’
Step
Search for Portable Option and select SD Card
Make sure you have backed up any important files you wish to keep before you prgress to formatting.
Step
Choose ‘Format’ and Choose ‘Format SD Card’
Your Micro SD card will now be formatted.
Conclusion
Formatting a Micro SD card won't take you very long, and lots of people think that it's easier to do it on their smartphone. But if you just want to use the computer method, that's fine – especially if the device the micro SD card was in isn't a smartphone.
Just take your time with each of the steps and don't be afraid to Google anything that might initially confuse you. You want to do the best job you can in keeping your micro SD card in good working order, so go over everything thoroughly.
Hopefully, this short guide has helped you work out how to format your micro SD card and you won’t have any issues along the way!

