
How to Connect the Asus ROG Ally to a Monitor

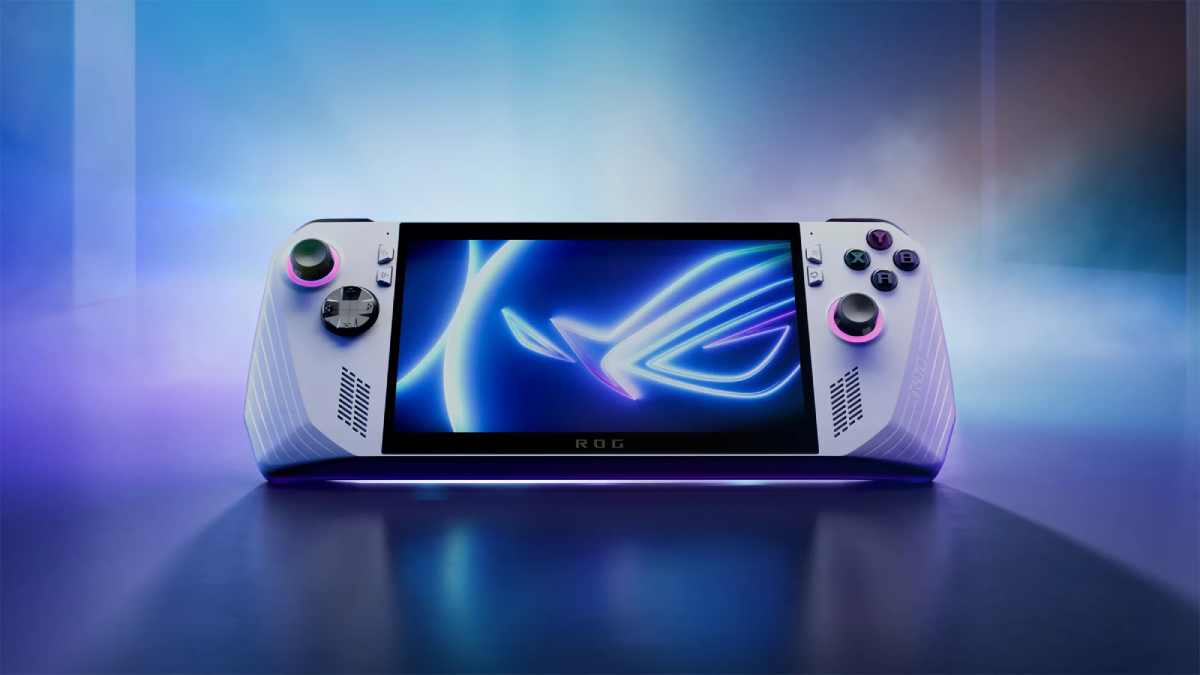
Table of Contents
While lots of users are happy with the 7-inch display of the Asus ROG Ally handheld gaming PC, many are wondering how to connect it to a monitor for a more immersive experience.
The Asus ROG Ally is a handheld gaming console that was positioned to compete with Valve’s Steam Deck. It comes complete with an AMD Ryzen™ Z1 Extreme Processor, 4-nanometer Zen 4 architecture, and an RDNA 3 graphics core. Asus designed this portable gaming PC to be taken anywhere.
Prime Day is finally here! Find all the biggest tech and PC deals below.
- Sapphire 11348-03-20G Pulse AMD Radeon™ RX 9070 XT Was $779 Now $739
- AMD Ryzen 7 7800X3D 8-Core, 16-Thread Desktop Processor Was $449 Now $341
- ASUS RTX™ 5060 OC Edition Graphics Card Was $379 Now $339
- LG 77-Inch Class OLED evo AI 4K C5 Series Smart TV Was $3,696 Now $2,796
- Intel® Core™ i7-14700K New Gaming Desktop Was $320.99 Now $274
- Lexar 2TB NM1090 w/HeatSink SSD PCIe Gen5x4 NVMe M.2 Was $281.97 Now $214.98
- Apple Watch Series 10 GPS + Cellular 42mm case Smartwatch Was $499.99 Now $379.99
- ASUS ROG Strix G16 (2025) 16" FHD, RTX 5060 gaming laptop Was $1,499.99 Now $1,274.99
- Apple iPad mini (A17 Pro): Apple Intelligence Was $499.99 Now $379.99
*Prices and savings subject to change. Click through to get the current prices.
The layout will remind many people of the Nintendo Switch, however, this device runs on a Windows 11 operating system, which means that with the right settings, a mouse, and a keyboard, you can use it almost like a desktop computer.
As long as you have the hardware, you can connect this device to a big-screen TV or monitor for an enhanced gaming experience. It has similar features to a fully functional laptop that allow you to connect it to another monitor.
In this article, you will learn how to connect the Asus ROG Ally to a monitor.
Asus ROG Ally handheld
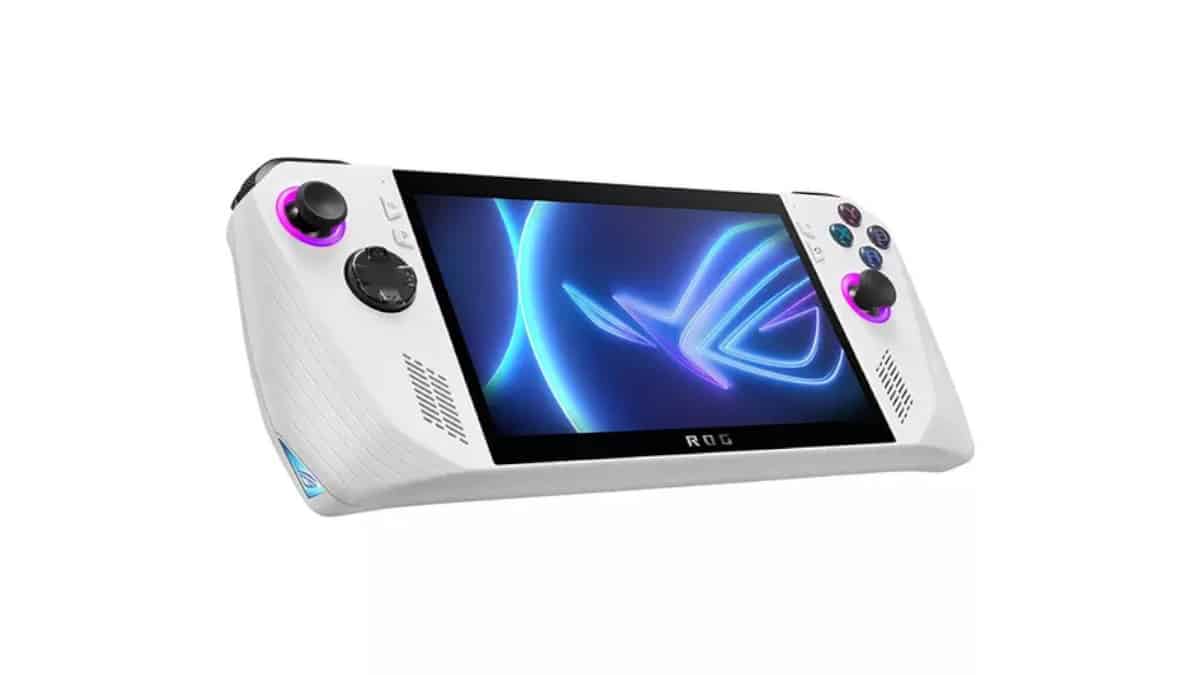
7-inch 120Hz display
Full HD 1080p
512GB NVMe PCIe 4 M.2 SSD
How to Connect the Asus ROG Ally to a Monitor
For you to enjoy a great gaming experience with your Asus ROG gaming console, you might consider connecting it to a monitor. However, this does not mean that the console alone cannot give you the best experience.
Here are the steps on how to connect the console to a monitor:
Step
Connect the ROG Ally to the Dock
The ROG Ally gaming device comes with a 65W charger featuring three ports; an HDMI port, a USB type C port, and a USB type A port. You will need to plug the USB type C cable into the USB-C port on the Ally. Connect the other end of the type C cable to the gaming charger dock, and then connect the dock to a power source or socket.
Once done, connect the HDMI cable to the gaming charger deck and then connect the other end of the HDMI cable to the TV or monitor port. The type A port can be used with the right peripherals if you have one.
Step
Adjust Your Display
Once all connections are done, switch on the monitor or TV. Your TV/monitor will go black immediately after a connection is detected. A few seconds later, you will be able to see the Ally display on your monitor.
Ordinarily, the extended display is set to show only on the TV. However, you can change this depending on how you want to watch and enjoy your gaming experience. To adjust your display, hold down the M1 or M2 button located on the back side of the console and then press X to enable Windows Projection Mode on your console to your monitor. You can now decide whether you want to duplicate the entire console screen to the monitor or just extend the display only to the monitor.
Step
Adjust your TV Display
The ROG Ally is designed to display at 1080p resolution. Therefore, if you find this not ideal, you may consider adjusting your monitor's resolution to 1920×1080 to give you the best plug-and-play gaming experience.
To do this, go to the Windows Start Menu, then click on Settings, then click on System, and then Display Resolution. From there, you can now adjust and set your preferred resolution. For an interrupted gaming experience, you can scroll down to the Advanced Display section, select your TV name from the Select a Display option from the dropdown list, and then ensure that the refresh rate is at 60Hz. This will give you smooth gameplay.
Step
Connect the Controller and Disable the in-built Gamepad
Once you are done with the display settings, the next step is to connect the controllers. Since the console comes with an in-built controller, you will have to purchase wired or wireless controllers that are compatible with the Asus ROG Ally.
If you already have a wired controller, plug the controller cable into the remaining USB port on the charger dock. If you have the wireless controller, simply connect them from the Windows Settings by going to the Bluetooth & Devices feature. You will then need to disable the in-built gamepad. To do this, go to the Command Center of your console and then turn off the Embedded Controller option. Remember, this gaming device can support a maximum of four controllers.
Conclusion
The new Asus ROG Ally gaming console is your ultimate gaming partner, both on the go and connected to a big screen. Check it out and enjoy the best video and PC games anywhere anytime.
About the Author