
How To Connect Nintendo Switch To TV

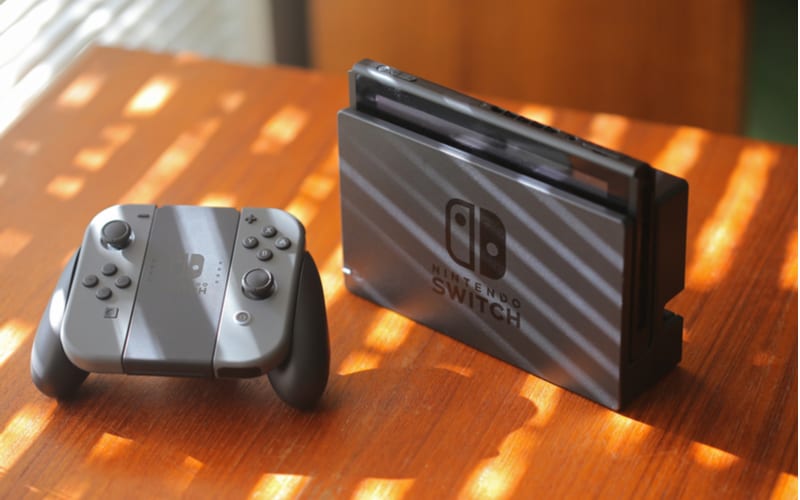
Table of Contents
Since its release the Nintendo Switch has gone on to become one of the most popular and fastest selling game systems of all time, and it's not hard to see why.
Along with some fantastic games including Mario Odyssey and the ever expansive Zelda: Breath of the Wild, the system is most known for being able to be played either docked as a console, or as a handheld similar to Nintendo products in recent years.
Prime Day may have closed its doors, but that hasn't stopped great deals from landing on the web's biggest online retailer. Here are all the best last chance savings from this year's Prime event.
- Sapphire Pulse AMD Radeon™ RX 9070 XT Was $779 Now $719
- AMD Ryzen 7 7800X3D Processor Was $449 Now $341
- Skytech King 95 Ryzen 7 9800X3D gaming PC Was $2,899 Now $2,599
- LG 77-Inch Class OLED C5 TV Was $3,696 Now $2,996
- AOC Laptop Computer 16GB RAM 512GB SSD Was $360.99 Now $306.84
- Lexar 2TB NM1090 w/HeatSink SSD Was $281.97 Now $214.98
- Apple Watch Series 10 GPS+ Smartwatch Was $499.99 Now $379.99
- AMD Ryzen 9 5950X processor Was $3199.99 Now $279.99
- Garmin vívoactive 5 Smartwatch Was $299.99 Now $190
*Prices and savings subject to change. Click through to get the current prices.
When you buy a Switch it will come with quite a few compartments so that you can play it either way you like, however it is not always obvious how to actually set the Switch up on the TV and play it docked.
Sure it can be easy to just slide the joy cons onto the device and play in handheld mode, but once you have set up your docking station you will be able to freely switch between portable and console to make full use of the systems capabilities.
So you can prepare this as fast as possible and get to playing your favorite Nintendo games on a TV, we have laid out below exactly how to connect your Switch to the TV for when you want to game on the big screen.
How To Connect Nintendo Switch To TV
Make sure you have everything that came with the Nintendo Switch next to you ready as everything will need to be used to link the Switch up to a TV.
Step
Get The Dock
The medium sized black casing that comes with the Switch is the docking station and is what you will be putting your Switch into to link up to a TV. For now, look to the back of the dock and flap it open.
Step
AC Adapter
Next you will see three insert options running down the back of the Switch. At the top there will be an AC Adapter slot, start by plugging the AC adapter that came with the Switch into its port, and plugging it into a socket.
Step
HDMI Cables
You will now want to plug a HDMI cable into its slot just as you did with the AC adapter. Link one end into the dock and the other into a HDMI port in your TV of choice.
Step
Close Back
Once these two are plugged in, you can go ahead and flick the back up so it is closed.
Step
Turn Switch On
Now you are almost ready to start playing on your TV. Go to your Switch in handheld mode and turn it on, this can be done by holding in the power button at the top left for just a few seconds.
When it's on, the screen on the front will light up.
Step
Insert Into Dock
Finally, with your dock plugged in and Switch powered up, slide the Switch into the dock with the front facing towards the smooth side and not the openable side.
Also make sure to do this slowly and carefully to make sure you don't scratch the screen.
Once this is done, your Switch screen should pop up on your TV, ready for you to continue gaming on the big screen.
Conclusion
Whether you want to be immersed on the TV screen or just want to relax on the sofa and play some games in handheld mode, the Switch grants this option to you, the player.
If you are finding your Switch does not pop up on the screen right away when docked, just double-check to make sure it has slotted correctly when you slide it in and is the right way around.
About the Author