How To Put SD Card In Switch

Table of Contents
The Nintendo Switch is a remarkable gaming console that combines portability with a surprising amount of graphical power.
However, one of the issues the Switch faces is the lack of built-in memory space it has for storing game data. This is especially the case when compared to its PlayStation and Xbox counterparts, or even its Nintendo Wii U predecessor.
Prime Day may have closed its doors, but that hasn't stopped great deals from landing on the web's biggest online retailer. Here are all the best last chance savings from this year's Prime event.
- Sapphire 11348-03-20G Pulse AMD Radeon™ RX 9070 XT Was $779 Now $719
- AMD Ryzen 7 7800X3D 8-Core, 16-Thread Desktop Processor Was $449 Now $341
- Skytech King 95 Gaming PC Desktop, Ryzen 7 9800X3D 4.7 GHz Was $2,899 Now $2,599
- LG 77-Inch Class OLED evo AI 4K C5 Series Smart TV Was $3,696 Now $2,996
- AOC Laptop Computer 16GB RAM 512GB SSD Was $360.99 Now $306.84
- Lexar 2TB NM1090 w/HeatSink SSD PCIe Gen5x4 NVMe M.2 Was $281.97 Now $214.98
- Apple Watch Series 10 GPS + Cellular 42mm case Smartwatch Was $499.99 Now $379.99
- AMD Ryzen 9 5950X 16-core, 32-thread unlocked desktop processor Was $3199.99 Now $279.99
- Garmin vívoactive 5, Health and Fitness GPS Smartwatch Was $299.99 Now $190
*Prices and savings subject to change. Click through to get the current prices.
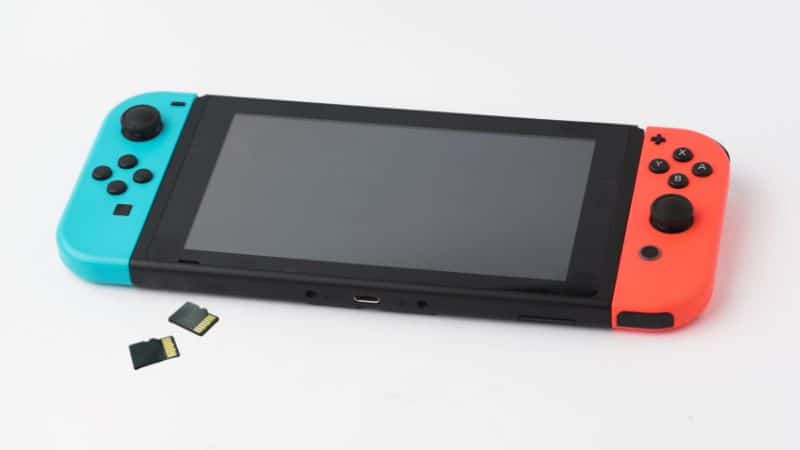
Fortunately, one way to circumvent this issue is to use SD cards with a high storage capacity to help bulk up your on-hand game library. However, it can be a little confusing or difficult to do without some guidance.
In this article, we are going to show you how to insert or remove SD cards into your Nintendo Switch
Insert SD Cards Into Your Nintendo Switch
The Nintendo Switch does not come included with a micro SD card, so you will need to sort one for yourself.
Step
Look For Micro SD Card Slot
The first thing you will need to do is to gently lift the leg stand of the Nintendo Switch from its folded position.
Underneath the leg, you will see a small slot where you can insert your micro SD card, which protects it from being dislodged and unexpectedly damaged.
Make sure there is nothing inside before trying to put in your SD card.
Step
Insert Micro SD Card
Take your micro SD card, and slowly push it into the slot, until it clicks into place.
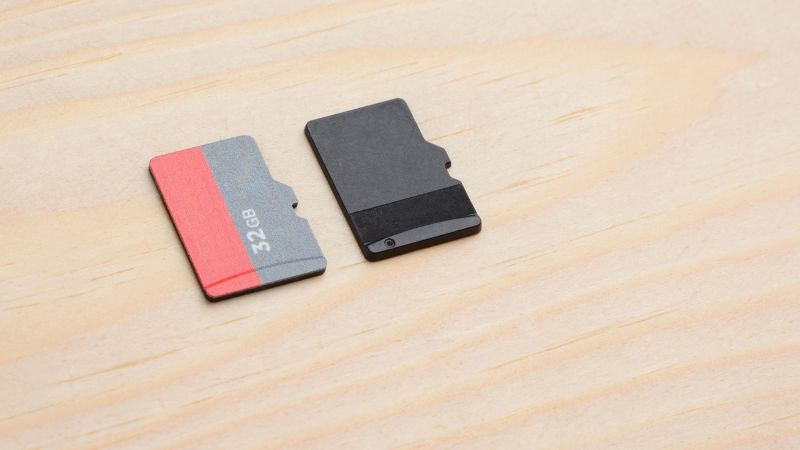
Make sure that the face of the SD card (the side with the text/storage capacity/brand name on it) is facing the correct way.
Now you are free to use the SD card to store game data on it!
Remove SD Cards From Your Nintendo Switch
If you find that you want to replace your micro SD card with a model that has a larger storage capacity, or the SD card has become corrupted, you may find that you need to remove the SD card from the game console.
Step
See SD Card Slot
First, you need to lift the leg stand so that you can see the SD card slot.
Step
Remove The SD Card From The Slot
Once you can see the top of the micro SD card, gently press down on it until you hear a click. After this, you can easily remove the SD card from the slot.
Can You Use Any SD Card In A Nintendo Switch?
As we mentioned earlier in the article, the Nintendo Switch only supports micro SD cards in its card slot.
This means that it is not possible to use a normal-sized SD card as a storage device for your console.
What Micro SD Cards Are Supported For The Nintendo Switch?
There are several different models of SD cards that can be used in your Nintendo Switch.
Your console will accept the following sizes and formats of SD cards:
- Micro SD cards (Usually containing up to 2 GB)
- Micro SDHC (Holds data of 4 to 32 GB of data)
- Micro SDXC (Usually holds up to 64 GB and more of data), although your Nintendo Switch will need a system update before it can accept micro SDXC.
Do I Need To Format The Micro SD Card Before Inserting It Into The Nintendo Switch?
Your Nintendo Switch can format micro SD cards whilst they are in the system. Simply go to your settings.
Final Thoughts
As you can see, inserting and removing an SD card into your console is very simple. Are you still looking for more Nintendo Switch step-by-step guides and information? Be sure to check our growing library of articles here on PC Guide.
- NOW READ How To Stream Switch On Discord


