
How to make TikToks with DaVinci Resolve

Table of Contents
TikTok is currently the largest social media platform on the planet. With its obscene growth, massive vertical of audiences and with more and more functionality being added for those who want more control over their videos coming to it every day, it’s no wonder that it has exploded.
It’s an interesting platform to take on, with a hard limit on the length of videos and a genuine focus from TikTok to grow the millions of users every day that are uploading content there. So, outside of using your phone and the built in TikTok video editor, which is surprisingly okay, what about those of us who want to ensure that the video looks and feels exactly how we want?
Prime Day is finally here! Find all the biggest tech and PC deals below.
- Sapphire 11348-03-20G Pulse AMD Radeon™ RX 9070 XT Was $779 Now $739
- AMD Ryzen 7 7800X3D 8-Core, 16-Thread Desktop Processor Was $449 Now $341
- ASUS RTX™ 5060 OC Edition Graphics Card Was $379 Now $339
- LG 77-Inch Class OLED evo AI 4K C5 Series Smart TV Was $3,696 Now $2,796
- Intel® Core™ i7-14700K New Gaming Desktop Was $320.99 Now $274
- Lexar 2TB NM1090 w/HeatSink SSD PCIe Gen5x4 NVMe M.2 Was $281.97 Now $214.98
- Apple Watch Series 10 GPS + Cellular 42mm case Smartwatch Was $499.99 Now $379.99
- ASUS ROG Strix G16 (2025) 16" FHD, RTX 5060 gaming laptop Was $1,499.99 Now $1,274.99
- Apple iPad mini (A17 Pro): Apple Intelligence Was $499.99 Now $379.99
*Prices and savings subject to change. Click through to get the current prices.
What about those of us who maybe want to not have a video stuffed into the cage of a vertical outlet, but provide the landscape thing and utilise the informationless segments?
Below is a video that we made based on an old video from 2020 on the game, Disaster Report 4. which gives you an indication of what you can do with DaVinci Resolve to provide higher quality content off of your PC than directly on your phone. We can’t promise anything about gaining views, but we can certainly help you get things going.
Set up a timeline for TikTok
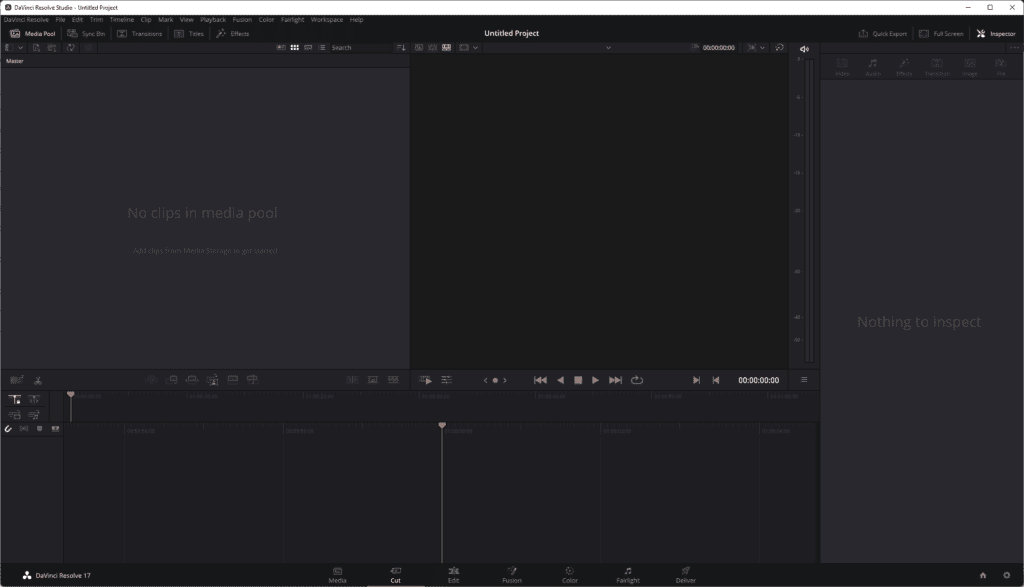
When you create your project from the Manager and get dumped into your default starting page – Cut, Edit or Media – you’ll want to right-click in the Media Pool and press ‘Create new timeline’, which then will bring you into the New Timeline menu. From here, press the little ‘Use Project Settings’ to alter the individual timeline. This is great if you intend to reuse the content for multiple platforms in different aspect ratios.

If you want to have Resolve automatically make multiple timelines without having to faff with the Create New Timeline menu each time, we can alter the master settings of the project overall. This won’t affect the rest of your work in other places but does mean you’ll have to create new timelines with this particular menu if you intend to make landscape things later down the line.

Using Shift+9 or File > Project Settings, you’ll be brought into a giant menu. At the very top, you’ll see the familiar layout of the Timeline settings we’re trying to avoid and you can make the overall alterations there.

In both the New Timeline Menu and the Project Settings menu, scroll up until you see ‘Custom’. Here, you can type in the aspect ratio you need, which for TikTok is vertical. 1080×1920 instead of the other way around if you intend to edit in HD. It’s actually a bigger overall resolution, but you’ll be fine.
Once that’s done, you’ll be left with your empty project ready to be used.

From here, creating your video is pretty much down to you. Import footage and photos from your PC with CTRL+I, edit with either the Cut Page for an easier method of putting the video together or use the Edit page for a more granular experience.

For instance, I’ve edited the audio a little to ‘bleep’ out the swears in the original file, so have used the blade tool (B) to slice those particular bits and then overlayed audio to cover up the indecency. TikTok best practice is to avoid swearing, but we’re not your mother.

Drag and drop your clips onto the timeline, using ‘in and out’ points with I and O to ensure you’re only bringing in what you want from longer pieces of footage to ensure you’re not clogging up the timeline.
Lip-Syncing videos with DaVinci Resolve
If you’ve synced yourself up to a song and want to use TikTok’s built-in music overlay feature when you’re ready to transfer it to your phone, hover over the source window and choose the video only icon.

When you choose and drag this onto the timeline, you’ll be able to have a muted video for you to export out. Then transfer it to your phone or tablet and use TikTok’s function there. This way, you won’t get caught out by copyright by using other music without the express permission or TikTok’s backing.
Best DaVinci Resolve settings for exporting to TikTok

DaVinci Resolve gives you a hell of a lot of control over your exporting settings, so be sure to pay careful attention to them if you’re planning to export to a particular platform. For me, as the video is going to be under three minutes, I never needed to use a ‘best’ setting for Bitrate and never needed it to be higher than 1080p, as TikTok might support it, TikTok will crunch the video down into a compressed mess if it’s too high to fit it on the platform – even if you get it the right size.
TikTok supports .mp4 and WebM, but because we’re not lunatics, we’ll just stick with MP4. For me, I found the best success with just keeping it as simple as possible, by relegating the video to MP4 with an H.264 codec. H.265 would be ideal, but don’t overcomplicate things for them. Choose an encoder, if you have a GPU, hit that for a faster render time.

Bitrate is the literal data being transferred, which TikTok needs to be under 512Kb/s. YouTube uses a maximum 8Mb/s, but I found no issue using a larger bitrate for higher quality video. Essentially, if you’re all confused, use the Twitter preset in the latest version of Resolve, as it’ll hit the right spot.
The higher the bitrate, the higher the size. On PC, you can upload a TikTok under 1GB, on iOS and Android, it’s a bit of a mess of information. On iOS it’s under 287.6MB and on Android, under 72MB. But in all honesty, if your video is going over the 100MB mark – especially for a sixty-second clip – you might need to reconsider.
The video above with a drop shadow effect, gaussian blur and at 60fps with the Twitter 1080p preset came in at 63MB, for reference.
If you’re uploading game footage, be sure to switch to 60FPS and if you’re just shooting a video of yourself, 24-30fps. No, don’t use 60FPS on footage of you doing something on camera, you’ll look weird and like you crawled out the uncanny valley. The only time this should be permitted is when you’re on camera with the game footage, but Resolve is pretty good at mixing resolutions and framerates, so don’t fret.
About the Author