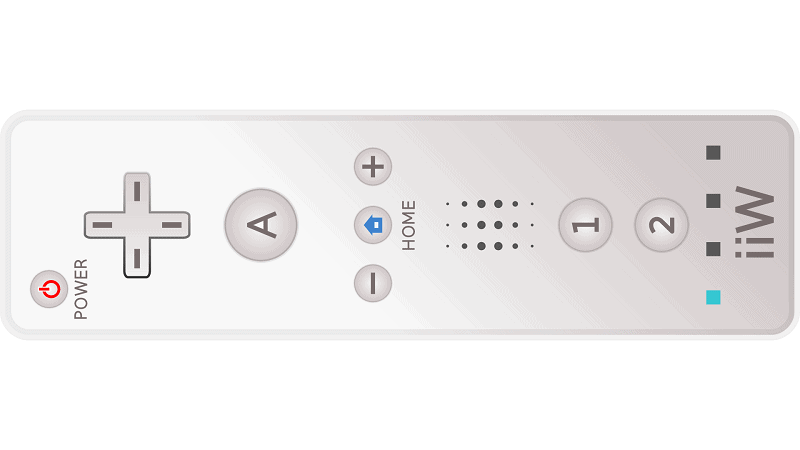
How To Sync A Wii Remote

Table of Contents
The Wii is a much-loved console for many reasons, one of them being how easy it is to set up and play. In a matter of seconds, you can be playing your favorite game with your friends and family.
All you need to do is turn the console on and sync the Wii remote. If you've ever synced a pair of Bluetooth headphones with a device, you probably already have a good idea when it comes to syncing your Wii remote.
If you haven't had this experience and need the help, you've come to the right place. In this post, we will run you through the steps it takes to sync a Wii remote with the Wii and Wii U.
Let's take a look, shall we!
Syncing The Wii Remote To Your Wii Console
Syncing your Wii remote to your Wii console is very easy and takes only seconds to do. To sync the remote, follow the steps found below.
Step
Turn Your Wii Console On
Turn your Wii console on. Once that has been done, open the SD cover found on the console’s front. It is behind this cover where you will find the SD card slot and the Wii's sync button. The sync button is rectangular and dark red. It also says sync on it.
Step
Remove The Battery Cover
Pick up your Wii remote and remove its battery cover. Underneath the cover, you'll find a circular red button. This small red button is the remotes sync button.
Step
Sync Buttons
Once you've found both sync buttons, hold and then release the Wii remotes sync button. When you do this, the four blue lights on the remote will start to flash.
Step
Press And Release The Red Sync Button
When the blue lights on the Wii remote continuously flash, you can press and release the console’s red sync button.
Step
You've Now Successfully Synced Your Remote
Now you've pressed and released the sync button on the console, the four blue lights on your remote should stop flashing with one staying lit. The lights should also now indicate which player you are. You can work this out based on which light is lit. This will be from 1 to 4.
You've now successfully synced your remote. You can now enjoy your games. To connect any other remotes to play multiplayer, repeat the steps. Your console allows you to connect 4 remotes at a time.
Syncing The Wii Remote To Your Wii U
Follow the steps below if you are looking to sync a Wii remote to the Wii U.
Step
Turn Your Wii U Console On
First, you need to turn your Wii U console on. Once the console has been turned on, pick up your Wii remote and take off its battery cover, so you can find the sync button.
Step
Hold Down The Console Sync Button
You will now need to hold down the console sync button. This can be found at the front of the Wii U. Unlike the original Wii console, this button is already on display.
It is a small red button like the one on the remote. You should press this button down for a couple of seconds. A sync menu will then appear on the screen.
Step
Press And Hold The Remote's Sync Button
You can now press and hold the remote's sync button. The lights on the remote will now flash. When the remote has finally paired with your console, only one blue light will stay lit, again demonstrating which player you are. This will also be shown on the screen.
You are now connected to your Wii U. Repeat these steps to add another remote.
What To Do If The Remote Doesn't Sync?
If you find that your Wii remote isn't syncing correctly, or the sync hasn't quite worked properly, there are a few things you can try to solve the problem. You will find some of these things below.
- Check your batteries – If the lights on your remote aren't flashing for very long, it is time to change the remote's batteries. You will need two AA batteries.
- Close your game – You should try syncing the remote when no apps or games are running.
- Make sure the sensor bar is plugged in – If you successfully synced your remote but can't see the cursor, check that the sensor bar is plugged in and on view. You should place it above or below your television screen for the best results.
- Reset your console – You could try resetting your console. You can do this by unplugging it for 20 seconds before turning it back on again.
Final Thoughts
In this post, we have shown you exactly how to sync a Wii remote to the original console or a Wii U. As you can see from both methods, doing so is pretty easy and hassle-free. While there could be the occasional hiccup, our tips on how to solve any issues should quickly help you solve any problem you encounter.
Now you know how to sync your Wii remote, follow the steps so that you can start playing your games in no time.