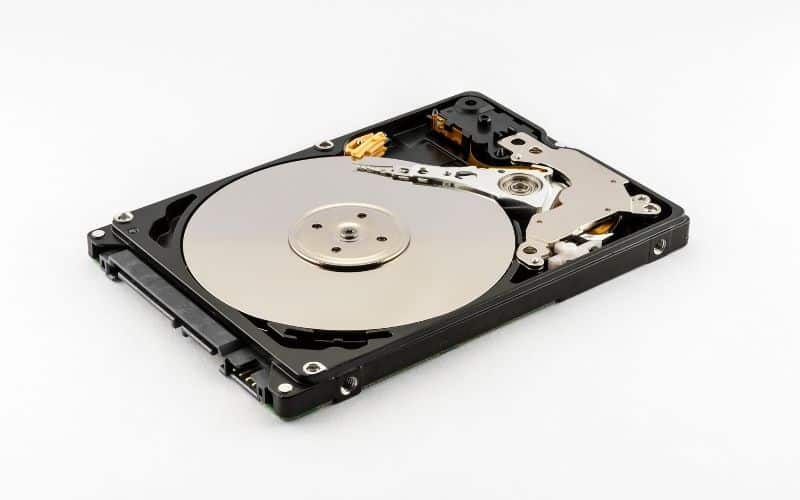
How To Wipe A Hard Drive

Table of Contents
Occasionally in using your PC, you may need to wipe a hard drive completely and start again from scratch. This means erasing its contents completely, allowing you to start fresh with a new computer or restore your old one.
Read on to learn all you need to know about wiping a hard drive and the steps you need to take to make sure that this task is carried out effectively.
Wiping A Hard Drive
When wiping your hard drive, there are a few steps to follow:
Step
Backup Your Files
The first thing you should do before you begin any kind of hard drive cleaning process is to back up all of your files onto an alternative storage device such as an external hard drive, CD/DVD, memory card, etc.
This will ensure that if anything goes wrong during the clean-up process, you can still recover your data. If you don’t have a backup system in place, then you could end up losing everything.
Step
Choose A Hard Drive
The next step is to make sure that you are using a good quality (and preferably brand new) hard drive.
You want to use a drive that has been tested by reputable manufacturers for added peace of mind – remember, your hard drive is essentially the heart of your device, and so you need a brand that you can trust.
Step
Format The Hard Drive
This involves writing over the entire surface of the drive with zeros. There are different ways to achieve this depending on the operating system that you’re running, but the general idea is the same.
For example, Windows users can format their drives using Disk Management, while Mac OS X users can use Disk Utility.
If you are using Windows, you can access Disk Management by heading to Start, Control Panel, System and Security, and Administrative Tools.
Then head to Computer Management, Storage, and Disk Management – click this to run the program.
You can also access Disk Management by opening the Command Prompt and typing “diskmgmt.msc”, then hitting Enter.
For Mac users, Disk Utility can be accessed by clicking the Spotlight icon, typing “Disk Utility” and hitting enter to run the tool.
Step
Erase The Data
Once you’ve formatted the drive, you can now proceed with the actual “wipe” process.
To do this, you’ll need to select the option to erase the drive completely. This will overwrite every bit of data on the drive with random numbers, ensuring that no trace of your previous data remains.
To erase your hard drive on Windows, go to Start, Settings, Update, and Security and Recovery. Click Recovery to launch the process, and follow the on-screen steps to wipe your hard drive.
To wipe a hard drive on Mac, turn your machine off, and then turn the power on, and hold down Command + R until the Apple logo appears.
The Recovery window will appear, and you can select Disk Utility, choose your hard drive, and select Erase.
Step
Reinstall The Operating System
Once you have wiped the hard drive, you should make sure that you complete a fresh reinstall of your operating system – this is extra reassurance that everything is wiped, fresh and new.
Final Thoughts
Knowing how to totally wipe a hard drive and operating system is an important element of maintaining your cyber security, and will help you to secure your personal data and details.
The process is fast, simple, and effective- just follow the simple steps above.
