
How to fix ‘Account not authenticated’ iPhone email error

Reviewed By: Kevin Pocock

Table of Contents
Setting up and using email services is easier than ever these days with the advent of web-based email offerings from Gmail, Outlook (formerly Hotmail), Yahoo, and many more. Even hosted email services for your website and business ventures are easy to set up with a few details thanks to mobile email apps like Gmail, and of course, Apple's Mail app.
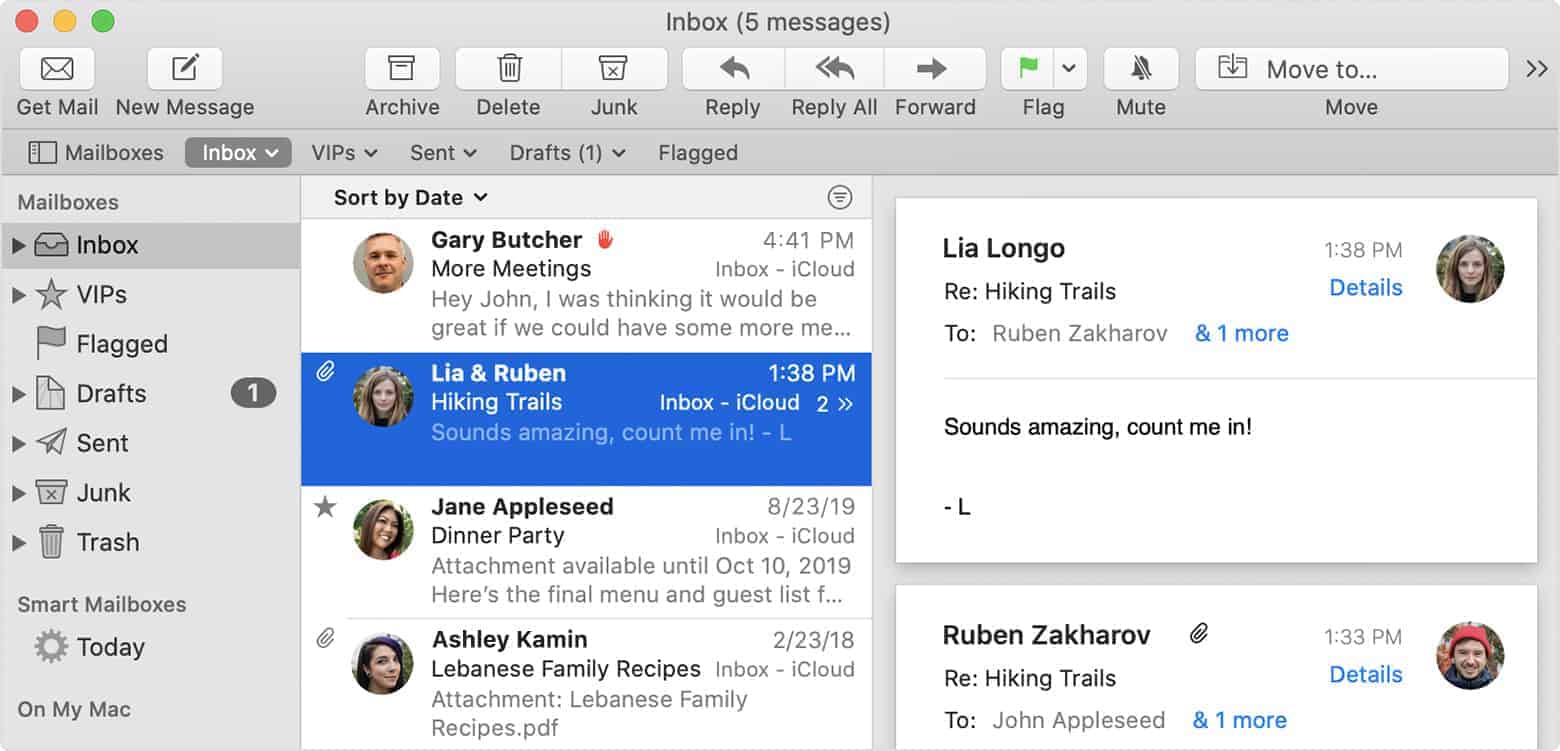
The best thing about Mail is having all of your email accounts in one place. Rather than having multiple apps or webpages open, Mail natively pulls emails from their respective servers then pushes them to your device with a handy notification to boot.
Prime Day is finally here! Find all the biggest tech and PC deals below.
- Sapphire 11348-03-20G Pulse AMD Radeon™ RX 9070 XT Was $779 Now $739
- AMD Ryzen 7 7800X3D 8-Core, 16-Thread Desktop Processor Was $449 Now $341
- ASUS RTX™ 5060 OC Edition Graphics Card Was $379 Now $339
- LG 77-Inch Class OLED evo AI 4K C5 Series Smart TV Was $3,696 Now $2,796
- Intel® Core™ i7-14700K New Gaming Desktop Was $320.99 Now $274
- Lexar 2TB NM1090 w/HeatSink SSD PCIe Gen5x4 NVMe M.2 Was $281.97 Now $214.98
- Apple Watch Series 10 GPS + Cellular 42mm case Smartwatch Was $499.99 Now $379.99
- ASUS ROG Strix G16 (2025) 16" FHD, RTX 5060 gaming laptop Was $1,499.99 Now $1,274.99
- Apple iPad mini (A17 Pro): Apple Intelligence Was $499.99 Now $379.99
*Prices and savings subject to change. Click through to get the current prices.
How to fix ‘Account not authenticated’ iPhone email error
What about when it doesn't work?
On paper, Mail is a perfect email client and solution for bringing multiple email accounts together. The thing is, sometimes servers have issues and so do apps.
There's also a little thing called human error that we're all guilty of. Regardless of the problem, we want to make sure it's resolved as quickly as possible.
Please follow the below troubleshooting steps to learn how to fix ‘Account not authenticated’ iPhone email error:
Step
Is iOS up to date?
Updating iOS to its latest version (as of the time of writing, that would be iOS 15.2) isn't only good practice for security reasons, but it makes sure iOS has up-to-date code and features to deal with current applications.
Go to Settings > General > Software Update to see if there's an iOS update waiting for you.
No joy? Let's continue to the next step.
If so, make sure your iPhone/iPad is plugged in and the battery is charged above 50% then install the update.
Step
Are your Email Service Details Correct?
We know how clever you are, but making a mistake when copying down information is something everyone can be guilty of.
Make sure to check with your Email service of the relevant company representative that your details are correct.
Step
Manually Configure
Instead of letting Mail automatically grab your Email client details, try entering them manually, so you know the server information is correct.
Normally, this isn't an issue, but if a server has had issues or if you've recently updated the iOS or Mail app, a password or port setting may have gone astray.
Your email provider will have settings for any mail client on their website, with hosts and businesses having this information to hand should you need it.
Go to Settings > Mail > Accounts and select the email account you need to check. If all the details are correct and populated, tap advanced to check details are all correct there.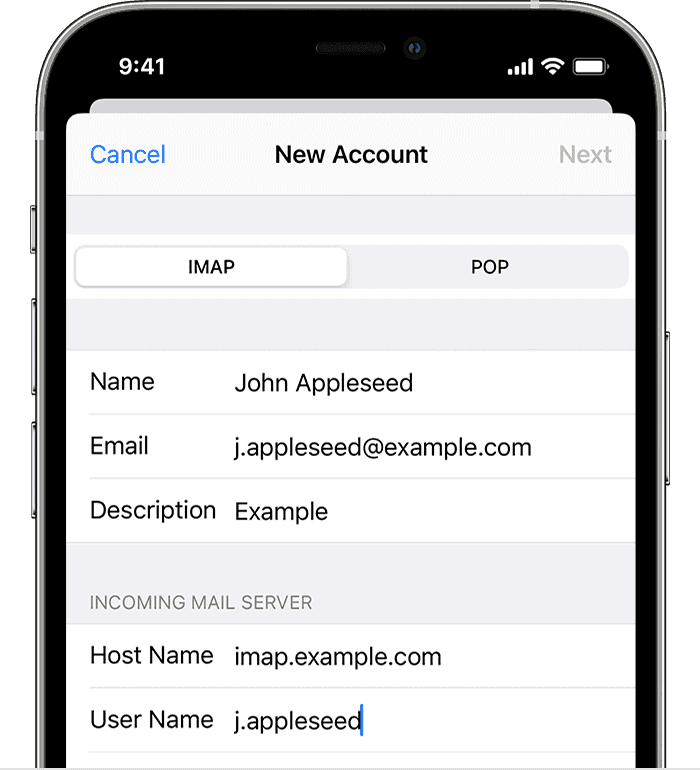
Step
Delete The Account, Then Re-Add It
If your details are correct, there might be a problem with the Mail app registering the correct details with the relevant email server. Don't worry, let's just delete the details and try again, a fresh start is often all that is needed.
- Go to Settings > Mail > Accounts and select the email account that's giving you trouble.
- Tap ‘Delete account' then ‘Delete from My iPhone'.
- Then, back in the Accounts menu, select ‘Add Account', and follow the on-screen instructions.
Step
Quit and Restart
Don't worry, we're not telling you to give up, but restarting an app or device can dump any temporary files clogging up processes and resolve issues.
- From your iPhone or iPad screen, swipe up from the bottom of the screen and keep your finger on the screen until the app switcher appears.
- Find the Mail app and swipe up on it to close it.
Are you still having issues?
- Let's restart your iPhone/iPad to see if that fixes things.
- Hold the volume rocker and power button until the power slider shows up.
- Swipe it and turn your device off, then feel free to power your iPhone/iPad back on.
Step
Server Issue
If you're still left in the dark trying to learn how to fix ‘Account not authenticated’ iPhone email error, the chances are it's an issue with your email service itself.
Make sure to either get in touch with their customer support or get in touch with your business contact to report the issue, and hopefully get a solution.
Thanks for choosing PC Guide for learning how to fix the ‘Account not authenticated’ iPhone email error. For all things iOS, make sure to keep an eye on and bookmark our News and iOS hubs.
About the Author