
How to remove password from Excel – 2 easy methods

Reviewed By: Kevin Pocock

Table of Contents
If you want to know how to remove password from Excel, you’ve come to the right place.
Password protection in Excel is one of the most valuable features from a security perspective. With the increase in cybercrime, staying protected is a must, and one of those defenses is simple to use, i.e. password protection. But what if you no longer need to keep a password on a certain file? Do you have to go through a hectic process? Or is there an easy way to remove a password from Excel?
Prime Day may have closed its doors, but that hasn't stopped great deals from landing on the web's biggest online retailer. Here are all the best last chance savings from this year's Prime event.
- Sapphire Pulse AMD Radeon™ RX 9070 XT Was $779 Now $719
- AMD Ryzen 7 7800X3D Processor Was $449 Now $341
- Skytech King 95 Ryzen 7 9800X3D gaming PC Was $2,899 Now $2,599
- LG 77-Inch Class OLED C5 TV Was $3,696 Now $2,996
- AOC Laptop Computer 16GB RAM 512GB SSD Was $360.99 Now $306.84
- Lexar 2TB NM1090 w/HeatSink SSD Was $281.97 Now $214.98
- Apple Watch Series 10 GPS+ Smartwatch Was $499.99 Now $379.99
- AMD Ryzen 9 5950X processor Was $3199.99 Now $279.99
- Garmin vívoactive 5 Smartwatch Was $299.99 Now $190
*Prices and savings subject to change. Click through to get the current prices.
This is where we come in. In this guide, we will walk you through two methods that can help you quickly remove password from Excel. So, without wasting another second, let’s dive in!
How to remove password from Excel quickly using Info menu
Here’s how you can remove password from an Excel file using the Info menu.
Step
Open the file
First, open the Excel file that is protected by a password.
Step
Go to Info
Next, click on the File option that can be found in the top left corner, below the AutoSave button.
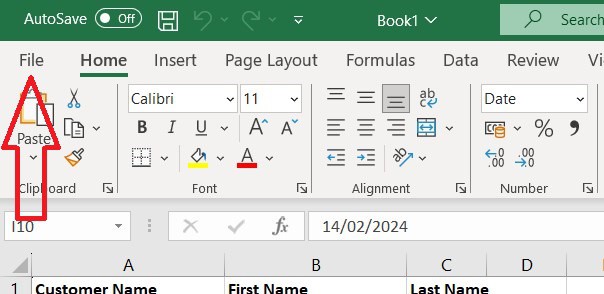
Then, click on the Info button.
Step
Remove the password
Finally, click on the Protect Workbook box, select Encrypt with Password, and then remove the password from the box.
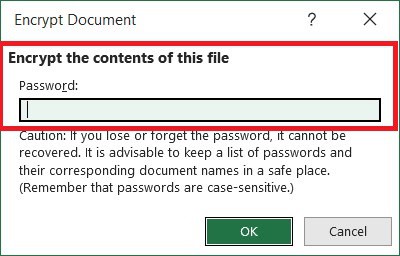
Once done, click OK, and the file will be no longer protected by a password.
If you’re using a Mac, then you’ll have to click on Passwords after going to the File section. Then, you’ll need to delete the passwords from the box that will appear and click on OK to remove them from the Excel file.
How to remove password from Excel using Save As
Another way to remove a password from Excel is using the Save As option.
Step
Go to Save As
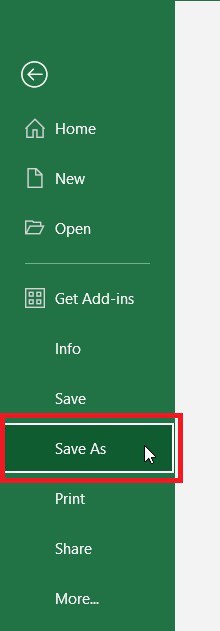
After opening the password encrypted file, click on File, and then select Save As.
Step
Select Browse
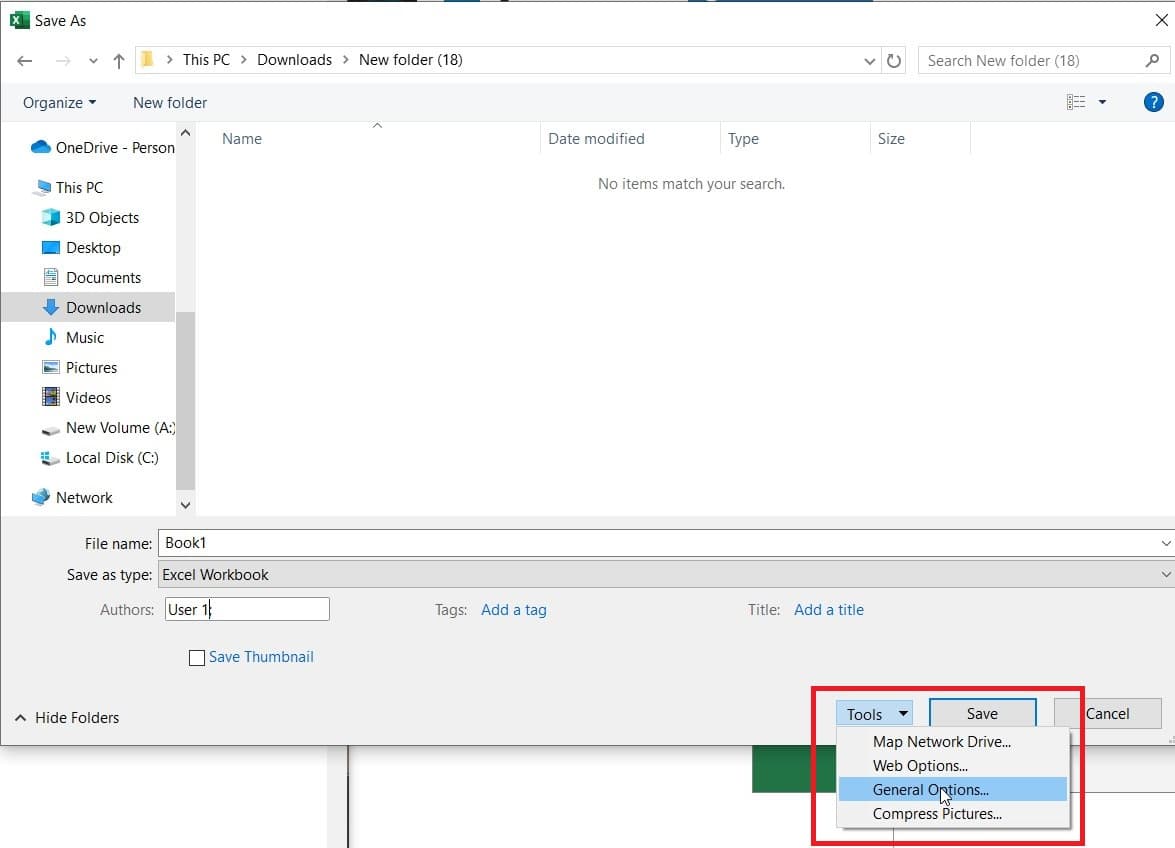
Next, click on Browse and open the folder where you want to save the file.
Step
Go to General Options
Now click on Tools to open a drop-down list, and select General Options.
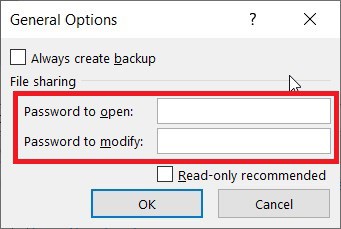
Step
Remove the password and save the file
Delete the password from both Password to open and Password to modify options, and click OK.
Now save the file, and the password will be removed.
Final thoughts
This was everything you needed to know about how to remove passwords from Excel. The two methods we mentioned should work flawlessly and will help you remove the password protection quickly. However, if there’s confidential data in your file, we’d recommend keeping it secure.
You can learn more about Excel and its features through these helpful guides:
- How to remove duplicates using VLOOKUP in Excel
- How to return the highest value using the VLOOKUP function in Excel
- How to unblock cells in Excel
About the Author