
Terk universal remote codes – how to program with and without codes

Table of Contents
If you have a Terk universal remote and you're figuring out how to program it, then we have you covered right here.
Now, Terk offers a range of universal remotes that can be programmed to operate one or multiple devices (depending on the remote you get). You can use these remotes for TV, VCR, DVD, and other compatible devices. Further, you can easily set up Terk remote with or without the codes – so you shouldn't be too worried about finding the right codes.
Prime Day may have closed its doors, but that hasn't stopped great deals from landing on the web's biggest online retailer. Here are all the best last chance savings from this year's Prime event.
- Sapphire 11348-03-20G Pulse AMD Radeon™ RX 9070 XT Was $779 Now $719
- AMD Ryzen 7 7800X3D 8-Core, 16-Thread Desktop Processor Was $449 Now $341
- Skytech King 95 Gaming PC Desktop, Ryzen 7 9800X3D 4.7 GHz Was $2,899 Now $2,599
- LG 77-Inch Class OLED evo AI 4K C5 Series Smart TV Was $3,696 Now $2,996
- AOC Laptop Computer 16GB RAM 512GB SSD Was $360.99 Now $306.84
- Lexar 2TB NM1090 w/HeatSink SSD PCIe Gen5x4 NVMe M.2 Was $281.97 Now $214.98
- Apple Watch Series 10 GPS + Cellular 42mm case Smartwatch Was $499.99 Now $379.99
- AMD Ryzen 9 5950X 16-core, 32-thread unlocked desktop processor Was $3199.99 Now $279.99
- Garmin vívoactive 5, Health and Fitness GPS Smartwatch Was $299.99 Now $190
*Prices and savings subject to change. Click through to get the current prices.
In this guide, we have provided step-by-step walkthrough of how to setup your Terk universal remote with and without codes. For convenience, we have also included a list of some of the most common Terk remote codes.
For this guide, we have used the Terk TKRTBL04B universal remote for example. However, the process for setting up other Terk remote is very much similar.
Quick Answer
Terk universal remote setup can be done with or without codes.
If you have a code –
Turn on the device > press and hold the corresponding device button > enter the code while holding down the device button > if the power button lights up, your code is right > test the code.
If you can’t find the code for your device, check out our guide below on how to program Terk remote without codes. We also have a list of codes for reference.
Terk universal remote codes
| Brand Name | Terk Universal Codes |
| AOC | 1082, 1176, 1195, 1196, 1237, 1004, 1005, 1006, 1007, 1175, |
| Admiral | 1001, 1173, 1083, 1211 |
| Aventura | 1174 |
| Aiko | 1016 |
| Akai | 1002 |
| Apex | 1236, 1240, 1241 |
| Audiovox | 1038 |
| Broksonic | 1250, 1280 |
| Citizen | 1016, 1105, 1196, 1132, 1004, 1006, 1008, 1171, 1038, |
| Craig | 1038 |
| Curtis Mathes | 1000, 1004, 1006, 1015, 1049, 1105, 1073, 1171, 1196, 1212 |
| Daewoo | 1082, 1171, 1202, 1196, 1004, 1005, 1006, 1018, 1017, |
| Daytron | 1004, 1006, 1171, 1196 |
| Emerson | 1004, 1006, 1012, 1025, 1023, 1029, 1030, 1035, 1033, 1037, 1036, |
| Envision | 1004, 1006, 1196 |
| Fujitsu | 1046, 1047 |
| Funai | 1038, 1046, 1047 |
| GE | 1052, 1054, 1087, 1000, 1003, 1004, 1006, 1022, 1100, 1165, 1166 |
| GoldStar | 1019, 1082, 1155, 1156, 1172, 1196, 1004, 1005, 1006, 1012, 1056, |
| Hisense | 1237 |
| Hitachi | 1004, 1006, 1012, 1013, 1135, 1136, 1145, 1063, 1179, 1185 |
| Infinity | 1062, 1130 |
| JVC | 1063, 1066, 1123, 1012, 1013, 1014, 1054, 1060, 1157, 1159 |
| Jensen | 1004, 1006, 1196 |
| LG | 1005, 1082 |
| Magnavox | 1004, 1006, 1008, 1019, 1062, 1069, 1075, 1077, 1088, 1130 |
| Mitsubishi | 1004, 1005, 1006, 1022, 1051, 1079, 1080, 1082, 1064 |
| Motorola | 1003, 1173 |
| Onwa | 1038 |
| Panasonic | 1003, 1054, 1130, 1062, 1160, 1350, 1351, 1214 |
| Philco | 1019, 1075, 1077, 1082, 1088, 1003, 1004, 1005, 1006, 1008, 1062, 1069, |
| Philips | 1003, 1004, 1008, 1019, 1012, 1062, 1068, 1069, 1075, 1088, 1087 |
| Pioneer | 1004, 1006, 1136, 1185, 1179, 1196 |
| Proscan | 1000, 1100, 1181, 1212, 1233 |
| Proton | 1004, 1006, 1012, 1196 |
| RCA | 1019, 1082, 1096, 1099, 1098, 1000, 1003, 1004, 1005, 1006, 1007, |
| Samsung | 1004, 1005, 1012, 1015, 1019, 1082, 1105, 1106, 1171, 1172, 1196 |
| Sansui | 1191, 1208, 1282 |
| Sanyo | 1004, 1048, 1073, 1080, 1108, 1169, 1180, 1196 |
| Scott | 1004, 1006, 1012, 1035, 1038, 1047, 1046, 1196 |
| Sharp | 1004, 1006, 1012, 1026, 1029, 1095, 1111, 1112, 1171, 1173, 1196 |
| Signature | 1001 |
| Sony | 1002, 1205, 1216, 1218 |
| Sylvania | 1004, 1006, 1008, 1019, 1062, 1068, 1075, 1076, 1077, 1088, 1130 |
| Symphonic | 1033, 1038, 1189 |
| Teknika | 1016, 1038, 1046, 1047, 1063, 1001, 1004, 1005, 1006, 1008, 1013, 1014, |
| Toshiba | 1049, 1071, 1072, 1073, 1105, 1109, 1117, 1118, 1160, 1283 |
| Yahama | 1004, 1005, 1006, 1019, 1082, 1196 |
| Zenith | 1004, 1083, 1151, 1152, 1154, 1196, 1210, 1217 |
For more codes, you can check out the official remote code finder by Terk.
How to program a Terk universal remote
Before you start the programming, make sure to put in the batteries in the Terk remote. Also, it'd be helpful to have codes by your side.
Step
Power on the device
First of all, you need to power on the device that you want to connect the Terk remote to. For instance, if you want to use your remote with a TV, then turn your TV on.
Step
Press the device button on Terk remote
Now, on your remote, you have to press and hold the button for your device. For example, if you are programming the remote for your TV, then press and hold the TV button. When the power button lights up, keep holding the button.

Step
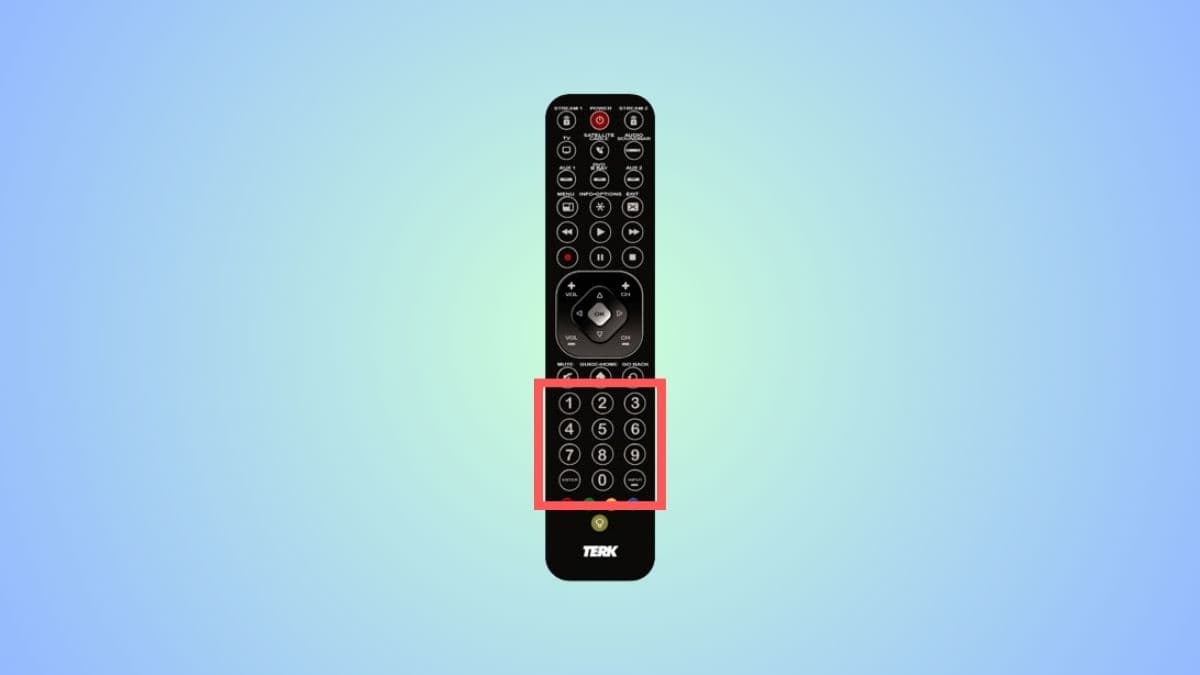
Enter the code
Next, while you're holding down the Power button, enter the code for your device. When you press the first number, the power button light will turn off.
Step
See if the power button is on or off
Now, keep holding down the device button as you're entering the code. When you're done with the code, look at the power button – if it lights up, you have entered the right code. If it blinks four times and turns off, then the code is wrong, or you have missed a step. In this case, you will have to repeat the process again.
How to program a Terk universal remote without codes
If you don't know the right codes, you can try this auto code search method –
Step
Turn on the device
First, manually turn on the device that you want to use the remote with.
Step
Press and hold the device button
Next, press the device key corresponding to the device you want to use the remote with. For example, for TV, press and hold the ‘TV' button. Do this until the power button lights up.
Step
Press and hold the power button
When the power button lights up, you have to press and hold the power button with your other hand. So now, you're pressing and holding the power button as well as the device button. Do this until the power button's light turns off and then turns on and stays on.

Step
Press ‘Play' button
Next, aim the Terk remote at your TV or the selected device and then press the ‘Play' button, and wait for five seconds for the codes to be tested. If your TV (or your selected device) turns off, you can move forward with the next step.
However, if your device is still on, you can press ‘Play' again and send more codes to test. Keep pressing ‘Play' every five seconds until the device turns off.

Step
Press ‘Rewind' button
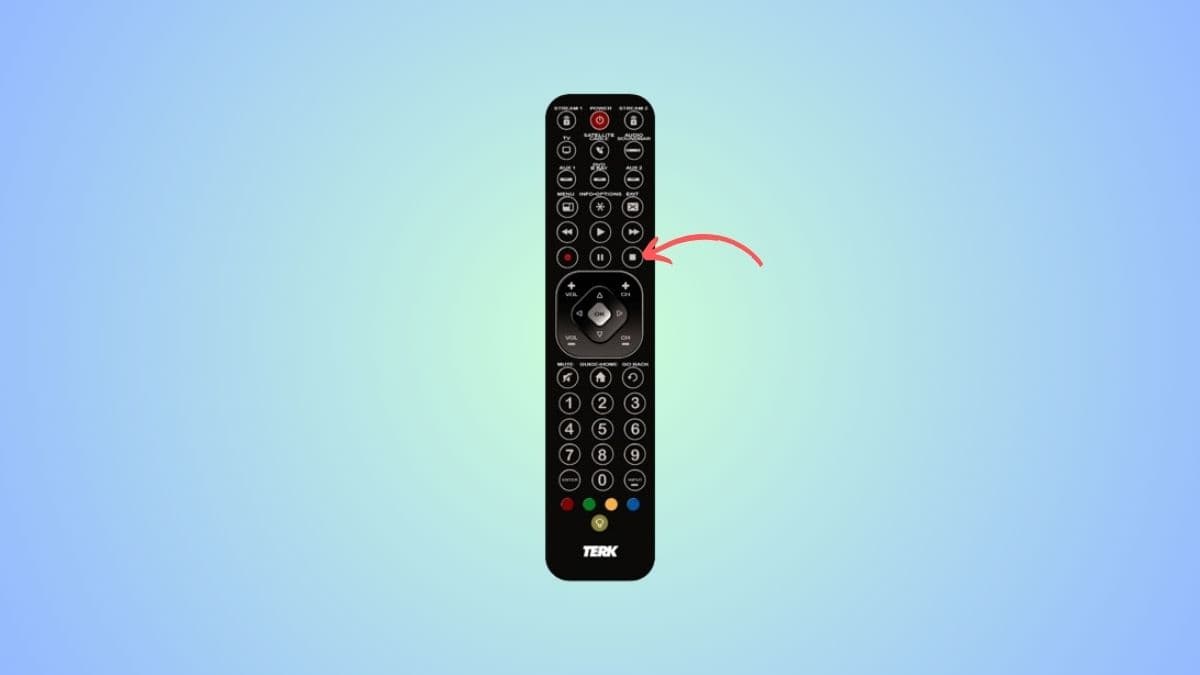
After your device turns off, press the ‘Rewind' button and wait for two seconds. If your device powers on, then press the ‘Stop' button.
If your device remains off, press the ‘Rewind' button again – repeat this every two seconds until the device turns on.

Step
Press the ‘Stop' button
When the device turns on, quickly press the ‘Stop' button to lock the code.
Conclusion
All in all, the Terk universal remote can make things easier for you, as it can help you control multiple devices with just one remote. You can set it up easily with the correct Terk universal remote codes, and the process will only take a few minutes. Also, if the first code does not work, repeat the process but use the next code this time.
If you are having problems programming your Terk remote, then get in touch with Terk customer support.
About the Author