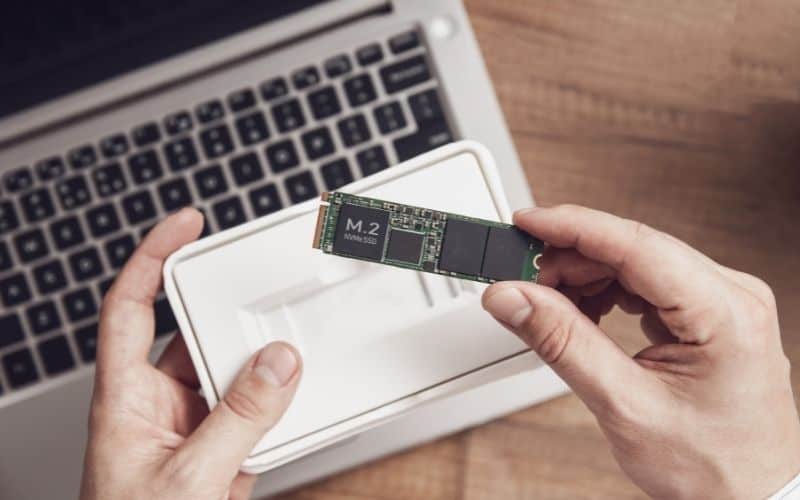
How To Install M2 SSD

Table of Contents
M2 SSD is a new generation solid-state drive (SSD), and it is claimed that this offers faster performance and a longer lifespan compared to other SSDs.
If you are looking to upgrade your system and install an m2 SSD, we have all of the information you need to proceed.
Prime Day may have closed its doors, but that hasn't stopped great deals from landing on the web's biggest online retailer. Here are all the best last chance savings from this year's Prime event.
- Sapphire Pulse AMD Radeon™ RX 9070 XT Was $779 Now $719
- AMD Ryzen 7 7800X3D Processor Was $449 Now $341
- Skytech King 95 Ryzen 7 9800X3D gaming PC Was $2,899 Now $2,599
- LG 77-Inch Class OLED C5 TV Was $3,696 Now $2,996
- AOC Laptop Computer 16GB RAM 512GB SSD Was $360.99 Now $306.84
- Lexar 2TB NM1090 w/HeatSink SSD Was $281.97 Now $214.98
- Apple Watch Series 10 GPS+ Smartwatch Was $499.99 Now $379.99
- AMD Ryzen 9 5950X processor Was $3199.99 Now $279.99
- Garmin vívoactive 5 Smartwatch Was $299.99 Now $190
*Prices and savings subject to change. Click through to get the current prices.
What Is An M2 SSD?
An m2 SSD is a small form factor SSD that can be used as a replacement for the hard disk drive in your computer.
SSDs are designed to fit into existing slots on motherboards or add-on cards, and offer much better performance than traditional hard drives, with greater speed and power available.
Why Use An M2 SSD Instead Of A Regular HDD?
An m2 SSD offers a number of benefits over a standard HDD, including:
Faster Boot Time
One of the main advantages of SSDs in general, and m2 SSDs in particular, is that they have a much faster boot up time compared to traditional HDDs.
Increased Reliability
Another advantage of SSDs is that they are far more reliable than traditional HDDs. The key reason behind this is that SSDs do not rely on mechanical parts like platters and moving parts to store data.
Instead, they use flash memory chips that are non-volatile, meaning that they retain data even when the power supply is turned off.
Improved Multitasking
Because SSDs don’t have mechanical components, they also make multitasking easier. You can easily switch between applications without waiting for programs to finish loading.
Noise Reduction
Because SSDs are quieter than traditional HDDs, they reduce noise levels in your computer. This makes it easier to work while others around you aren’t aware of what you’re doing.
How Do I Install An M2 SSD?
Installing an m2 SSD is relatively simple. All you need is some basic tools and knowledge about your motherboard.
We’ve provided step-by-step instructions below so you can follow along with us.
Step
Prepare Your Motherboard
Before installing your m2 SSD, you first need to prepare your motherboard. To do this, you need to remove the cover from your motherboard and locate the SATA connector.
Once you’ve found the SATA connector, you should disconnect it from its corresponding port on the motherboard.
Next, you need to open up the back panel of your motherboard. On most motherboards, this can be done by removing four screws located underneath the rear panel.
After opening up the back panel, you should carefully remove the two screws holding down the SATA connector. Now, you can pull out the SATA connector.
Step
Install Your M2 SSD
Once you’ve removed the SATA connector from your motherboard, you can now start installing your m2 SSD.
First, you need to insert the SATA connector into the corresponding slot on your motherboard.
Next, you need to slide the m2 SSD into place. When you’ve installed the m2 SSD, you can close up the back panel of the motherboard.
Step
Connect Your Hard Drive
After installing your m2 SSD and closing up the back panel, it’s time to connect your hard drive.
To do this, simply plug your hard drive into the SATA connector. If you want to ensure that everything works properly, you can test your hard drive before powering on your PC.
Step
Power On Your PC
After connecting your hard drive, it’s time to power on your PC. Once you’ve powered on your PC, you should notice that your hard drive has been replaced with your m2 SSD.
Final Thoughts
Adding an m2 SSD to your computer or laptop can be a great way to improve user experience, boost speed and power, and allow you to make the most of your devices.

