How to Change WiFi on Alexa

Table of Contents
Alexa is the AI tech owned by Amazon, and it serves as a virtual assistant. Keeping it connected to WiFi is key, and knowing how to change WiFi on Alexa devices is important.
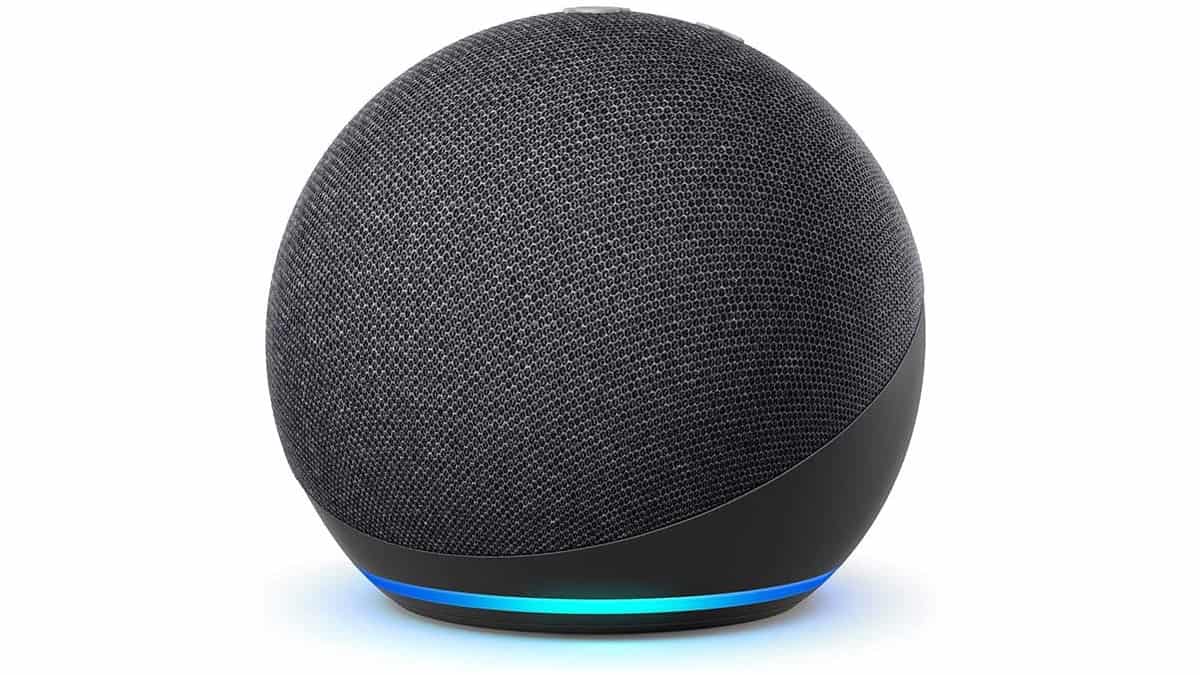
Alexa has emerged to become a huge success in recent years, and while others are available on the market, Alexa is still supreme. The company has integrated it on various devices, including the Echo, Echo Dot, and Show.
Prime Day is finally here! Find all the biggest tech and PC deals below.
- Sapphire 11348-03-20G Pulse AMD Radeon™ RX 9070 XT Was $779 Now $739
- AMD Ryzen 7 7800X3D 8-Core, 16-Thread Desktop Processor Was $449 Now $341
- ASUS RTX™ 5060 OC Edition Graphics Card Was $379 Now $339
- LG 77-Inch Class OLED evo AI 4K C5 Series Smart TV Was $3,696 Now $2,796
- Intel® Core™ i7-14700K New Gaming Desktop Was $320.99 Now $274
- Lexar 2TB NM1090 w/HeatSink SSD PCIe Gen5x4 NVMe M.2 Was $281.97 Now $214.98
- Apple Watch Series 10 GPS + Cellular 42mm case Smartwatch Was $499.99 Now $379.99
- ASUS ROG Strix G16 (2025) 16" FHD, RTX 5060 gaming laptop Was $1,499.99 Now $1,274.99
- Apple iPad mini (A17 Pro): Apple Intelligence Was $499.99 Now $379.99
*Prices and savings subject to change. Click through to get the current prices.
These products have revolutionized the smart home industry as they are altering the lives of their users. And the devices only rely on Wi-Fi connectivity – not needing any Ethernet link.
Change WiFi on Alexa devices
The steps we will provide here work well for various devices that run using Alexa. These include the likes of Dot 1, Dot 2, Dot 3, Echo 1, Echo 2, and Tap.
Step
Plugging the speaker in
If it’s not already on, before you do anything, you must plug your device into a power source and boot it up.
This way, you can access all the device’s network settings.
Step
Opening the Alexa app
These steps can be easily performed using a smart phone which has the Alexa app.
Just pop it open and go to the Menu Control on your screen’s left side. You need to locate Settings and then Help & Feedback.
Step
Adjust the Settings
As you tap on Settings, the Settings menu for your device will open.
The screen will show all speakers you have already set up on this account.
Step
Setting up a new speaker with Alexa
Now open Settings and look for the “Set up new device” option.
Then, after tapping it, you need to tap on “Choose a device to set up.”
Ater that, choose the speaker model you want to set up and proceed.
Step
Connecting to Wi-Fi
The screen will show that you must “wait for the orange light.”
After that, you must tap on the Continue button at the bottom of your screen. Once the orange light starts glowing, you can proceed further.
You will be asked to connect your device to the speaker on the new screen. And from there, you can establish your new Wi-Fi network.
Step
A linked device to the speaker
Now you have to link your device to the speaker, so you need to go to the device settings and find the Wi-Fi settings.
You will be able to see the Amazon-XXX connection option will be working in setup mode.
Step
Configuring Amazon-XXX
This network is unsecured, so you don’t need a password to connect with it.
So, your speaker will confirm that you have linked to it.
Step
Connecting the Alexa app and changing the Wi-Fi network
In the end, you need to connect your Alexa app and change your Wi-Fi network.
And after that, you need to check the setup.
Conclusion
it’s not that difficult to change WiFi on Alexa devices. It involves a few steps that you can conveniently execute and make your device and entire network more secure.

