
How To Connect Chromecast To Wi-Fi

Reviewed By: Kevin Pocock
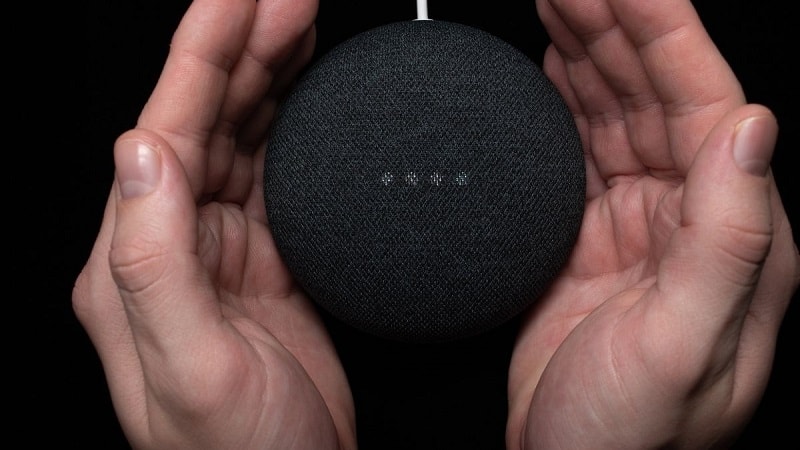
Table of Contents
Are you looking for ways to connect your Chromecast to Wi-Fi? If yes, then you are at the right place. In this article, we’re going to tell you how to connect Chromecast to Wi-Fi.
Chromecast is a streaming device that allows you to stream media from your phone or tablet directly to your TV. The Chromecast dongle plugs into your HDMI port and connects to your Wi-Fi network. Once connected, you can cast your favorite apps and websites onto your TV screen.
Prime Day is finally here! Find all the biggest tech and PC deals below.
- Sapphire 11348-03-20G Pulse AMD Radeon™ RX 9070 XT Was $779 Now $739
- AMD Ryzen 7 7800X3D 8-Core, 16-Thread Desktop Processor Was $449 Now $341
- ASUS RTX™ 5060 OC Edition Graphics Card Was $379 Now $339
- LG 77-Inch Class OLED evo AI 4K C5 Series Smart TV Was $3,696 Now $2,796
- Intel® Core™ i7-14700K New Gaming Desktop Was $320.99 Now $274
- Lexar 2TB NM1090 w/HeatSink SSD PCIe Gen5x4 NVMe M.2 Was $281.97 Now $214.98
- Apple Watch Series 10 GPS + Cellular 42mm case Smartwatch Was $499.99 Now $379.99
- ASUS ROG Strix G16 (2025) 16" FHD, RTX 5060 gaming laptop Was $1,499.99 Now $1,274.99
- Apple iPad mini (A17 Pro): Apple Intelligence Was $499.99 Now $379.99
*Prices and savings subject to change. Click through to get the current prices.
Let’s look at a more in depth way of doing this so that you can get right into using all of the beneficial features that come from the Google Chromecast.
Connecting Chromecast To Wi-Fi
Ready to get connected? Follow the simple steps below…
Step
Downloading The App
Start off by plugging your Chromecast into your television and ensuring that all of the cables are secured properly. You will need a smartphone or tablet to set up your device, so make sure that you have this handy as well.
Bear in mind that your smartphone or tablet should be connected to the same Wi-Fi that you want the Chromecast to be connected to, so don’t leave it on Mobile Data. Connect it to the Wi-Fi and then download the Google Home app.
Step
Connecting To Wifi
Once it has finished downloading, open the app on your smartphone or tablet. The Chromecast should automatically find your app and prompt it to begin the installation of it automatically.
Follow its instructions until you get to the Wi-Fi connection page.
Simply find the Wi-Fi that you are connected to on the list of nearby networks and input your passcode. Wait a few seconds for it to be connected and you’re done! Enjoy your Chromecast.
Step
Didn’t Get Any Prompts Pop Up?
If you did not get the prompts, however, you can set up your Chromecast manually through the app. To do this, simply open the app and find the Add Device button in the top left-hand side of the home screen.
Press Setup Device and then Set Up New Devices. Now you’ll have to find your Chromecast, so don’t try and set it up too far away from the dongle.
Now you should be receiving prompts on setting up your Google Chromecast. Follow these until you get to the Wi-Fi section. Choose the network you want to connect to and use your passcode to connect. It’s as simple as that!
Changing Wi-Fi Networks On Chromecast
If you want to switch which network your Chromecast is connected to, you can also do this through the Google Home app. You might want to switch Wi-Fi networks because you’ve moved house or if there is no signal available where you live.
Step
Switching Wifi Networks
To change the Wi-Fi network on your Chromecast you will first need to forget the Wi-Fi connection it is already set up to. To do this, turn on your television with the Chromecast connected and make sure that your phone is connected to Wi-Fi.
Step
Open The Google Home App
Open the Google Home app and choose the Chromecast device that you want to change the Wi-Fi for. Bear in mind that if you have multiple Google Chromecast devices you will need to change the Wi-Fi for them all separately.
Step
Go To Settings
Click the Settings button in the top right corner, which looks like a cog, and then press Wi-Fi. Click Forget Network to remove the Wi-Fi from this Chromecast.
Now you have to connect the Chromecast to your new Wi-Fi. It’s worth noting that if your phone is already on the new Wi-Fi, it might not pick up the Chromecast because of conflicting networks.
Try and set up your Chromecast like we outlined in the above section. This might not work though, and you may need to reset the device.
Step
Resetting Your Chromecast
Resetting your device is very easy. All you need to do is press and hold the reset button on the Chromecast. This can be found next to the microUSB port on the device. Hold the button for 15 seconds before letting it go.
When holding the button, a light will flash. Only let the button go when this light has stopped flashing.
Bear in mind that resetting your Chromecast will remove all of its settings, including the Wi-Fi network settings. Now that it has successfully reset itself, you can follow the steps in the first section to connect your Chromecast to your Wi-Fi.
Summary
So there you have it, how to connect your Google Chromecast to Wi-Fi. Hopefully this guide helped you out.
Connecting your Chromecast to Wi-Fi is very easy when you’re first setting it up, but it gets a little trickier when you’re changing networks in your home. Either way, the answers are above to help you out. Enjoy your Chromecast!
About the Author