How To Set Up Google Wifi

Table of Contents
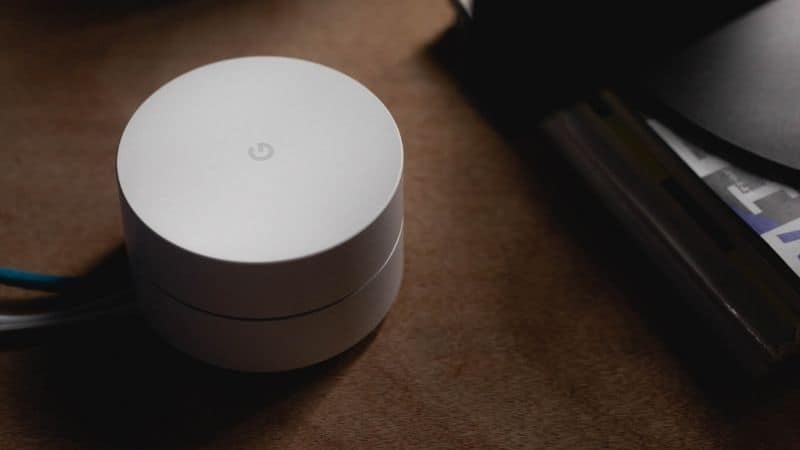
Google Home Wifi is a great alternative to traditional wifi routers, and guarantees a strong connection throughout your entire home.
However, it's important that you set up your Google wifi properly to get the most out of your internet connection; so how exactly do you set up Google Home Wifi?
Luckily, we're here to help! In this handy step-by-step guide, we'll take you through everything there is to know about setting up your Google Home Wifi system! So let's not waste any time, and get right into it!
Prime Day is finally here! Find all the biggest tech and PC deals below.
- Sapphire 11348-03-20G Pulse AMD Radeon™ RX 9070 XT Was $779 Now $739
- AMD Ryzen 7 7800X3D 8-Core, 16-Thread Desktop Processor Was $449 Now $341
- ASUS RTX™ 5060 OC Edition Graphics Card Was $379 Now $339
- LG 77-Inch Class OLED evo AI 4K C5 Series Smart TV Was $3,696 Now $2,796
- Intel® Core™ i7-14700K New Gaming Desktop Was $320.99 Now $274
- Lexar 2TB NM1090 w/HeatSink SSD PCIe Gen5x4 NVMe M.2 Was $281.97 Now $214.98
- Apple Watch Series 10 GPS + Cellular 42mm case Smartwatch Was $499.99 Now $379.99
- ASUS ROG Strix G16 (2025) 16" FHD, RTX 5060 gaming laptop Was $1,499.99 Now $1,274.99
- Apple iPad mini (A17 Pro): Apple Intelligence Was $499.99 Now $379.99
*Prices and savings subject to change. Click through to get the current prices.
How To Set Up Google Wifi
Below are the step-by-step guide on how to set up google wifi:
Step
Get Everything You Need
First of all, you need to make sure that you've got everything prepared already.
The main things you'll need to set up your Google Wifi are:
- Your Google Wifi point(s) – You'll either have one or three depending on your package
- A Google account
- The latest version of the Google Home app
- Internet service and an internet modem
- An ethernet cable and power adaptors (these are provided with the wifi points)
You should also disable the VPN on your phone if you have one. If you haven't used the Google Home app before, sign in and create a new Home for your devices.
Step
Setting Up Your Main Wifi Point
Now you can start setting up your main Google Wifi point. First, put the point near to your modem. An elevated space free from any obstructions (such as a clear shelf) will work best for this.
Next, it's time to wire up the wifi point. Connect the power cable into the circular hole on the bottom of the wifi point, and the ethernet cable into one of the ethernet ports.
Then connect the other end of the ethernet cable to your modem, and the power cable into one of the power adaptors and plug it in. After around a minute the wifi point will pulse blue, meaning it's ready to set up.
Step
Connecting The Wifi Point In The Google Home App
Once the light is blue, open up the Google Home app and select ‘Set up new devices in your home'. This will search for the wifi point; after around a minute, it will have found it and ask for confirmation.
You'll then be prompted to scan the QR code on your wifi point. Do this, and the app will check your internet connection to finish set-up.
Finally, you'll need to create a name and password for your wifi network. Choose something secure; you can share the name and password with friends and family through the Google Home app.
Once this is done, the light will turn white – this means that your wifi is ready to use!
Step
Adding Additional Wifi Points
Now you can start adding your other Google Wifi points. Plug the power cable into each additional point and plug them in with the adaptor, like the main wifi point.
When you plug a new wifi point in, the Google Home app will scan it to start set-up. Follow the same steps as before to connect your new wifi point.
Now you can repeat this process with the other wifi point to create a mesh-like signal that provides coverage throughout your entire home!
Conclusion
So there you have it – now you know exactly how to set up your Google Wifi network! By using the steps in this guide, you'll be able to set up and use your Google Home Wifi in no time at all.
So what are you waiting for? Set up your Google Wifi now and enjoy a strong and stable internet connection throughout your home!

