
How To Delete Backup Files In Windows 10

Table of Contents
You are incredibly wise for setting up Windows 10 backups for if/when you need to restore your system following tireless troubleshooting an issue. Whilst it's a great idea, Windows 10 backups (File History, Restore Points, etc.) and third-party services such as EaseUS can end up taking up a large chunk of hard drive storage. After a while, it's wise to get rid of older backups to help alleviate this issue, even more so as they're not up-to-date backups.
For third-party apps, it's best to check the vendor's instructions on this process. It's best practice and general advice probably won't cut it. For Windows 10, we've detailed some steps below to help save some hard drive space.
Prime Day may have closed its doors, but that hasn't stopped great deals from landing on the web's biggest online retailer. Here are all the best last chance savings from this year's Prime event.
- Sapphire Pulse AMD Radeon™ RX 9070 XT Was $779 Now $719
- AMD Ryzen 7 7800X3D Processor Was $449 Now $341
- Skytech King 95 Ryzen 7 9800X3D gaming PC Was $2,899 Now $2,599
- LG 77-Inch Class OLED C5 TV Was $3,696 Now $2,996
- AOC Laptop Computer 16GB RAM 512GB SSD Was $360.99 Now $306.84
- Lexar 2TB NM1090 w/HeatSink SSD Was $281.97 Now $214.98
- Apple Watch Series 10 GPS+ Smartwatch Was $499.99 Now $379.99
- AMD Ryzen 9 5950X processor Was $3199.99 Now $279.99
- Garmin vívoactive 5 Smartwatch Was $299.99 Now $190
*Prices and savings subject to change. Click through to get the current prices.
How To Delete Windows 10 File History Backups
Whilst most people wouldn't see this as a big deal in the grand scheme of things, File History backups can clog up a hard drive over a long period of time. It's a good feature to have enabled, some sometimes old files need clearing out.
Load up the Disk Clean-up Tool
Either search for it or hit the windows key + R and run ‘cleanmgr'
System Files

Once loaded, click on the ‘Clean Up System Files' button
Check necessary files
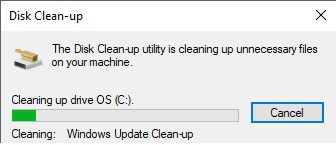
We are looking for ‘Temporary Windows Installation Files' in this example, but feel free to have a spring clean whilst you're there. Click OK to delete, this may take a while depending on how many gigabytes are being cleared.
We're dedicated to building a web of Windows 10 related support content to take the pain of searching for help away for users, make sure to bookmark us for help making the most of Windows 10 and Windows 11.
Go To Backup Settings
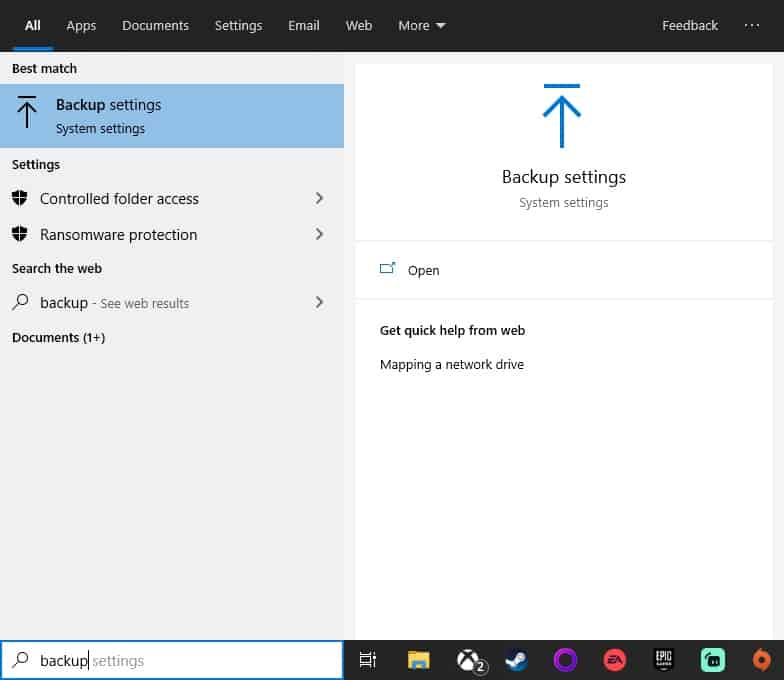
Either right-click the start buttons and go to Settings > Update & Security > Backup or simply search backup in the Windows 10 search bar.
Adjust Backup Options
If you don't have a drive setup to use File History backups, then you can rest easy about your hard drive space woes. However, if enabled, click more options to change how often and when backups are made. Clicking the ‘Stop Using Drive' button will instantly delete all backups if needed.
A Quicker Option
If you want to delete all backups quickly, search ‘CMD' or ‘Powershell' and ‘Run As Administrator. Copy and Paste ‘fhmanagew.exe -cleanup 0' onto the command line followed by Enter to make quick work of this task.
Removing Old System Restore Points
Another great Windows 10 function that can save the day when Windows 10 starts misbehaving. If enabled and an error occurs that can't be pin-pointed, a System Restore reverts all programs and settings back to how they were on the restore points date and time. However, old restore points aren't very useful and can clog up storage space.
Open System Properties
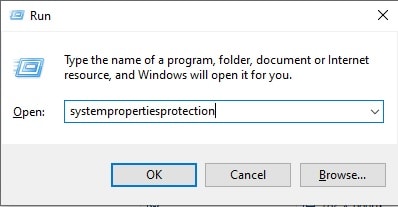
This can either be looked up on the search bar or by hitting the windows key + R and running ‘systempropertiesprotection'
Configure
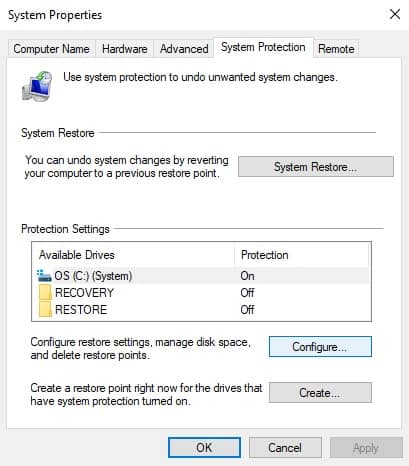
Under the ‘System Protection' tab, click ‘Configure'
Delete
Hit delete to remove all system restore points on your local drive. You can also do this via Disk Cleanup, also take note of the max usage slider for restore point storage usage.
Deleting Windows.Old Backup
Every time Windows updates, old backup files get dumped into this folder which isn't needed. It's not so much an issue for newer systems, but for older PCs and Laptops this could free up a few gigabytes of storage.
About the Author