
How To Split-Screen in Windows 10

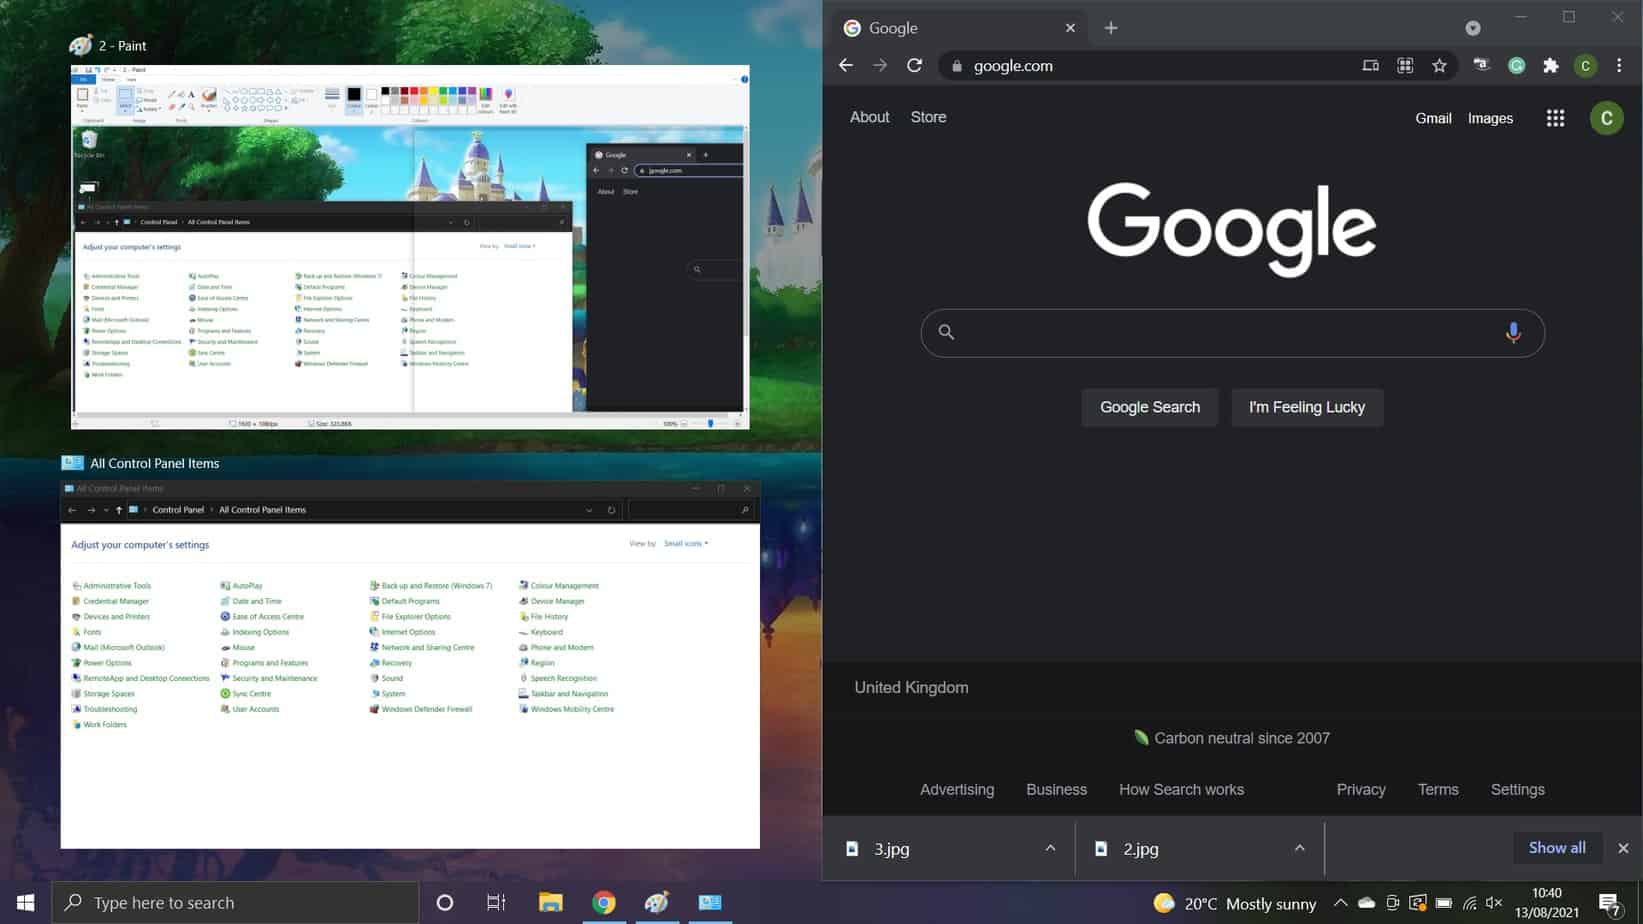
Table of Contents
Windows 10 offers a convenient “Split Screen” feature that allows you to work on multiple applications simultaneously. This feature is particularly useful when you multitask and view or work on different windows side by side. In this post, we will guide you through the simple steps to split the screen in Windows 10.
Opening & Arranging Multiple Windows
To split the screen in Windows 10, you need to start by opening the applications you want to work with. Here’s how.
Prime Day may have closed its doors, but that hasn't stopped great deals from landing on the web's biggest online retailer. Here are all the best last chance savings from this year's Prime event.
- Sapphire 11348-03-20G Pulse AMD Radeon™ RX 9070 XT Was $779 Now $719
- AMD Ryzen 7 7800X3D 8-Core, 16-Thread Desktop Processor Was $449 Now $341
- Skytech King 95 Gaming PC Desktop, Ryzen 7 9800X3D 4.7 GHz Was $2,899 Now $2,599
- LG 77-Inch Class OLED evo AI 4K C5 Series Smart TV Was $3,696 Now $2,996
- AOC Laptop Computer 16GB RAM 512GB SSD Was $360.99 Now $306.84
- Lexar 2TB NM1090 w/HeatSink SSD PCIe Gen5x4 NVMe M.2 Was $281.97 Now $214.98
- Apple Watch Series 10 GPS + Cellular 42mm case Smartwatch Was $499.99 Now $379.99
- AMD Ryzen 9 5950X 16-core, 32-thread unlocked desktop processor Was $3199.99 Now $279.99
- Garmin vívoactive 5, Health and Fitness GPS Smartwatch Was $299.99 Now $190
*Prices and savings subject to change. Click through to get the current prices.
Split-Screen in Windows 10 – step-by-step
Step
Open the First Application
Click on the Start button in the bottom-left corner of your screen.
Type the name of the application you want to open in the search bar.
Click on the application’s name when it appears in the search results to open it.
Step
Open the Second Application
Press the Windows key on your keyboard to return to the Start menu.
Repeat the steps above to open the second application you want to work with.
Now that you have multiple applications open, it's time to arrange them side by side using the Snap feature.
Step
Activate Snap
Click and hold the title bar of the first application window.
Drag it to the left or right edge of your screen until you see a transparent outline appear.
Step
Snap the First Application
Release the mouse button to snap the first application to the side of the screen.
Step
Snap the Second Application
Click on the second application’s window to bring it to the front.
Step
Snap the Second Application
Drag and snap it to the opposite side of the screen, just like you did with the first application.
Adjusting Window Sizes
Once you have snapped the windows, you may want to adjust their sizes to your preference. Here’s how:
Step 1: Adjust the Size of the Split Windows
- Move your cursor to the vertical line separating the two applications.
- When the cursor changes to a double-sided arrow, click and drag to adjust the size of the windows.
Step 2: Maximize or Minimize Windows
- To maximize a window, click on the title bar and drag it to the top of the screen.
- To minimize a window, click the “-” button in the top-right corner.
Exiting Split Screen Mode
You can easily exit this mode after working with the split screen. Here’s how:
Step 1: Restore the Windows
- Click on the vertical line separating the two applications and drag it toward either side of the screen.
- This action will restore the windows to their original sizes.
Step 2: Close the Windows
- To close an application, click on the “X” button in the top-right corner of its window.
FAQs:
Can I Split the Screen With More Than Two Windows In Windows 10?
Yes, Windows 10 allows you to split screen with more than two windows. Simply snap the first two windows to the left and right sides of the screen, and then open additional applications and drag them to the top or bottom of the screen to create multiple split views.
Conclusion
Split screen mode in Windows 10 is a valuable tool for enhancing productivity and multitasking. Following these simple steps, you can easily open, arrange, and adjust windows side by side, allowing you to work efficiently with multiple applications simultaneously. So go ahead and try it – you’ll be amazed at how much you can accomplish!
About the Author