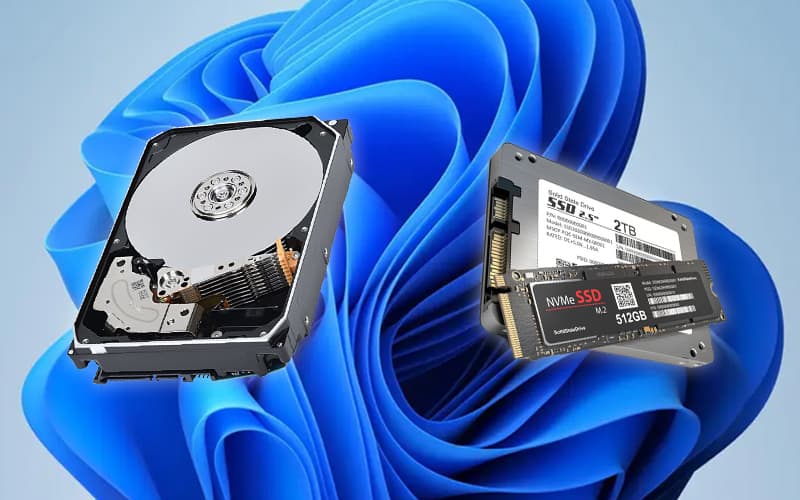
How to clone HDD to SSD in Windows 11

Table of Contents
With Windows 11 being a next-generation operating system, you’re probably going to want to get your PC up and running on newer storage (SSDs) rather than the options of old (HDDs). This is simply down to the fact that SSDs boast incredible speed improvements over traditional HDDs, as well as being seriously compact.
If you want to do a cloning process of all your data, you may seem a bit apprehensive at first, but don’t fret, it is actually a pretty simple task. We'll be going through all you need to know about how to clone an HDD to an SSD in Windows 11. We’ll be providing you with a bit of knowledge about the subject, so you can be as informed as possible when handling your precious files.
Prime Day is finally here! Find all the biggest tech and PC deals below.
- Sapphire 11348-03-20G Pulse AMD Radeon™ RX 9070 XT Was $779 Now $739
- AMD Ryzen 7 7800X3D 8-Core, 16-Thread Desktop Processor Was $449 Now $341
- ASUS RTX™ 5060 OC Edition Graphics Card Was $379 Now $339
- LG 77-Inch Class OLED evo AI 4K C5 Series Smart TV Was $3,696 Now $2,796
- Intel® Core™ i7-14700K New Gaming Desktop Was $320.99 Now $274
- Lexar 2TB NM1090 w/HeatSink SSD PCIe Gen5x4 NVMe M.2 Was $281.97 Now $214.98
- Apple Watch Series 10 GPS + Cellular 42mm case Smartwatch Was $499.99 Now $379.99
- ASUS ROG Strix G16 (2025) 16" FHD, RTX 5060 gaming laptop Was $1,499.99 Now $1,274.99
- Apple iPad mini (A17 Pro): Apple Intelligence Was $499.99 Now $379.99
*Prices and savings subject to change. Click through to get the current prices.

How to clone HDD to SSD in Windows 11
Before you get to the actual drive cloning, you'll need to make sure your SSD is connected to your PC, whether that's via a USB to SATA adapter, or if it's in a second drive bay within your case. You should be able to see the drive and letter in your Windows Explorer once it has been connected successfully.
Note this down, as you’ll need this information later.
We'd also recommend, if possible, to make a backup of your current files just in case any corruption takes place in the cloning process.
Now, without further ado, let’s get right into cloning that HDD to a fresh SSD in Windows 11.
Step
Download and install your chosen cloning software
Download and install your chosen cloning software. We'll be using AOMEI Backupper Standard (steps may differ from software to software).
Step
Open your disk clone software
Click to open your disk cloning application. In this case, it is AOMEI Backupper Standard.
Step
Head to the Clone tab
Head to the Clone tab on the left side and then the Disk Clone option.
Step
Choose cloning option
At this point, you can choose whether you want to clone your operating system and all the data, or simply just your files. Select your desired option.
Step
Choose source disk
Choose your desired HDD as the source disk you want to clone. Once selected, hit Next.
Step
Choose destination disk
Choose your desired SSD as the destination disk. Once selected, hit Next.
Step
Start clone
Now, tick the SSD alignment option to ensure a smoother process and press start clone to clone HDD to SSD.
Step
Wait for completion
Wait for the process to finish. If done successfully, you should now have cloned your HDD to your SSD.
And that's all there is to it, you can now reap the benefits of a brand new cloned SSD in your PC setup! We hope these steps were easy to follow, and you were able to get it done successfully.
If you have any further questions, drop a comment down below, and we'll do our best to get it answered.

