Android Alternatives: How to install a custom ROM

Table of Contents
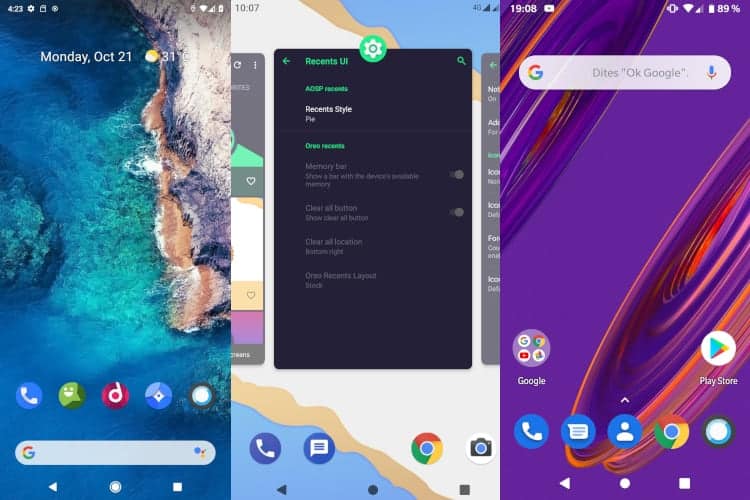
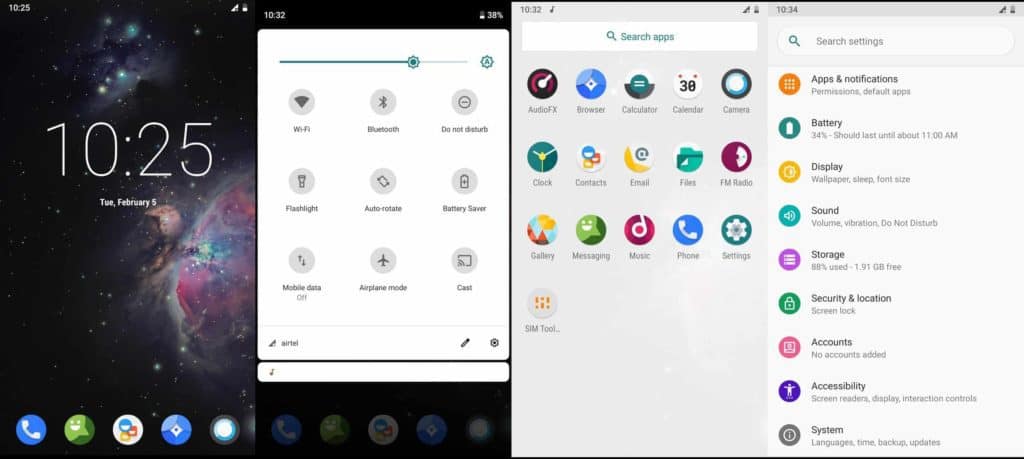
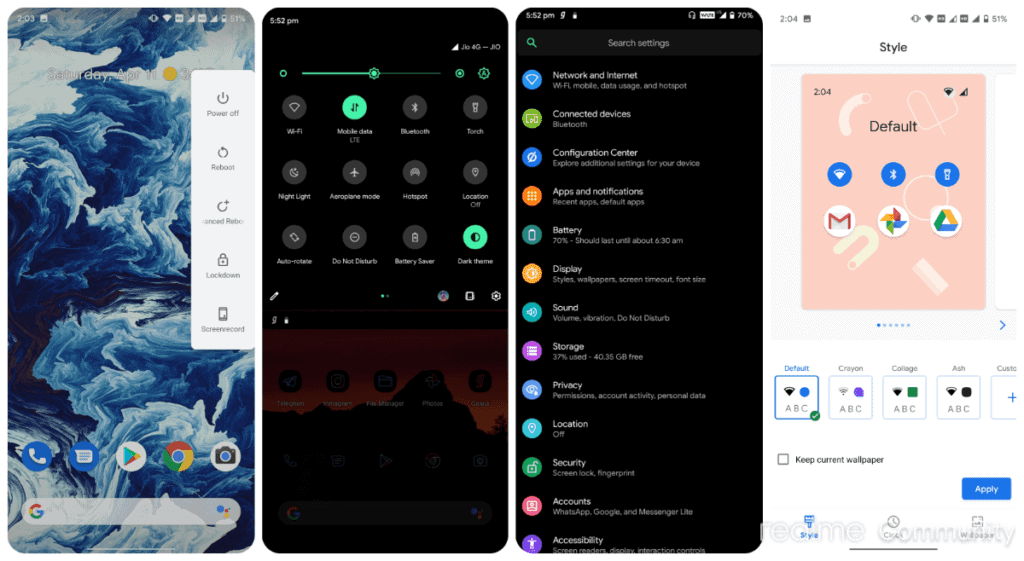
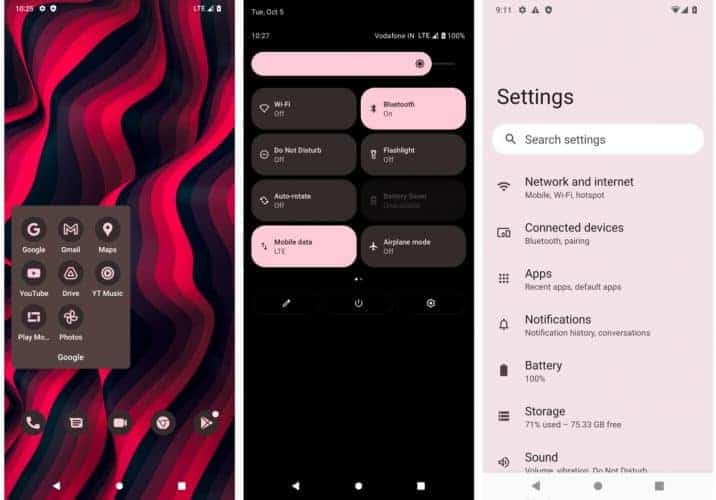
There's plenty of Android alternative out there. Sick of having a bloated Android OS and fancy a lighter experience overall? learning how to install a custom ROM may come in handy. There are many reasons to install a custom ROM and some very good reasons to not, all of which are covered in another PC Guide article here.
Long story short, flashing your Android device may result in poor camera functions and other issues if the make and model aren't officially supported by the custom Android ROM developers.
Prime Day is finally here! Find all the biggest tech and PC deals below.
- Sapphire 11348-03-20G Pulse AMD Radeon™ RX 9070 XT Was $779 Now $739
- AMD Ryzen 7 7800X3D 8-Core, 16-Thread Desktop Processor Was $449 Now $341
- ASUS RTX™ 5060 OC Edition Graphics Card Was $379 Now $339
- LG 77-Inch Class OLED evo AI 4K C5 Series Smart TV Was $3,696 Now $2,796
- Intel® Core™ i7-14700K New Gaming Desktop Was $320.99 Now $274
- Lexar 2TB NM1090 w/HeatSink SSD PCIe Gen5x4 NVMe M.2 Was $281.97 Now $214.98
- Apple Watch Series 10 GPS + Cellular 42mm case Smartwatch Was $499.99 Now $379.99
- ASUS ROG Strix G16 (2025) 16" FHD, RTX 5060 gaming laptop Was $1,499.99 Now $1,274.99
- Apple iPad mini (A17 Pro): Apple Intelligence Was $499.99 Now $379.99
*Prices and savings subject to change. Click through to get the current prices.
We've collected the top five and linked them to their websites here so you can find out if your handset is supported before learning how to install a custom ROM. We would recommend flashing an Android Alternative to older and budget handsets that not be supported anymore. Also, installing an Android alternative may void your warranty on newer handsets.
How to install a custom ROM
OEM Android OS is the version of Android installed on a handset that's fresh out of the box. In most cases, it's the stock (original) version of Android with skin and additional features baked in. Unfortunately, some OEMs pack these versions of Android with bloatware, a series of applications that you'll probably never need and are difficult to remove.
Think of installing an Android alternative to installing a different version of Windows on a PC. We'll be simply replacing the handsets operating system with another one, which sounds simple, and it is providing you have a systematic approach. Let's get into it:
How to install a custom ROM checklist
Let's check that you have everything you need before moving forward with installing a custom Android ROM:
- An Android handset
- Unlocked Bootloader on the handset (Click here for more info on this)
- Installed a custom recovery program such as TWRP on the handset. Click here to find out how
- A downloaded custom ROM .zip file, our recommended custom Android OS can be found here. (Follow custom OS install instructions instead of this guide if given)
- Download GApps (This is a package of all necessary Google apps needed on Android handsets)
- A PC or Mac alongside a compatible data cable.
Time to Back up
Before doing anything, make sure to back up your files, photos, and videos. It would be a good idea to export your contacts and SMS messages too, with options to do this in your messages and phone apps respectively. If you haven't already done so, now would be a great time to invest in a decent cloud storage solution so all of these backups can be accessed remotely from any device. Here are our best picks in case you're struggling.
Download a custom Android ROM
Make sure to go to the official source for your Android ROM, see our recommended ROMS right here. It's a good idea to download the ROM on a PC. You'll need to perform a data wipe on your handset during this guide, so this step will save you from doing the same job twice.
Download Gapps
If you're looking to sign in to your Gmail account and use Gmail, Gdrive, and more, you'll need to download the specific apps needed for Android. Most custom Android ROMs don't include google apps, with the exception of some, such as Pixelexperience. Remember to download onto your PC/Mac, our next step is backing up and wiping the handset.
Load up TWRP
You'll need to get into recovery mode to access TWRP, you can find out how to do this here. Once in recovery mode, you'll need to follow the choices to get into TWRP. Next, let's make a system backup.
System Backup
Tap the following steps: Boot > System Image > Data > Modem > EFS and then finally swipe to backup and wait until it's complete. Next, select ‘Wipe' on the TWRP main menu and swipe to confirm. Then, select ‘Format Data', type in yes, then select the tick mark to format your phone. A restart may be required if you've formatted the /data partition of your handset.
Install Gapps and Android custom ROM
Now it's time to copy over your custom Android ROM and Gapps. Find the ‘Mount' section of TWRP and select ‘Enable MTP option'. Then, connect your handset to your PC or Mac via a USB data cable and transfer both files.
Go back to the main menu of TWRP and select ‘Install'. Which will prompt you to locate the files you've just copied over. Select the ROM first then swipe to install, then repeat the same process for Gapps. Finally, select ‘Reboot to System'.
If your handset doesn't boot correctly, try installing the ROM, reboot back into recovery, then install Gapps. For some reason, a reboot is needed with some handset make and models in-between installations.
Congratulations! You've just successfully learned how to install a custom ROM. For all things Android, don't forget to check out and bookmark our News and Android hubs.


