
How to tell if a CPU is compatible with your motherboard

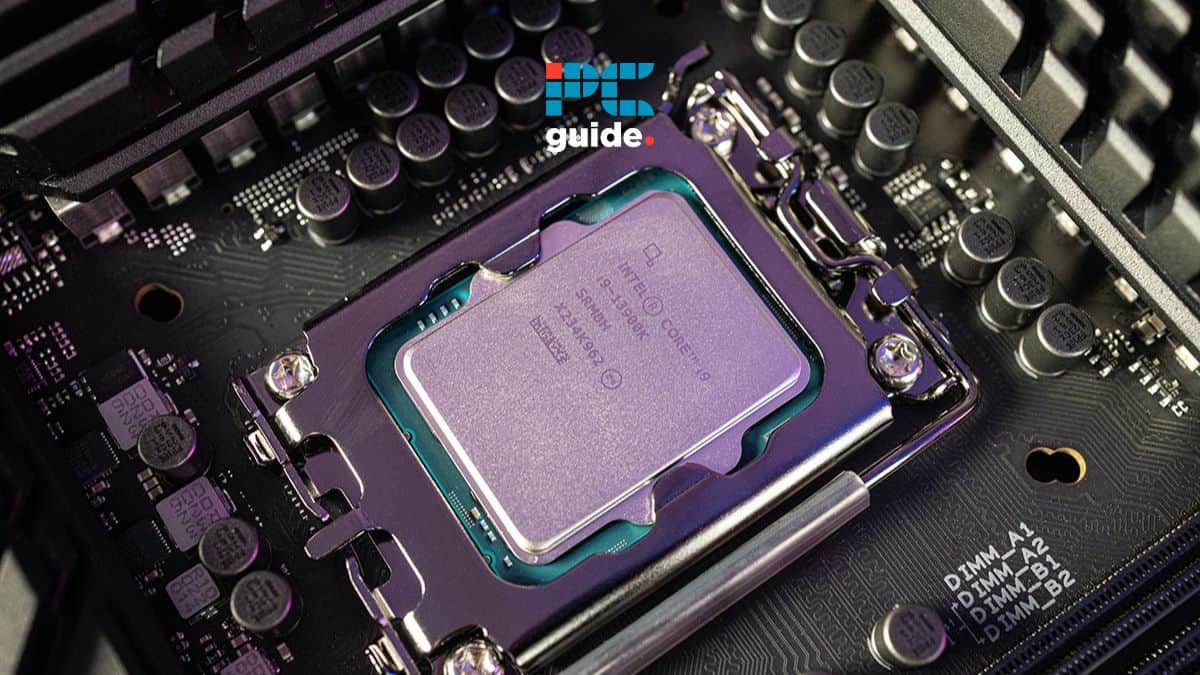
Table of Contents
If you were wondering how to tell if a CPU is compatible with your motherboard, you've come to the right place.
Paring components together can be confusing, and it’s understandable because there are so many variations of CPUs and motherboards. That said, the process is easy once you know what to look out and this is where we come in.
Prime Day is finally here! Find all the biggest tech and PC deals below.
- Sapphire 11348-03-20G Pulse AMD Radeon™ RX 9070 XT Was $779 Now $739
- AMD Ryzen 7 7800X3D 8-Core, 16-Thread Desktop Processor Was $449 Now $341
- ASUS RTX™ 5060 OC Edition Graphics Card Was $379 Now $339
- LG 77-Inch Class OLED evo AI 4K C5 Series Smart TV Was $3,696 Now $2,796
- Intel® Core™ i7-14700K New Gaming Desktop Was $320.99 Now $274
- Lexar 2TB NM1090 w/HeatSink SSD PCIe Gen5x4 NVMe M.2 Was $281.97 Now $214.98
- Apple Watch Series 10 GPS + Cellular 42mm case Smartwatch Was $499.99 Now $379.99
- ASUS ROG Strix G16 (2025) 16" FHD, RTX 5060 gaming laptop Was $1,499.99 Now $1,274.99
- Apple iPad mini (A17 Pro): Apple Intelligence Was $499.99 Now $379.99
*Prices and savings subject to change. Click through to get the current prices.
We've put together this quick guide to help you figure out which CPU is compatible with your motherboard so you can make an informed decision.
Quick Answer
Search for the CPU support list for your specific motherboard. This will tell you about all the CPUs that you can mount on it.
How to check your CPU and motherboard's compatibility
One of the most crucial aspects of building a PC is to check the compatibility between different components, namely, the CPU and motherboard. If they aren't compatible, your PC won't boot, or it will have severe stability issues. However, you can check for compatibility before purchasing to avoid spending on something that won't work and returning it for something else.
Step
Check for the socket type
The first thing you need to look for is the socket type of the motherboard and which socket the CPU is made for. For example, if you open the page for Ryzen 9 7950X, you'll see that it supports the AM5 socket compared to the previous AMD 5000 series processors that are compatible with the AM4 socket.
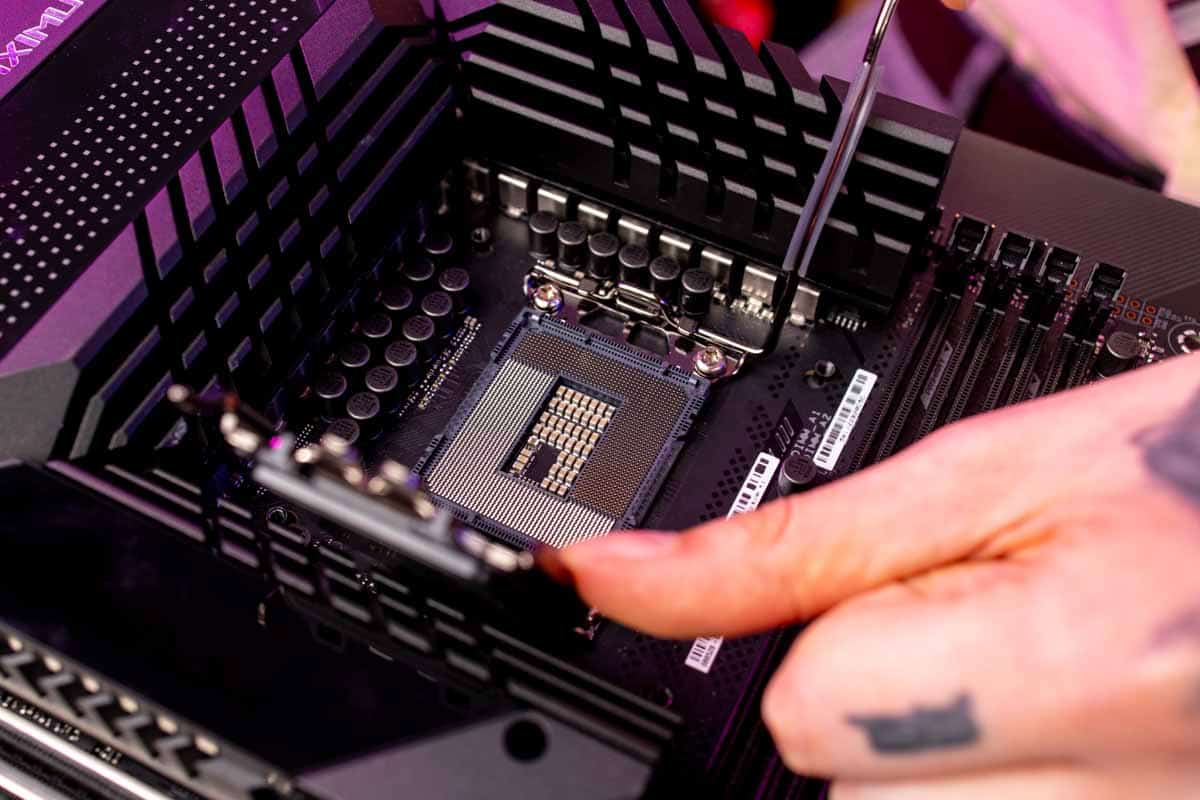
Similarly, you can visit the motherboard manufacturer’s website and look for the CPU support list. Search for the motherboard’s name followed by “CPU support list.” For example, suppose you have a Gigabyte Aorus Elite X570 motherboard. In that case, you'll find this CPU support list, which tells you which processors are compatible, the BIOS version required for it to work, and other specifications.
Step
Check for the motherboard chipset
The motherboard chipset also varies depending on the socket type. For example, Intel LGA 1151 compatible CPUs are 6th, 7th, 8th, and 9th-generation. However, not all four generations can be paired together with the same 1151 motherboard, as that socket comes in two variations: 100/200 or V1 and 300 or V2. The V1 variant supports Skylake (6th-generation) and Kaby Lake (7th-generation) CPUs. Meanwhile, the second revision of the 1151 socket supports Coffee Lake CPUs (8th and 9th-generation).
However, as long as you follow the CPU support list of the motherboard manufacturer, you should be good, as they have most likely designed and tested their boards to work perfectly with the mentioned CPUs.
Step
Check for BIOS compatibility
This is the last thing you need to check; however, it is equally important because if the BIOS version is outdated, your PC won't boot. That said, it’s quite straightforward to deal with: You simply need to look at the current BIOS version and compare it with the BIOS version supported in the CPU support list.
To see the current BIOS version, follow the steps below.
- Press “Windows Key + Q,” type “System Information,” and hit enter.
- This should open up the System Information window.
- Look for the “BIOS Version/Date.” The format should be “Brand Name, BIOS version, Date.”

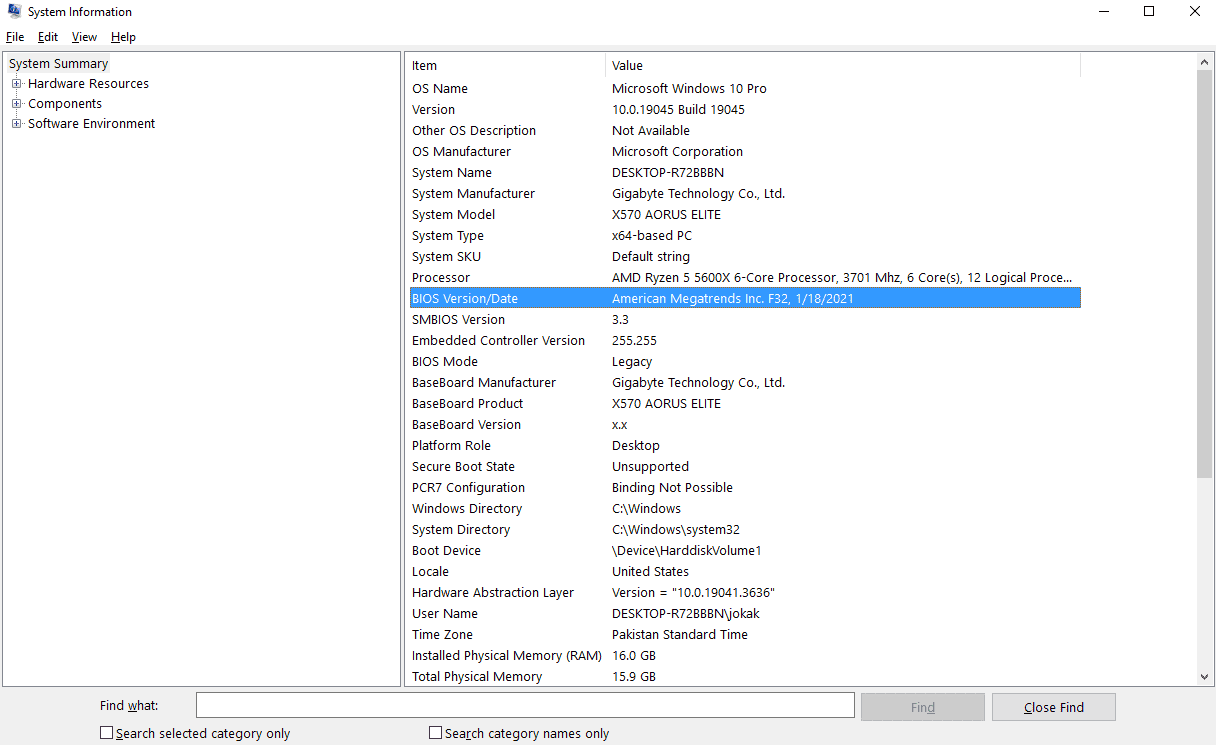
After you've gathered that, compare it with the BIOS version supported by the motherboard for the specific CPU. Let’s take the aforementioned X570 motherboard as an example. We see that for the Ryzen 5 5600X, the “Since BIOS Version” is F30, whereas the system shown is at F32, meaning there shouldn't be any compatibility issues.
However, if the BIOS versions differ, you'll need to update them. Depending on your motherboard, you could download the firmware on the USB, connect it to a specific USB port, and update it without starting the PC. We recommend checking for this functionality on the manufacturer's website or the user manual that comes with the motherboard.
Wrapping up
This was everything about how to know if a CPU is compatible with your motherboard. It may seem confusing at first, given that there are different socket types and the process of checking for BIOS compatibility and needing to update it. However, it is a straightforward process, and all the relevant information is readily available. That said, the easy way to go about this is to follow the CPU support list for your motherboard, and you should be good to go.
If you're interested in exploring motherboard options, we recommend you check out our best AM4 and best AM5 motherboard guides for the top picks available.
About the Author