$800 is going to net you a gaming PC that you can tell is in the mid-tier budget range. This machine will handle 1080p gaming with ease and gives more than respectable 1440p frame rates. You’re also going to be getting a rig that looks the part too. With a sleek RGB case and quality components, your setup is going to be ever closer to gaming perfection. Unfortunately, due to various factors, the prices of the hardware listed fluctuate daily. We aim to update all of our builds as much as we can to ensure they are as close to the specified build price as possible.
- Last Updated - May 26, 2021

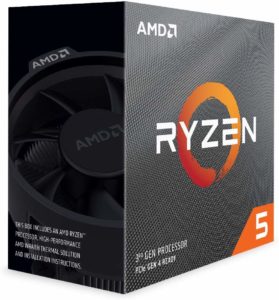
As with all our gaming PC builds, we’ve opted for an AMD Ryzen processor over their Intel counterparts due to price and other component compatibility. This Ryzen 5 3600 is no different in terms of bang for your buck with 6 cores and 12 threads, providing you with stellar processing power for playing those AAA games. Moreover, the Ryzen 5 3600 comes in with a base clock of 3.6GHz and overclocking capacity of up to 4.2GHz, maximizing the juice you can squeeze out of this chip.
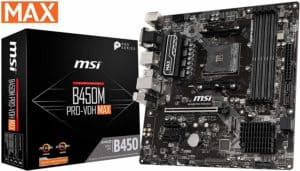
The B450 motherboard range is a common staple in our builds due to affordability and compatibility. This build is no different with the MSI B450-A PRO MAX. This board however, has slight improvements over the B450M’s we have been previously using with Turbo M.2: running at PCI-E Gen3 x4, maximizing performance for NVMe based SSDs. It also features the common MSI technology with core boost, DDR4 memory boost, and PCI-E steel armor improving and protecting your installed components.
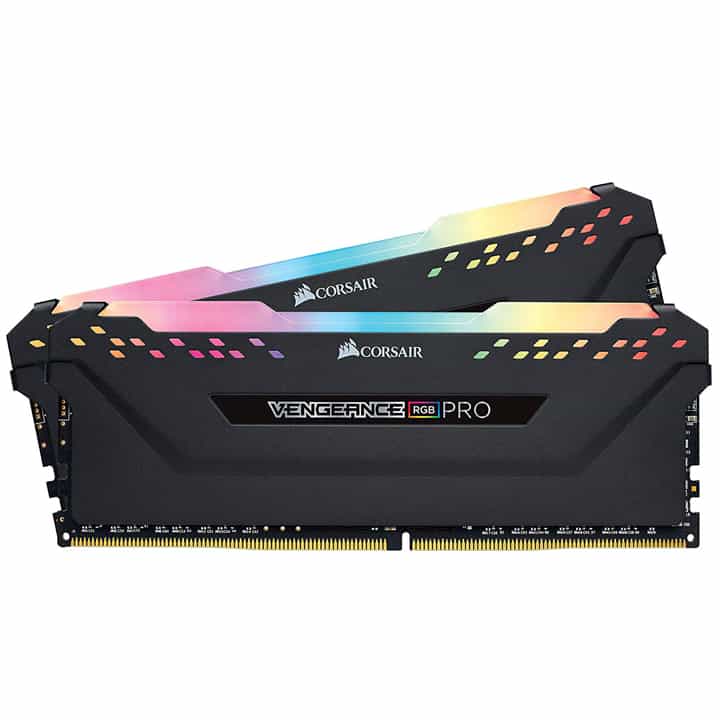
The Corsair Vengeance 3600Mhz RAM is a perfect pairing with our Ryzen 5 3600 CPU, ensuring there will be no memory bottlenecking. You also know what you’re getting with the Corsair brand, the reassurance you’re getting top quality components and necessary reliability. We’ve gone for two 8GB sticks this time as this should be enough memory to keep up with even the most intense tasks, and anything more would be a little overkill.
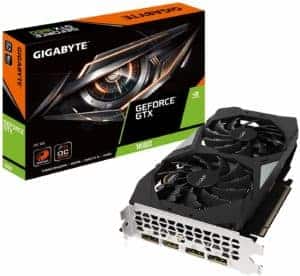
A GPU that can give you all the graphical capacity to run the latest AAA titles is required to really make this build head and shoulders above the more budget builds. A GTX 1660 Super can do this and more, making it a futureproof GPU choice. This variation from Gigabyte features 6GB of ultra-fast GDDR6 memory, coupled with a three Windforce fan cooling system, ensuring no overheating.
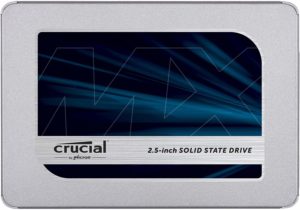
Choosing an SSD over the more traditional hard drive is almost a given due to the dramatic speed increase and small form factor. This Crucial MX500 we’ve chosen has a decent amount of storage, coming in at 500GB and read/write speeds of up to 560/510 MB/s. With it being made by Crucial, you also know you’re getting a quality product. Finally, this one comes with a 5-year limited warranty so if it does fail at some point, you’re covered.
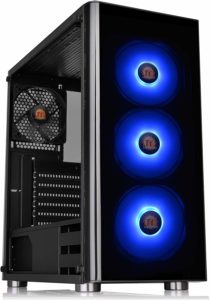
The Thermaltake V200 is the PC case gamers dream about. It comes with 3 full RGB fans that are fully customizable for your specific taste, alongside a 4mm tempered glass side panel for showcasing your components. The sleek black look of the rest of the case makes for aesthetically pleasing viewing. Additionally, Thermaltake has included an internal PSU cover, hiding all those wires and for easy cable management.
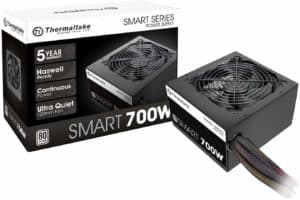
This non-modular power supply from Thermaltake does the job for this $800 gaming PC build. It’s got 700 watts, giving you more than enough power for the components, along with an 80+ efficiency rating, minimizing consumption. Additionally, Thermaltake has incorporated a 120mm ultra-quiet fan, delivering excellent airflow at an exceptionally low noise level.
With any gaming PC you’ll want to know what games it can run and what FPS you’re likely to be expecting. The list below shows off some of the more graphically intensive games as well as some popular ones for you to get an idea of how this $800 rig is performing.
- Last Updated - May 26, 2021
With this being a more entry-level build, you may be new to the whole PC building scene, so we’ve detailed a few tips and tricks to help you succeed. If you’re a more experienced builder you can skip this section, or potentially brush up on some techniques you might not have heard of.
Conclusion
This $800 gaming PC build is a 1080p powerhouse and more than capable of 1440p in many of today’s games, coupled with VR support. You’ll still be getting the Ryzen 5 3600 that goes into the more pricier $1000 build but compromising on the graphics card with the GTX 1660 Super instead of the RTX 2060. If you did end up building this rig, enjoy your new PC! Be sure to check out our other articles if you have any issues or want to explore different options!


