
Here’s how to enable Hardware Accelerated GPU Scheduling in Windows 10 and 11

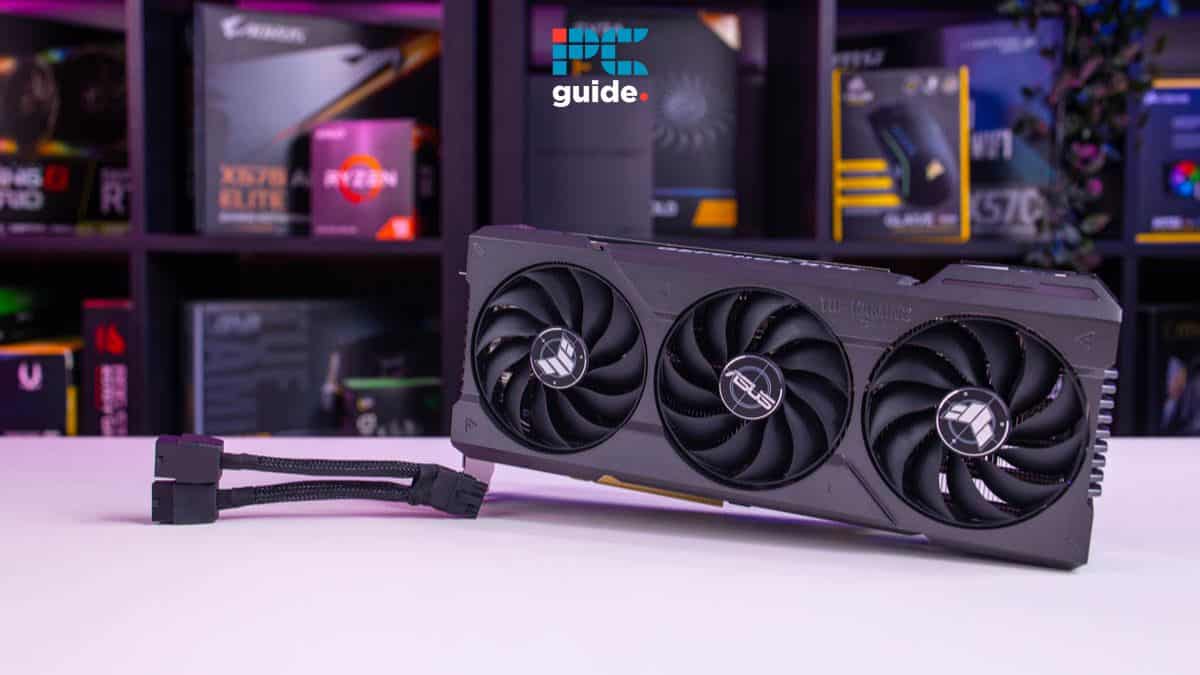
Table of Contents
If you want to learn how to enable Hardware Accelerated GPU Scheduling in Windows 10 and 11, then we’ve got you covered right here.
Hardware Accelerated GPU Scheduling is a feature that many Windows users don’t know about. It can help reduce the burden on the CPU and make the GPU do all the work. This can help you out in many ways, but since the option is tucked away within a maze of settings, it can be challenging for you to locate it.
Prime Day is finally here! Find all the biggest tech and PC deals below.
- Sapphire 11348-03-20G Pulse AMD Radeon™ RX 9070 XT Was $779 Now $739
- AMD Ryzen 7 7800X3D 8-Core, 16-Thread Desktop Processor Was $449 Now $341
- ASUS RTX™ 5060 OC Edition Graphics Card Was $379 Now $339
- LG 77-Inch Class OLED evo AI 4K C5 Series Smart TV Was $3,696 Now $2,796
- Intel® Core™ i7-14700K New Gaming Desktop Was $320.99 Now $274
- Lexar 2TB NM1090 w/HeatSink SSD PCIe Gen5x4 NVMe M.2 Was $281.97 Now $214.98
- Apple Watch Series 10 GPS + Cellular 42mm case Smartwatch Was $499.99 Now $379.99
- ASUS ROG Strix G16 (2025) 16" FHD, RTX 5060 gaming laptop Was $1,499.99 Now $1,274.99
- Apple iPad mini (A17 Pro): Apple Intelligence Was $499.99 Now $379.99
*Prices and savings subject to change. Click through to get the current prices.
This is where we come in. In this guide, we’ll go over two easy methods that can help you quickly enable Hardware Accelerated GPU Scheduling.
Quick Answer
Hardware Accelerated GPU Scheduling can be enabled by going to Settings > System > Display > Graphics settings.
How to enable Hardware Accelerated GPU Scheduling using the settings
The quickest way to enable this feature is by going to the Display settings. Make sure to restart your PC after enabling it.
Step
Go to System settings
First, go to the Windows Search bar and type ‘Settings.’ Click on the first option that appears and go to System.

Step
Access Graphics settings
Next, click on Display and then select Graphics settings. Click on the toggle button under ‘Hardware-accelerated’ GPU scheduling to enable the feature.
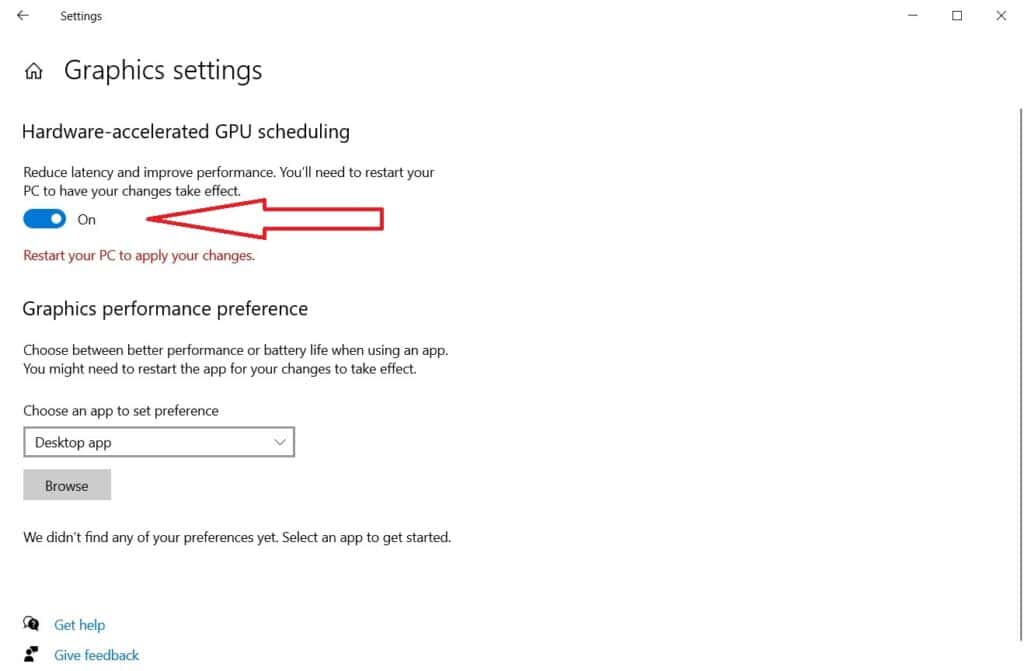
If you’re on Windows 11, then you’ll need to go to ‘Change default graphics settings’ from Graphics settings to enable the feature.
In case you want to turn it off, simply return to the graphics settings and click on the toggle button again.
How to enable Hardware Accelerated GPU Scheduling using the Registry Editor
Alternatively, you can also enable the feature through the Registry Editor. However, make sure to not make any changes other than the ones mentioned below, as messing up the files in Registry Editor can put you in a tight spot.
Step
Access the Registry Editor
Type ‘Run’ in the Windows Search bar and click on the first option that appears.

Next, type ‘regedit’ in the box, click on ‘OK,’ and then click ‘Yes’ to allow the app to make changes to your device.
Step
Go to Graphics Drivers
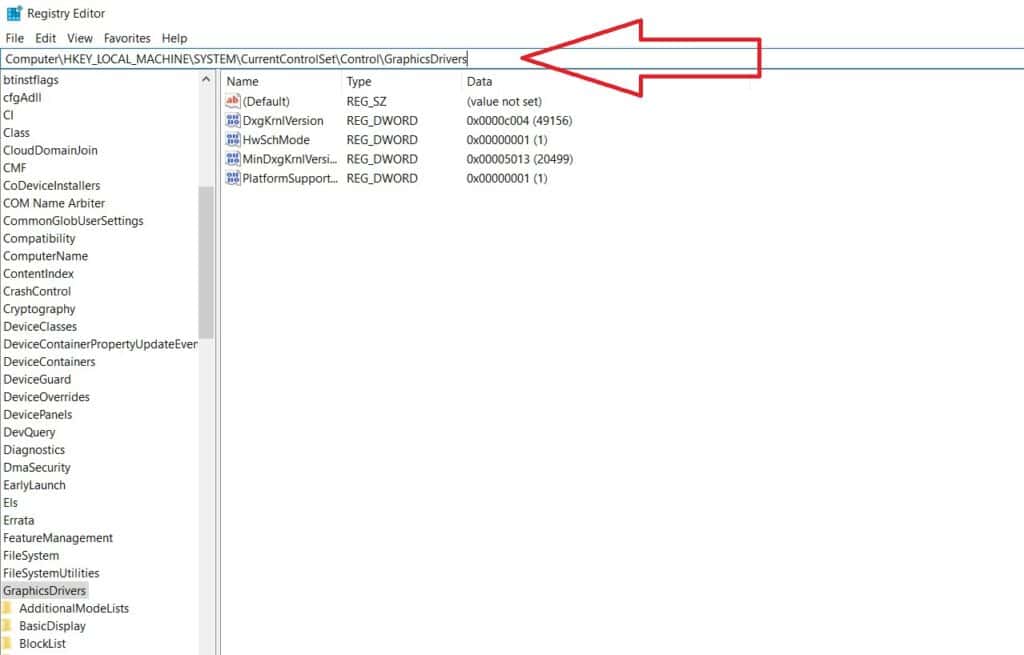
Instead of going through several folders, simply type Computer\HKEY_LOCAL_MACHINE\SYSTEM\CurrentControlSet\Control\GraphicsDrivers in the path box. This will take you straight to the Graphics Drivers.
Step
Make changes to HwSchMode
On the right side, double-click on HwSchMode to open the Edit Value box. Then, change the Value Data to 2, select Hexadecimal in Base, and click OK.

Once done, restart your PC to enable Hardware-Accelerated GPU scheduling.
If you want to disable the feature, simply return to the Registry Editor and change the Data Value to 1 again.
Should you enable Hardware Accelerated GPU Scheduling?
Hardware Accelerated GPU Scheduling is a great feature that proves useful in scenarios where you want to shift the load from the CPU to the GPU. This reduces CPU utilization and results in less input lag as the GPU handles all graphical processing. Additionally, if you’re constantly facing CPU overheating issues, enabling this feature can help solve them. This is because when the CPU isn’t handling everything, it runs slower, resulting in less heat.
However, while there are certain benefits attached to it, Hardware Accelerated GPU Scheduling also comes with a few drawbacks. For instance, when you’re placing all the burden on the GPU, it will consume more power, which can ultimately lead to GPU overheating. You can try different methods to cool the GPU, but the constant load will still negatively affect it in the long run. Also, with this feature enabled, the graphics card will struggle during GPU-intensive games at high settings, as it will now be doing the job of the CPU as well.
In short, Hardware Accelerated GPU Scheduling is useful for those who have a low or mid-tier card. But if you have one of the latest GPUs packed inside your system, then there’s no need for you to enable it.
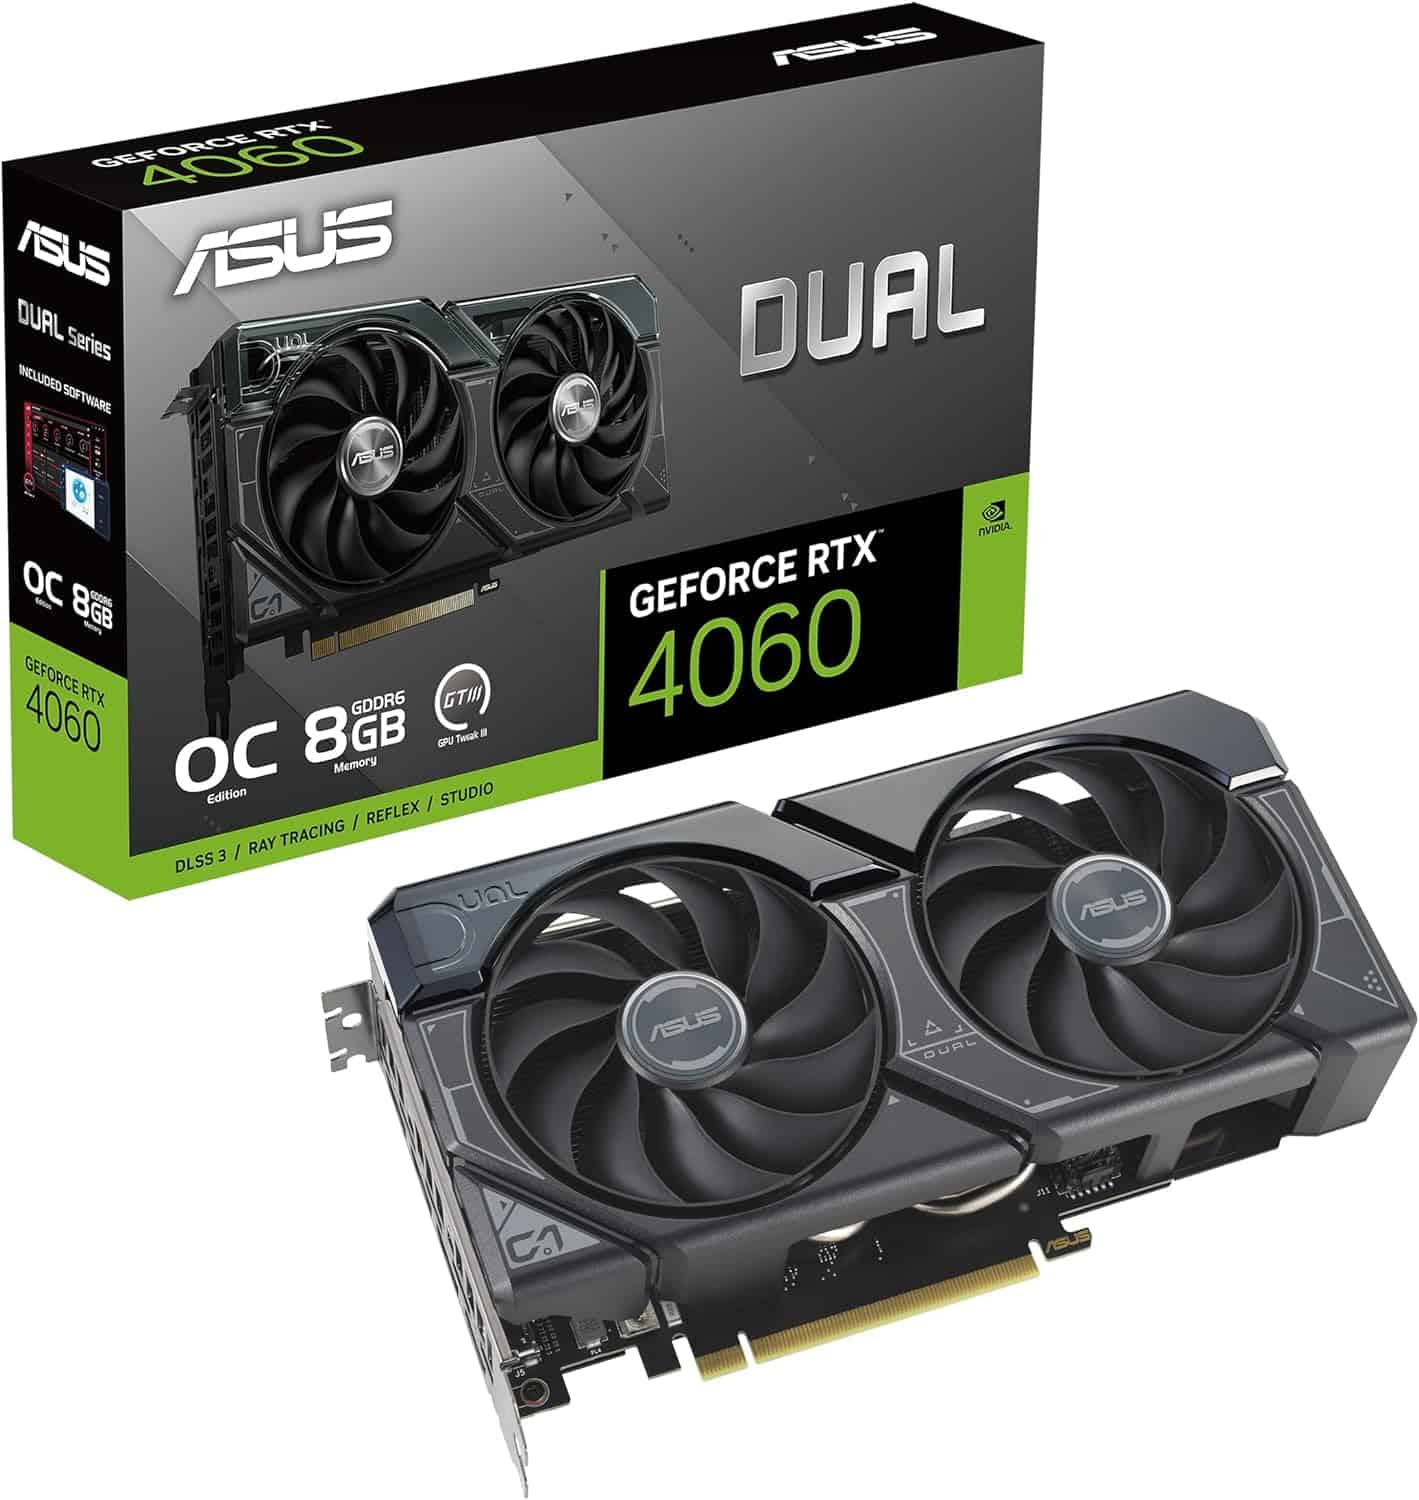
Is it time to upgrade your GPU?
If you find yourself struggling with GPU-intensive tasks, it might be a sign that it’s time to consider upgrading your GPU. If you’re having trouble selecting a suitable GPU for your rig, feel free to explore some of the options below that we’ve personally reviewed and tested.
-

-

Gigabyte Radeon RX 7700 XT Gaming OC
- GPU: Navi 32
- Stream processors: 3456
- VRAM: 12 GB GDDR6
- Bus width: 192 bit
- Base clock speed: 1784 MHz
- Boost clock speed: 2599 MHz
-


Conclusion
As you can see, enabling Hardware Accelerated GPU Scheduling isn’t difficult, but locating the option to do so can be tricky. Hopefully, thanks to our guide, you now know how to turn it on quickly and determine whether it’s worth it for you or not
About the Author