How to jailbreak your PS4 on 9.00

Table of Contents
The PlayStation 4 is now several years old and over the course of its life, the console has been met with some unique methods of cracking it. Jailbreaks have been tougher than previous generations or other devices, as the console is frequently updated and those who do crack the security on the platform are doing so for the various bug bounties, which I applaud them for. Keeping us safe and getting that bread is the right thing to do.
However, now we can take their work and documentation, then fly under the radar and run some homebrew on the PS4.
Prime Day is finally here! Find all the biggest tech and PC deals below.
- Sapphire 11348-03-20G Pulse AMD Radeon™ RX 9070 XT Was $779 Now $739
- AMD Ryzen 7 7800X3D 8-Core, 16-Thread Desktop Processor Was $449 Now $341
- ASUS RTX™ 5060 OC Edition Graphics Card Was $379 Now $339
- LG 77-Inch Class OLED evo AI 4K C5 Series Smart TV Was $3,696 Now $2,796
- Intel® Core™ i7-14700K New Gaming Desktop Was $320.99 Now $274
- Lexar 2TB NM1090 w/HeatSink SSD PCIe Gen5x4 NVMe M.2 Was $281.97 Now $214.98
- Apple Watch Series 10 GPS + Cellular 42mm case Smartwatch Was $499.99 Now $379.99
- ASUS ROG Strix G16 (2025) 16" FHD, RTX 5060 gaming laptop Was $1,499.99 Now $1,274.99
- Apple iPad mini (A17 Pro): Apple Intelligence Was $499.99 Now $379.99
*Prices and savings subject to change. Click through to get the current prices.
Like other PS4 jailbreaks, this will require your PS4 to not be on the latest firmware. If you’ve upgraded to the current 9.03 or above, then I’m sorry, but you’ll have to wait until the next exploit. If you’re looking for a method of jailbreaking your PS5, also, wait. We don’t have one and neither do the people creating these methods of jailbreaking. Seriously.
The method is really simple but you’ll need the following things:
- A USB Stick (bigger than 2GB)
- A PS4 on 9.00 or below
- A PC, laptop etc.
- Some patience
I didn’t have the last one and rushed through it thinking I knew better, spending about 30 minutes resolving issues, so please just hang fire.
Setting up the PS4
You’re going to need to get rid of any internet access for this step, so head into the settings and under network, choose to turn off the internet entirely via “Connect to the Internet”. Also, go into Notifications, cancel and delete any downloads – especially the 9.03 one.


Now you should be on a lower firmware than 9.00 if you’re reading this or on 9.00 already. This link will allow you to download from the Internet Archive, but ensure to lay out the folder structure like this exactly:
PS4 > UPDATE and then you put in your file. However, if you’re still stuck, we’ve uploaded the file structure for you. Just unzip it and away you go!
On Windows, head into My Computer and then right-click the USB stick you’ve chosen and press format into an exFAT format.


Drag and drop the file out of the ZIP folder into the root and then plug it into your PS4. Head back into the settings and choose System Update. It should pick up your USB and offer to install 9.00. If it doesn’t, try another stick, because you really don’t want to connect to the internet for it.


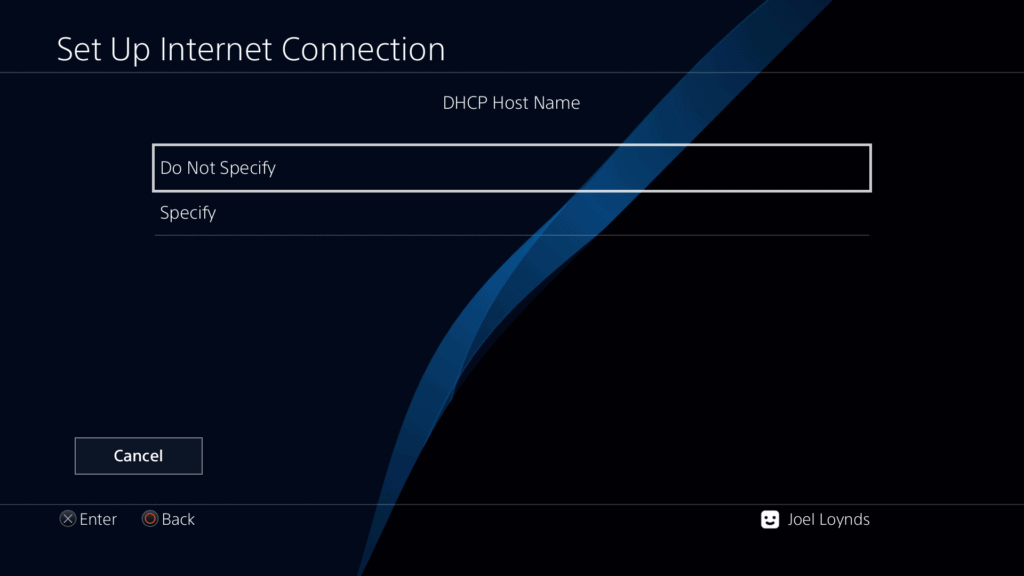
After you’ve updated via the USB stick, remove it and then head back into the internet settings to set up the connection again, but this time we’re going to choose Custom instead of the usual Easy. Keep everything automatic except the DNS server.
Use these two DNS numbers in either order, just refer back here if they don’t happen to work the way you set them:
192.241.221.79
165.227.83.145
Don’t test the connection and back out.
Then go to your PS4 web browser and clear all settings there. Cookies, data, everything.
Once this is done, remove the USB stick and we’re going to download a program called Rufus and the exploit file.
Creating the PS4 Exploit USB
Download this file, it’s the image that you’ll be burning to the USB to get it onto the PS4. This jailbreak is done via hardware, rather than software, so keep it safe once you’re done with it.
Next, download Rufus and find the image file in your explorer, then write it to the stick. Once it’s done, the USB won’t be visible to you anymore. If you messed up, in Rufus, reselect it, choose non-bootable and erase everything. Then in Windows, just reformat it.

DO NOT PLUG THIS INTO THE PS4 JUST YET.
Jailbreaking the PS4

Head back into the browser and navigate to this website:
This is where the exploit is hosted, the USB stick is what’ll activate it. When you first load it up, it’ll be caching the website for you. Just hang fire until you see it top out at 100%. Bookmark this website too if you want, just because you’ll need to come back here frequently if you reboot.
Yes, the jailbreak does not last between cold boots, only in rest mode – just make sure to turn off all updates.


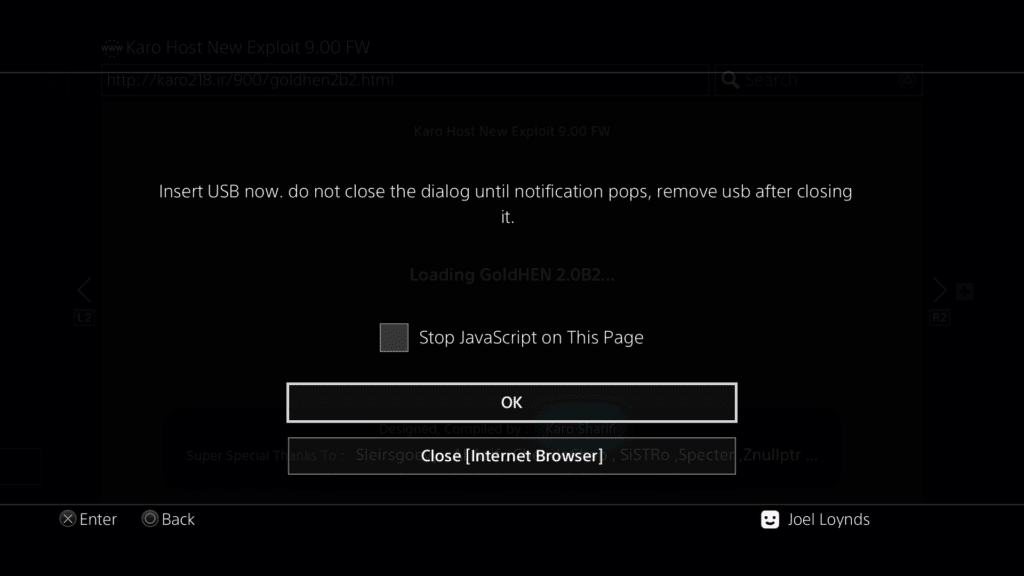
Choose 9.00, your chosen version and then wait. Eventually, an error looking screen will appear, this is when you put in the USB stick. From here, wait for the notification to say that it isn’t recognised and then you can press Okay.
If everything went right, you’ll have jailbroken your PS4 and you can begin loading in homebrew software like Retroarch onto it!
If you didn’t manage to get it right, don’t worry, just reboot and try again.
We’re running multiple guides on the PS4 Jailbreak, so if you have any real interest let us know in the comments or see what we’ve already done:

