Apple Refund – Get an iTunes/App Store Refund

Table of Contents
If you utilize the Apple iTunes store, you may have experienced some issues with the media that you have purchased from TV shows, movies, books, and apps from the store. Thankfully, you can easily request a refund from the iTunes store/App Store.
To receive a full refund, you will need to provide a valid reason for the refund request, so that Apple can ensure that you are not abusing the system – it is supposed to be used as a refund for a faulty or unnecessary product, not as a way to receive free trials or for short term product use.
A valid reason for a refund request will be something like an accidental purchase, purchasing the wrong thing, faulty product, or receiving no product at all. Here’s our guide to how to get your money back from Apple.
How to get an App Store/iTunes refund
The first thing that you should know about Apple’s refund policy is that the system is based on the web, rather than being accessible through the app storefront itself.
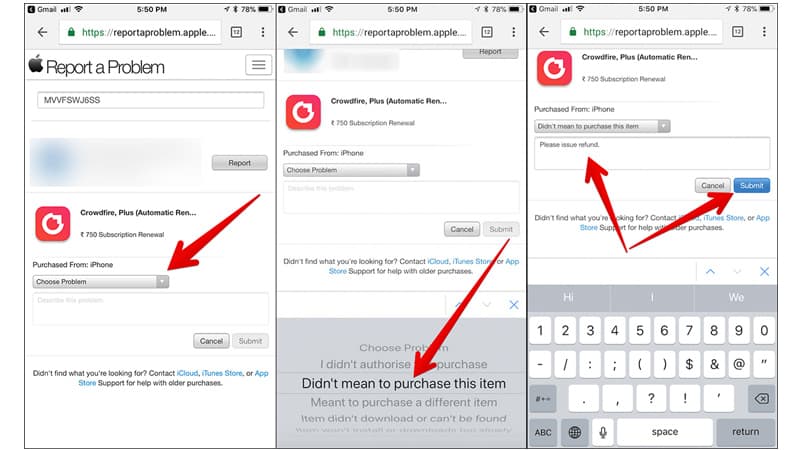
So, the first step of getting an Apple iTunes refund is going to the website to set the refund process in motion. Then, you should:
Step
Go to the ‘Report a Problem’ page
Open the Apple iTunes Website, and then Go to the ‘Report a Problem’ Page.
Step
Log into the Website
Log into the Website Using All the Details of your Apple ID (You Should just Need your Username and your Password, so Ensure that You have there to Hand).
Step
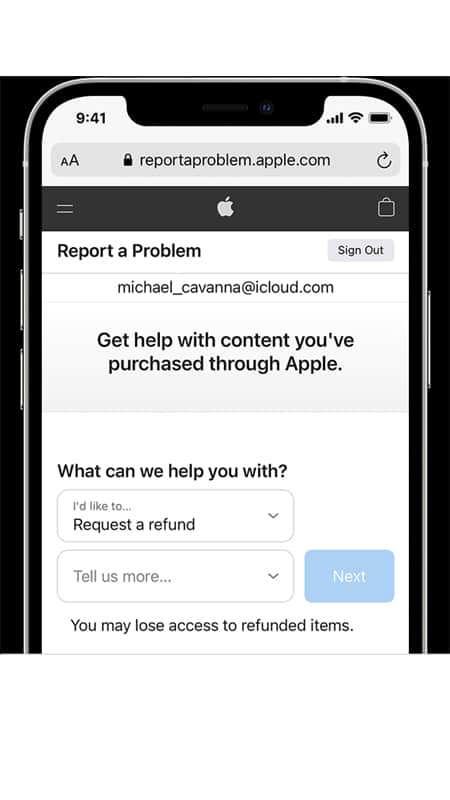
Select the Option for ‘Request a Refund’
You Should be Given a Drop-down Menu to Select the Problem that you Need to Report. From this Menu, Select the Option for ‘Request a Refund’.
Step
Select the Reason for your Refund Request
You Should be Shown a Second Drop-down Menu, From When you can.
Step
Click the ‘Next’ Button
Step
Choose the Time
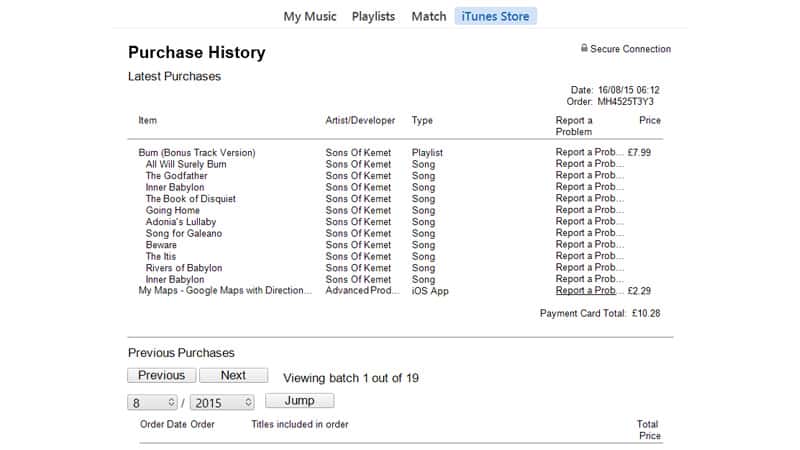
Choose the Time that you would like to Receive a Refund for (There should be a List of All the Purchases you have Made in a Recent Time Period).
Step
Hit the ‘Submit’ Button
These steps should be the same regardless of what device you are using to access the browser (including your iPhone, iPad, Mac, or other brand of device). You should receive an email stating that they have received your refund request, and then a few days later you should get word that your refund is approved.
How to Request a Refund Using Your iPhone or iPad
Though, as we have covered, Apple has not created an inbuilt way to directly request a product refund through the App Store or iTunes Store on iOS devices, you can start the refund request process in app.
Here is our guide to requesting a refund through the App Store (though the process is pretty similar in the other digital stores, so you can use this process widely).
Step
Open your App Store Application
Open your App Store Application, on your iPhone and iPad.
Step
Tap on your Account Photo/Initials
Tap on your Account Photo/Initials, which would be on the top tight of your Home Screen, which should take you to the Account View.
Step
Go to the ‘Purchased’ Page
If you have the Family Sharing on your Account Enabled, then you will have to select the My Purchases page, to see only what you have bought, or Select the Name of the Individual within your Family that Made the Purchase you are Wanting a Refund for.
Step
Select the App or Purchase
Select the App or Purchase that you Want to Receive a Refund for.
Step
Select the ‘Report a Problem’ Option
Scroll all the Way Down the App’s Listing, and then Select the ‘Report a Problem’ Option. This should Trigger a Move to Safari Internet Browser, Which should Take you to the Apple Refund Webpage.
Step
Sign in to the Apple Site
Like before, Sign in to the Apple Site, Using your Apple ID Details, Such as your Username and Password.
Step
Select the Request a Refund Option
Open the Drop-down Menu, and then Select the Request a Refund Option
Step
Select your Reason for Requesting a Refund
Select your Reason for Requesting a Refund in the Next Drop-down Menu
Step
Click the ‘Next’ Button
Step
Tap the ‘Submit’ Option
Again, it will take a few days for Apple to process your request for a refund.

Final Thoughts
Requesting a refund for a purchase you have made through iTunes or the App store, is a simple process if you know how to do it. All you need is your Apple ID details, and an internet connection.
The best tip we can give you for getting a refund though is cracking on with the process as soon as you realize there is an issue.

