How to connect a wireless mouse

Table of Contents
If you grew up with painfully annoying wired mice, owning a wireless mouse must feel like total freedom, not having to be tied to your machine and awkwardly trying to get the wire in the right position on your desk for minimum tangling.
However, what owning a wireless mouse does bring is having to go through various steps to connect it to your PC rather than just plug and play.
Prime Day is finally here! Find all the biggest tech and PC deals below.
- Sapphire 11348-03-20G Pulse AMD Radeon™ RX 9070 XT Was $779 Now $739
- AMD Ryzen 7 7800X3D 8-Core, 16-Thread Desktop Processor Was $449 Now $341
- ASUS RTX™ 5060 OC Edition Graphics Card Was $379 Now $339
- LG 77-Inch Class OLED evo AI 4K C5 Series Smart TV Was $3,696 Now $2,796
- Intel® Core™ i7-14700K New Gaming Desktop Was $320.99 Now $274
- Lexar 2TB NM1090 w/HeatSink SSD PCIe Gen5x4 NVMe M.2 Was $281.97 Now $214.98
- Apple Watch Series 10 GPS + Cellular 42mm case Smartwatch Was $499.99 Now $379.99
- ASUS ROG Strix G16 (2025) 16" FHD, RTX 5060 gaming laptop Was $1,499.99 Now $1,274.99
- Apple iPad mini (A17 Pro): Apple Intelligence Was $499.99 Now $379.99
*Prices and savings subject to change. Click through to get the current prices.
We're going to go through all the necessary steps for connecting a wireless mouse to your PC, as well as if you will need to purchase any additional devices to do so.
How To Connect A Wireless Mouse
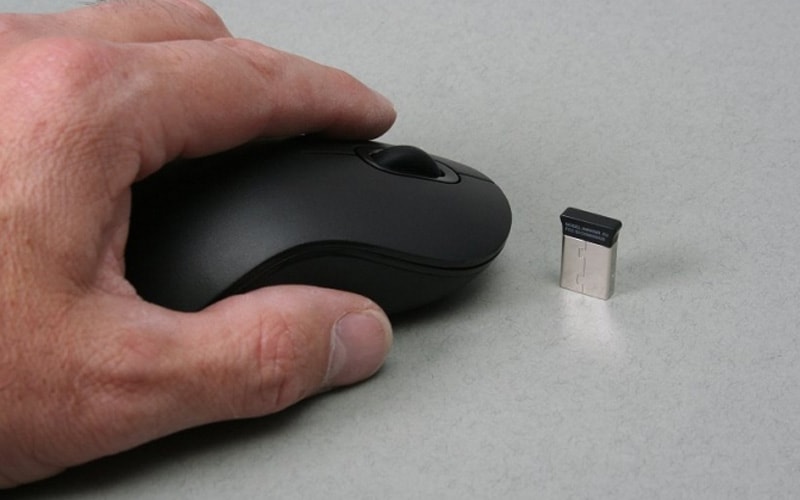
All wireless mice nowadays are Bluetooth enabled, but not all come with a small adapter that you can plug directly into your PC, bridging the connection. If yours doesn't, you'll either need to have a PC with Bluetooth built-in or you're going to have to buy an external Bluetooth adapter to get your wireless mouse connected.
We'd recommend an adapter like the TP-Link USB Bluetooth Adapter, which is great value and gets the job done well. You can always check out our best Bluetooth adapter recommendations right here.
If you've got your Bluetooth connection ready on your PC, let's get into the steps for connecting your wireless mouse.
Step
Connect Bluetooth
- Insert your Bluetooth adapter into your PC
- Open the Settings app on your PC
- Hit the Devices section
- In the Bluetooth & other devices tab, click Add Bluetooth or other devices
- A device window will now pop up. Click the Bluetooth option.
- Make sure your wireless mouse isn't connected to any other device
- Turn on your wireless mouse and put it into pairing mode
- You should now see your wireless mouse in your device window
- Hit pair and connect
You should now have successfully connected your wireless mouse to your PC. If you're still having issues, try closing the case and opening it again to begin the syncing process.

