
How to move rows in Excel – our guide to drag and drop a row

Reviewed By: Kevin Pocock

Table of Contents
If you want to know how to move rows in Excel, we’ve got you covered.
One of the best things about Microsoft Excel is the ability to sort and adjust your data in countless ways. There's pretty much no limit to the ways you can sort your information in Excel, but can you move rows around? The short answer is yes, you can – and we're here to teach you how to drag and drop rows in Excel.
Prime Day may have closed its doors, but that hasn't stopped great deals from landing on the web's biggest online retailer. Here are all the best last chance savings from this year's Prime event.
- Sapphire Pulse AMD Radeon™ RX 9070 XT Was $779 Now $719
- AMD Ryzen 7 7800X3D Processor Was $449 Now $341
- Skytech King 95 Ryzen 7 9800X3D gaming PC Was $2,899 Now $2,599
- LG 77-Inch Class OLED C5 TV Was $3,696 Now $2,996
- AOC Laptop Computer 16GB RAM 512GB SSD Was $360.99 Now $306.84
- Lexar 2TB NM1090 w/HeatSink SSD Was $281.97 Now $214.98
- Apple Watch Series 10 GPS+ Smartwatch Was $499.99 Now $379.99
- AMD Ryzen 9 5950X processor Was $3199.99 Now $279.99
- Garmin vívoactive 5 Smartwatch Was $299.99 Now $190
*Prices and savings subject to change. Click through to get the current prices.
Some people also refer to rows as lines in Excel and in this simple step-by-step guide, we'll show how to move rows up or down so you can have an easier time keeping track of your data. So, without any further ado, let’s discuss how to shift rows in Excel!
How you can move rows in Excel
Step
Select the row you want to move
Begin by selecting the row you want to move. You can do this in a couple of ways.
- The easiest way is to select the row number on the left-hand side. This is the column of numbers descending from the top, with each number representing a row.
- Click on the row you want to move to select it – it will be highlighted by a green border.

- Alternatively, if you only want to move certain cells in a row, you can click and drag along the row to highlight individual cells.
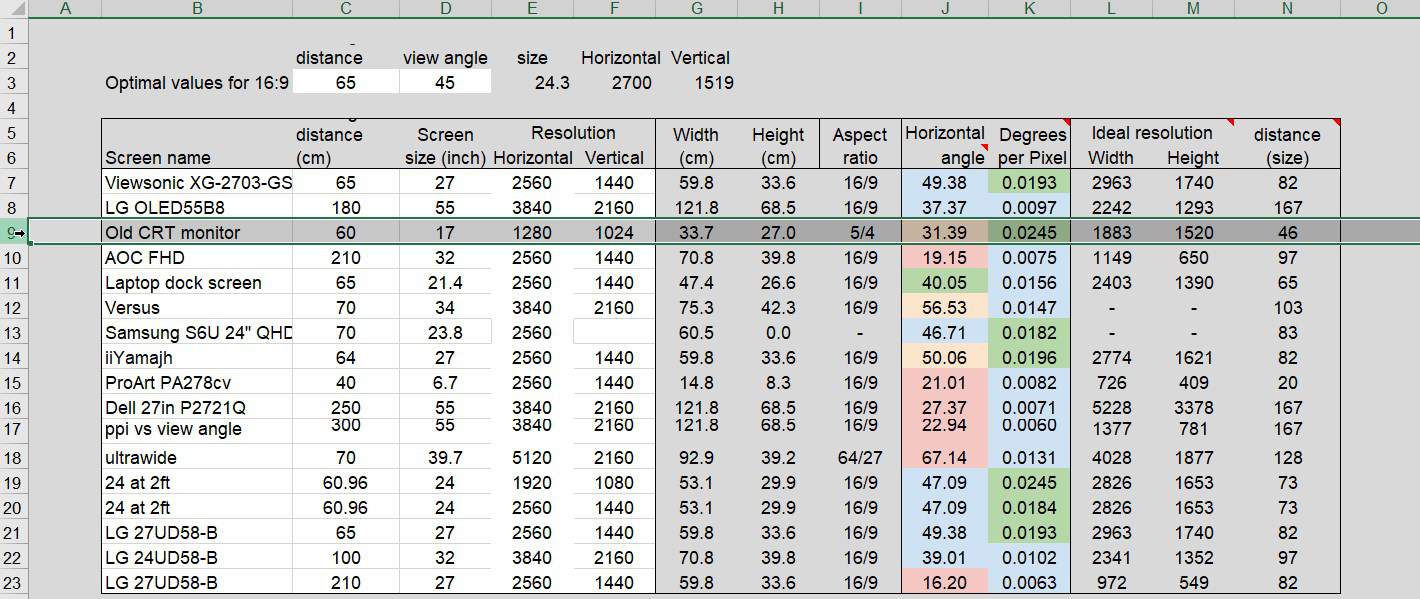
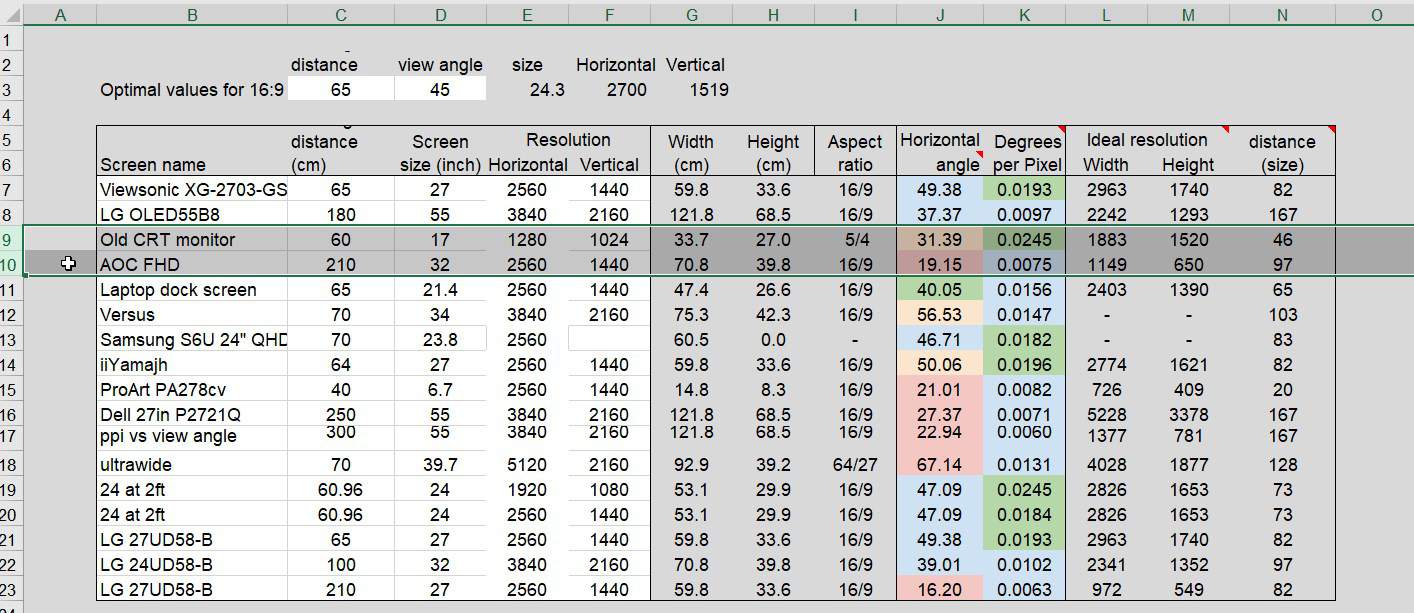
- You can also select multiple rows to move at once. However, this only works if the two cells are already next to each other. For example, you can move rows 9 and 10 together, but not 9 and 11.

Step
Drag the row to where you want it to go
Now it's time to move the row to its new position.
- Holding the Shift key on your keyboard, move your mouse cursor to the top edge of the highlighted border.
- When you hover over the edge, your cursor will change to a four-directional arrow icon.

- Still holding down the Shift key, click on the selected row and drag it up to where you want to move it.
- As you move the row, you'll see a black line between the rows your cursor is over.
This indicates where you'll be placing the row you're moving.
Step
Drop the row into its new place
Once you've dragged the row to where you want it, you can release the left mouse button to drop it in place (but don't stop pushing the Shift key just yet). This will drop the row in its new position.
It's important that you haven't let go of the Shift key when you move the row; if you aren't pushing Shift, the row you're moving will replace the other row instead of just changing places.
If you want to avoid accidentally deleting data from your spreadsheet, make sure you keep the Shift key pressed down. When you're moving multiple rows at once, all of these will move into the same new space.
This means that if you were to move 5 rows between rows 2 and 3, row 3 will be pushed down to row 8.
This is important to bear in mind so you don't affect the order of your spreadsheet.
Conclusion
And there you have it – now you know how to move rows in Microsoft Excel. This simple trick can come in very handy when you're trying to organize your spreadsheet. And makes it easy to move and manage your data.
Learn more about Excel through these helpful guides:
- How to remove duplicates using VLOOKUP in Excel
- How to create a range of numbers in Excel
- How to add a number in front of a number in Excel
About the Author