How to remove PS5 faceplates and change your console cover

Table of Contents
You may need to learn how to remove faceplates from your PS5 if your console needs an M.2 SSD installed, a dsic drive attached, or if you just want to replace the current covers. The process is extremely simple, but there are a couple of fiddly parts that can cause some issues if not done correctly. Following our simple step-by-step guide should ease you through the process, getting your console back in shape with as little fuss as possible.
How to remove faceplates from your PS5 – Simple step-by-step guide
Step
Safety first
If you have been using your PS5, turn it off, unplug it from the power, and wait for it to cool down. Keep the console out of reach of young children, and place on a soft cloth, preferably on a flat surface. Once this is done, you are ready to move on to removing the faceplates.
Step
Remove your console from the base
If your console is standing up on the base, you must remove the base before moving on to the next step.
If your console is not stood up, move on to Step 3.
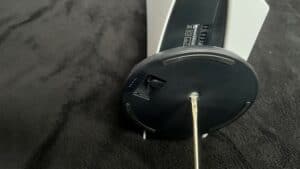
To remove the base, you will need a flathead screwdriver. Simply remove the screw at the bottom of the base, and the base itself will detach easily.
Step
Position your console
Getting the console the right way round is crucial. Ensure that the PlayStation logo is facing towards the ceiling as the console lies flat.
Step
Remove the top faceplate
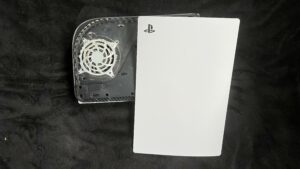
Take a firm grip on the corner of the cover (next to the PlayStation logo). Remove the faceplate with a slight pull up and towards the base of the console. There will likely be some resistance, but it should pop out with minimal force.
While the cover is off, give your console a clean! Removing dust will help improve your console health and performance.
Step
Remove the bottom faceplate
Position your console so the PlayStation logo is facing down, and the power button is facing towards you. This time, grip the top left corner, and apply the same slight lift and pull to the right process.
Step
Re-attaching the faceplates
Both faceplates re-attach to the console easily. Simple slide them back into place from right to left. You will hear a click when they are correctly in place.
If incorrectly re-attached, your console may be prone to overheating.
Confidence is king
I understand that doing anything to your precious PS5 console can be daunting, but this is super easy. The faceplates on your console are designed to be removable, so be confident in the knowledge that you are doing the right thing.
There you have it, you have learned how to remove faceplates from your PS5. Your faceplates have now been changed or cleaned and re-attached in just a few simple steps. It’s up to you whether you stand your console back on the base or leave it lying flat.
Prime Day is finally here! Find all the biggest tech and PC deals below.
- Sapphire 11348-03-20G Pulse AMD Radeon™ RX 9070 XT Was $779 Now $739
- AMD Ryzen 7 7800X3D 8-Core, 16-Thread Desktop Processor Was $449 Now $341
- ASUS RTX™ 5060 OC Edition Graphics Card Was $379 Now $339
- LG 77-Inch Class OLED evo AI 4K C5 Series Smart TV Was $3,696 Now $2,796
- Intel® Core™ i7-14700K New Gaming Desktop Was $320.99 Now $274
- Lexar 2TB NM1090 w/HeatSink SSD PCIe Gen5x4 NVMe M.2 Was $281.97 Now $214.98
- Apple Watch Series 10 GPS + Cellular 42mm case Smartwatch Was $499.99 Now $379.99
- ASUS ROG Strix G16 (2025) 16" FHD, RTX 5060 gaming laptop Was $1,499.99 Now $1,274.99
- Apple iPad mini (A17 Pro): Apple Intelligence Was $499.99 Now $379.99
*Prices and savings subject to change. Click through to get the current prices.
If you are setting up a new PlayStation 5 console, it’s worth checking out our guides on how to set up your PS5 to your TV and how to connect speakers to a PS5 to really get the best out of your setup.
How do I get my PS5 faceplate back on?
If you study the underbelly of your faceplate, you will notice a selection of little notches or hooks. These align with slots on your console. Simply slide these into the corresponding slots and push until you hear a click.
Does removing PS5 faceplates void the warranty?
Removing PS5 faceplates will not void your warranty, provided the console’s serial number and seal remain visible and unbroken.


