How to update CPU drivers – 2 methods (with pictures)
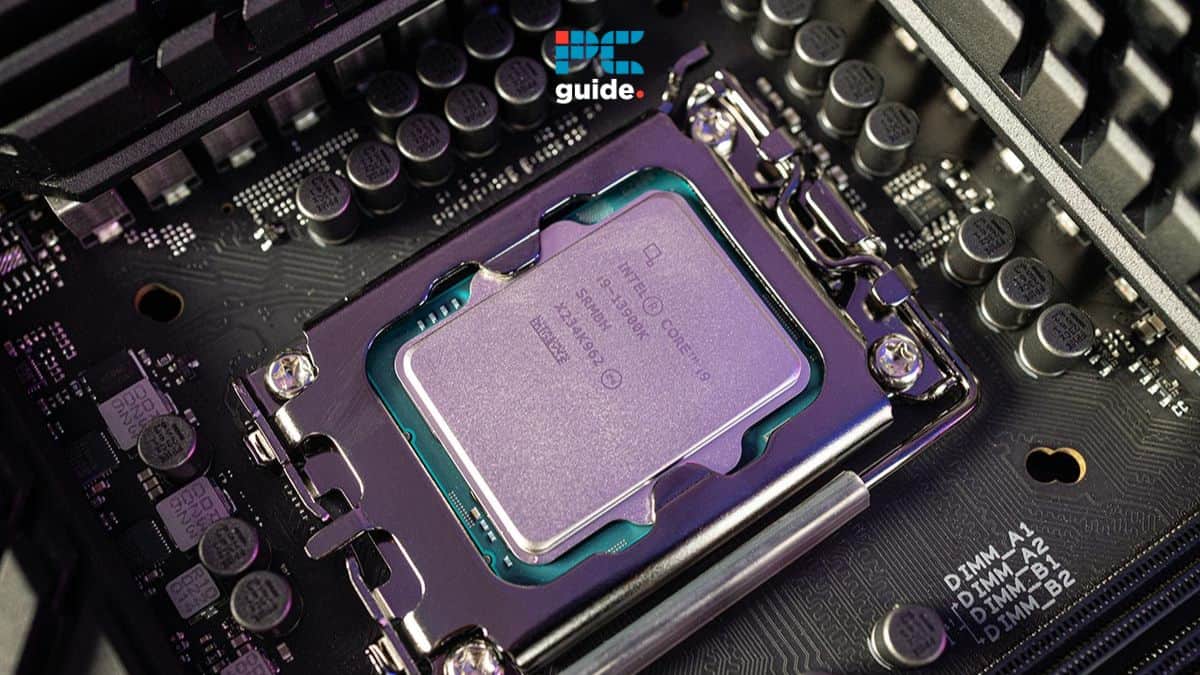
Table of Contents
If you were wondering how to update CPU drivers, we've got everything you need to know right here.
When we hear update your drivers, we automatically think about the GPU drivers, but its counterpart also deserves some attention, and there are drivers for the CPU as well. However, since that doesn't get much attention, you might be wondering how do you even update CPU drivers. And we're here to answer that question for you.
Prime Day is finally here! Find all the biggest tech and PC deals below.
- Sapphire 11348-03-20G Pulse AMD Radeon™ RX 9070 XT Was $779 Now $739
- AMD Ryzen 7 7800X3D 8-Core, 16-Thread Desktop Processor Was $449 Now $341
- ASUS RTX™ 5060 OC Edition Graphics Card Was $379 Now $339
- LG 77-Inch Class OLED evo AI 4K C5 Series Smart TV Was $3,696 Now $2,796
- Intel® Core™ i7-14700K New Gaming Desktop Was $320.99 Now $274
- Lexar 2TB NM1090 w/HeatSink SSD PCIe Gen5x4 NVMe M.2 Was $281.97 Now $214.98
- Apple Watch Series 10 GPS + Cellular 42mm case Smartwatch Was $499.99 Now $379.99
- ASUS ROG Strix G16 (2025) 16" FHD, RTX 5060 gaming laptop Was $1,499.99 Now $1,274.99
- Apple iPad mini (A17 Pro): Apple Intelligence Was $499.99 Now $379.99
*Prices and savings subject to change. Click through to get the current prices.
We've put together this quick guide to help you update your CPU drivers, so let's get right to it.
Quick Answer
To update the drivers search for “Device Manager” in the search bar on the taskbar, hit enter, locate processors, right-click on them, and hit “Update drivers.”
How to update CPU drivers on Windows 10 and Windows 11
Updating CPU drivers is straightforward. The CPU brand doesn't matter, so the process is similar whether you've got an AMD or an Intel processor. Follow the steps below to update the CPU drivers.
Method
Using the device manager
Updating the CPU or any driver is easy through the device manager, and here is how to do it.
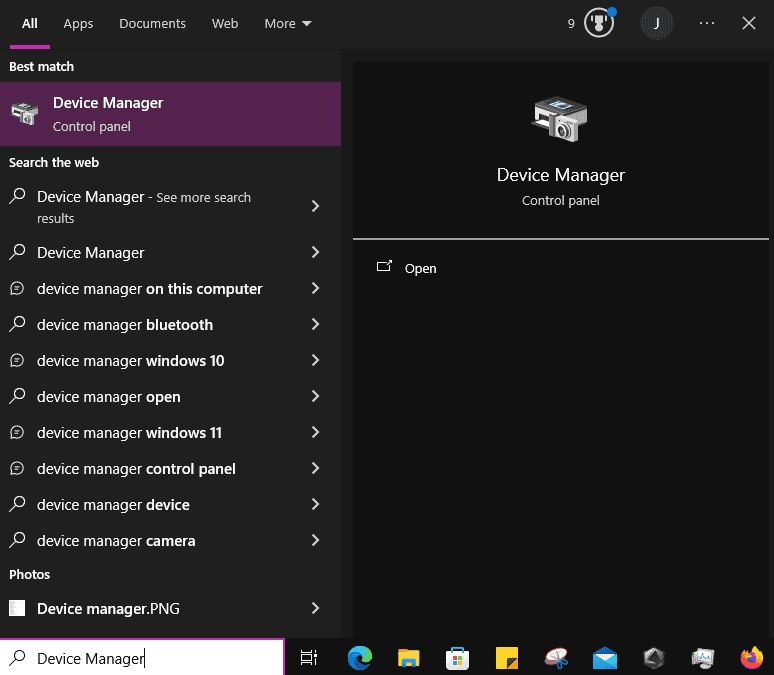
- Press “Windows Key + Q,” type “Device manager,” and hit enter.
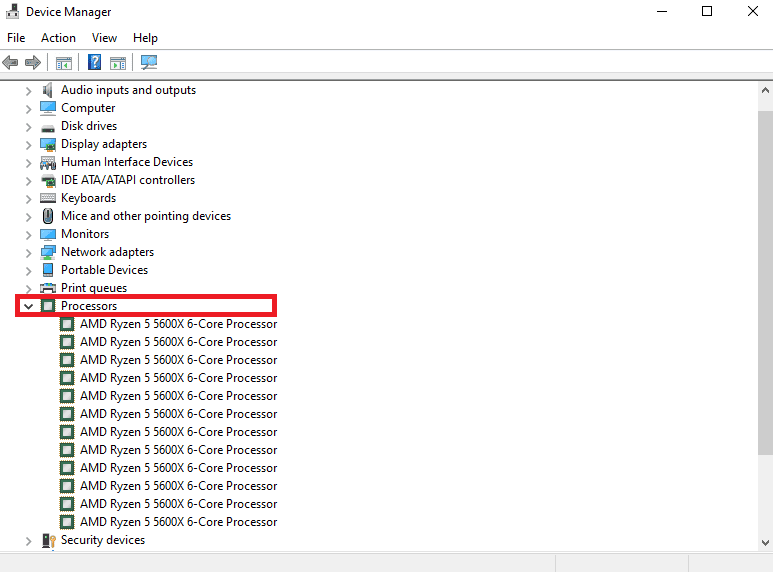
- This should open the device manager window that lists all the components in your PC.
- Locate “Processors” and click on it to expand it.
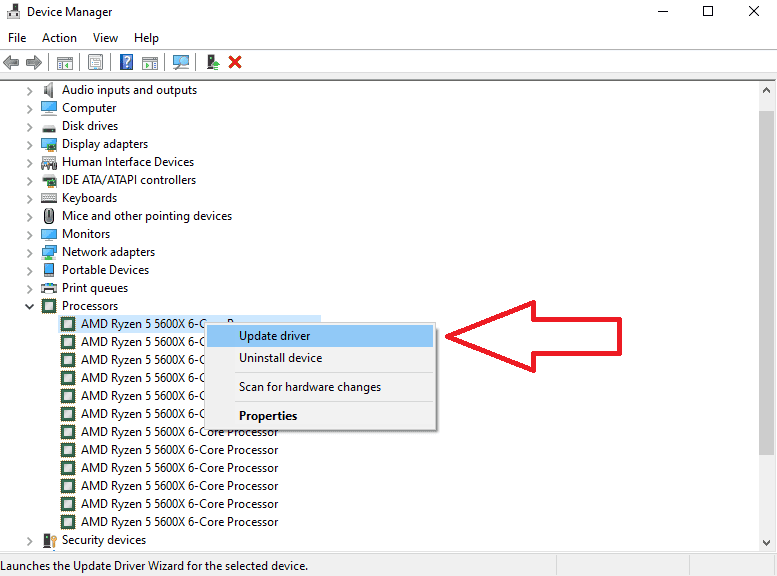
- Right-click on the processors and click on “Update driver.”
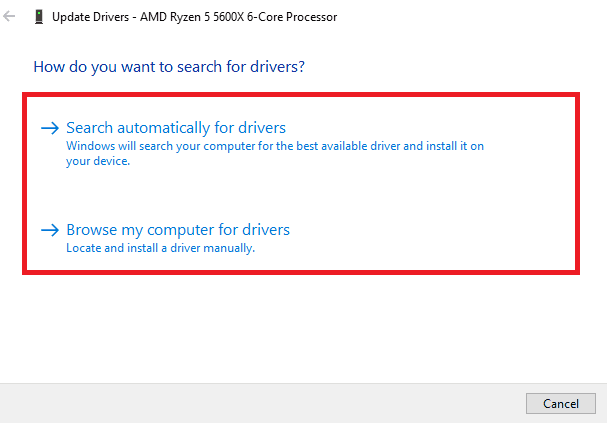
- This should open another window with two options: “Search automatically for drivers” and “Browse my computer for drivers.”
- Selecting the first option will start the search for the latest drivers. When they’re found, the system will automatically download and install them.
You can also manually update them by selecting the second option, but you'll have to complete a prerequisite. You'll have to go to the manufacturer's website, AMD support, and Intel support and search for your CPU's drivers against the operating system you're using. Once you've downloaded the right drivers, select the “Browse my computer for drivers” option, navigate to where the drivers are downloaded, and select them.
Method
Perform a Windows update
Updating your Windows version can also update the accompanying drivers, including CPU drivers. Here is how to do it.
- Press “Windows Key + i” to open the control panel
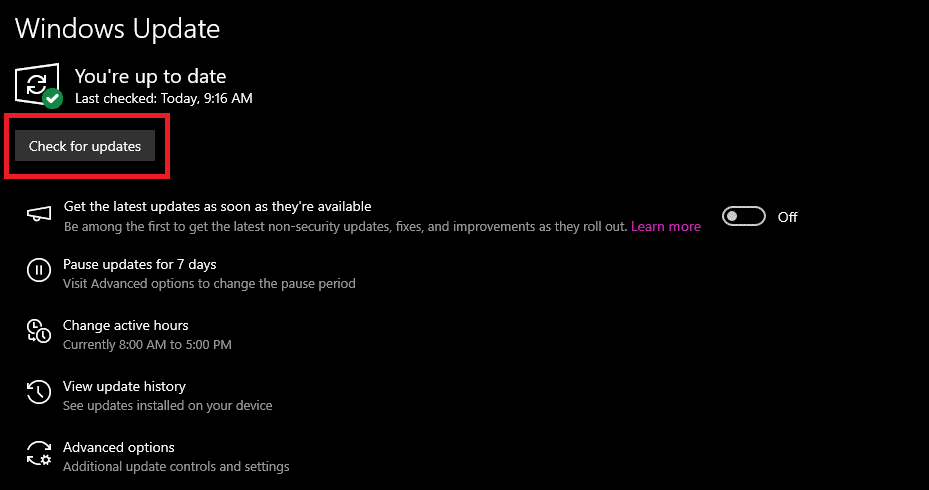
- Type “Check for update” in the search bar and select the first option, “Check for updates.”
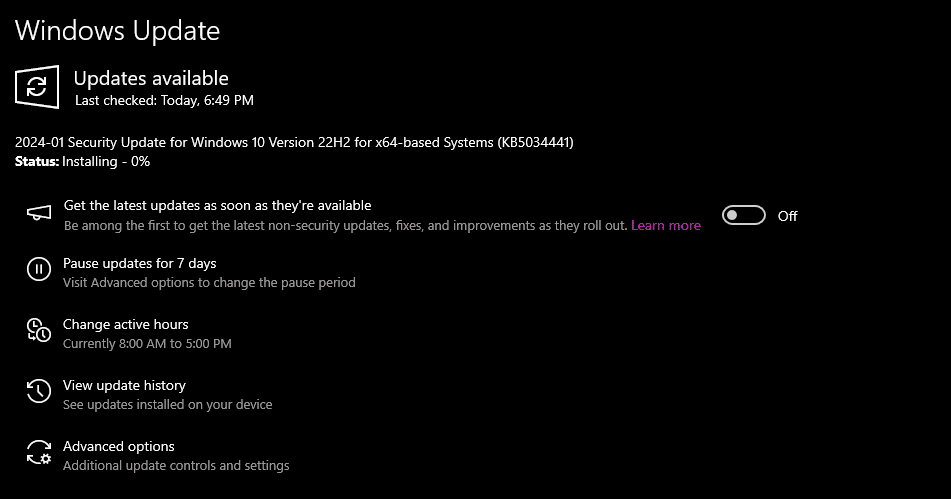
- This should open the Windows Update window, and from there, click on “Check for updates.”
- This will start the search for available updates and patches and start installing them if there are any.
- Once the process is completed, you might get a prompt asking you to restart your device now or at a later time to finalize the update.
Wrapping up
This was everything you needed to know about updating CPU drivers. Hopefully, you can update the drivers automatically or manually and get the best performance from your system. One thing to note is that getting the drivers from official sources like Nvidia, AMD, and Intel is always recommended to ensure you're getting the right and verified software.
That said, even after updating your CPU drivers, the performance isn't quite where you want it to be; there is a possibility that it’s thermal throttling due to old thermal paste or restricted airflow. To the end, we recommend you check out our top picks for the best thermal pastes, best CPU coolers, and the best airflow PC cases.
However, if these solutions don't work, it might be time to say goodbye to your current CPU and bring in the latest technology. If you're interested in that, we recommend you check out these options.
-
High-end CPU
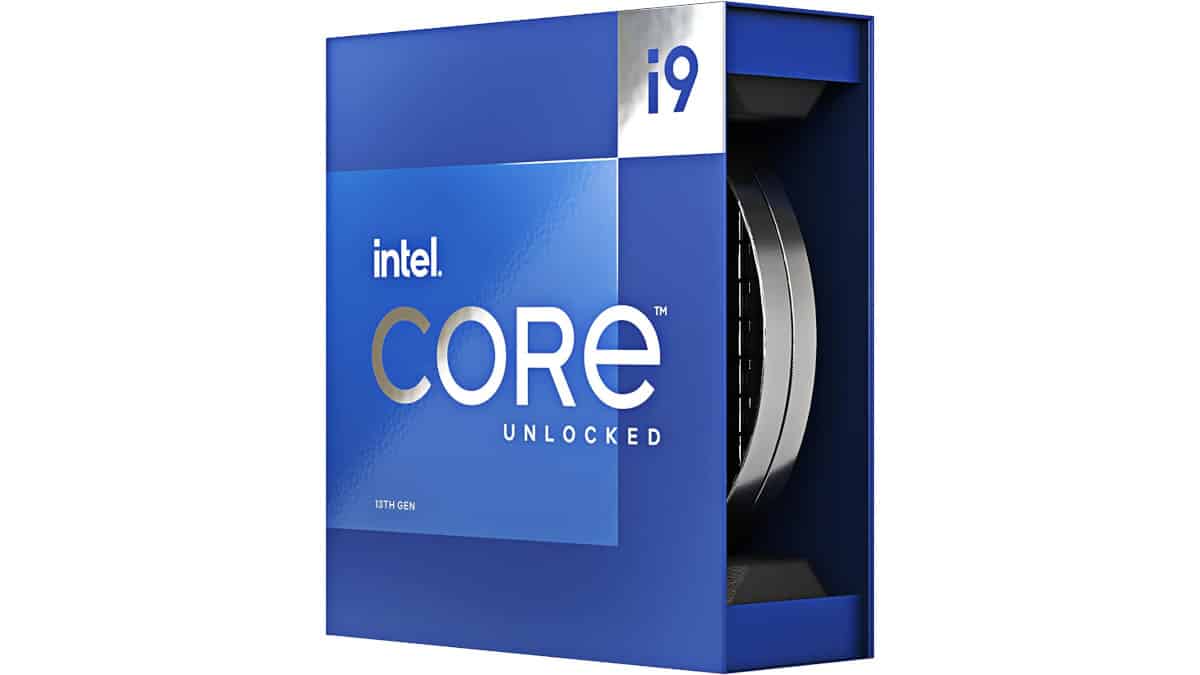
Intel Core i9-13900K
-
Mid-range CPU
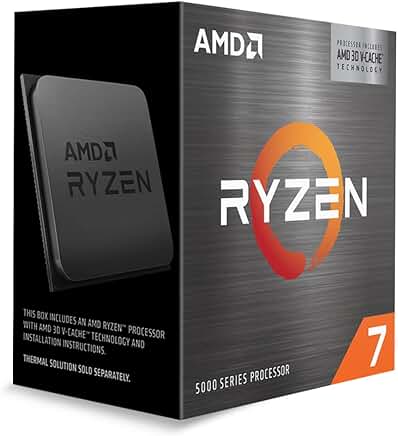
AMD Ryzen 7 5700X3D
- Cores: 8
- Threads: 16
- Boost Clock: 4.1 GHz
- Base Clock: 3.0 GHz
- L3 Cache: 96 MB
- TDP: 105
-
Budget CPU
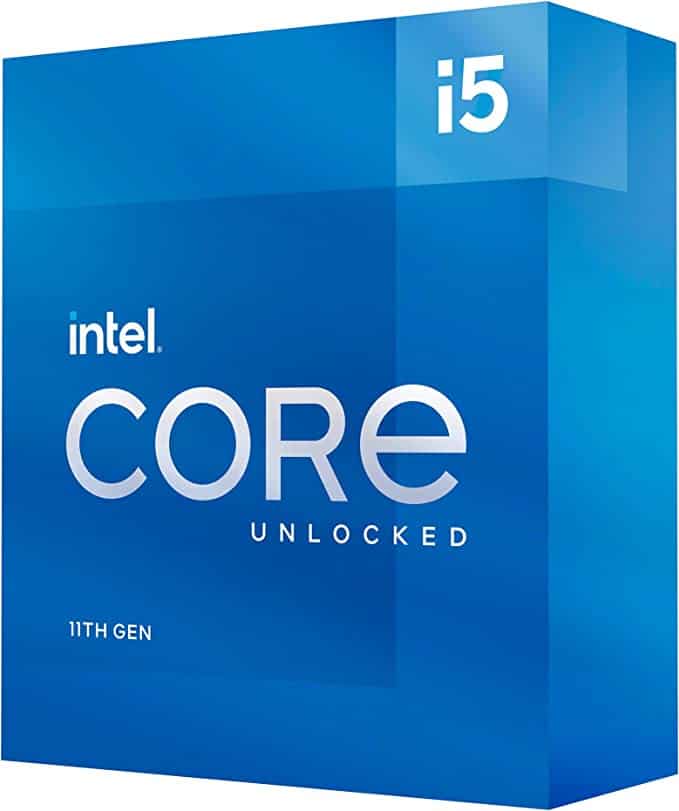
Intel Core i5-11600K
- Cores: 6
- Threads: 12
- Base Speed: 3.9 GHz
- Boost Speed: 4.9 GHz
- L3 Cache: 12 MB (shared)
- TDP: 125 W

