
How to install Retroarch on PS4


Table of Contents
This is part of our Jailbreaking the PS4 series, if you’ve not done so and have a PlayStation 4 on 9.00 or below, then have a look at how to do it and install the Homebrew Store.
Retroarch is a free project that aims to collate and make emulation as easy as possible on multiple platforms. It uses ‘cores’ rather than sending you to different emulators for specific systems, which on other systems, usually allows you to install what you want as you play. However, on PS4, it’s a little bit different.
Prime Day may have closed its doors, but that hasn't stopped great deals from landing on the web's biggest online retailer. Here are all the best last chance savings from this year's Prime event.
- Sapphire Pulse AMD Radeon™ RX 9070 XT Was $779 Now $719
- AMD Ryzen 7 7800X3D Processor Was $449 Now $341
- Skytech King 95 Ryzen 7 9800X3D gaming PC Was $2,899 Now $2,599
- LG 77-Inch Class OLED C5 TV Was $3,696 Now $2,996
- AOC Laptop Computer 16GB RAM 512GB SSD Was $360.99 Now $306.84
- Lexar 2TB NM1090 w/HeatSink SSD Was $281.97 Now $214.98
- Apple Watch Series 10 GPS+ Smartwatch Was $499.99 Now $379.99
- AMD Ryzen 9 5950X processor Was $3199.99 Now $279.99
- Garmin vívoactive 5 Smartwatch Was $299.99 Now $190
*Prices and savings subject to change. Click through to get the current prices.
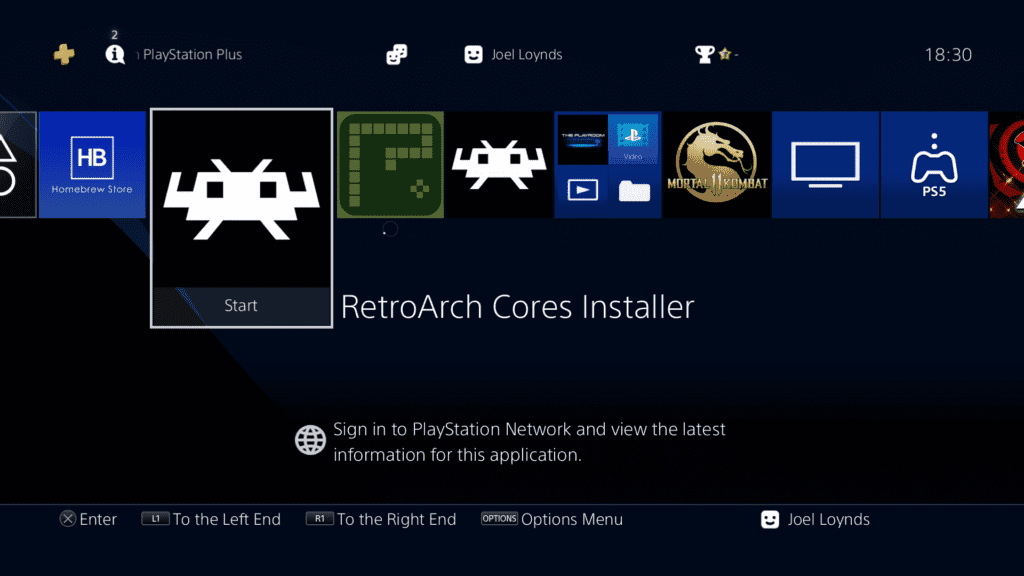
With our newly installed Homebrew Store, you want to head into it and on the side menu, there’s an option to search by category. First, grab Retroarch from the Emulator category. Then, once you’ve pressed Download and then Install, return back into the sidebar and grab the Retroarch Core Installer, which you’re going to need to even be able to use the program.

In any other instance, you’d be simply downloading the cores from within Retroarch as you see fit. Even the version of Retroarch that’s on PS4 actually has these buttons, but it has no way to phone home and even changing the resources link to the appropriate one didn’t work. So this is the only way.
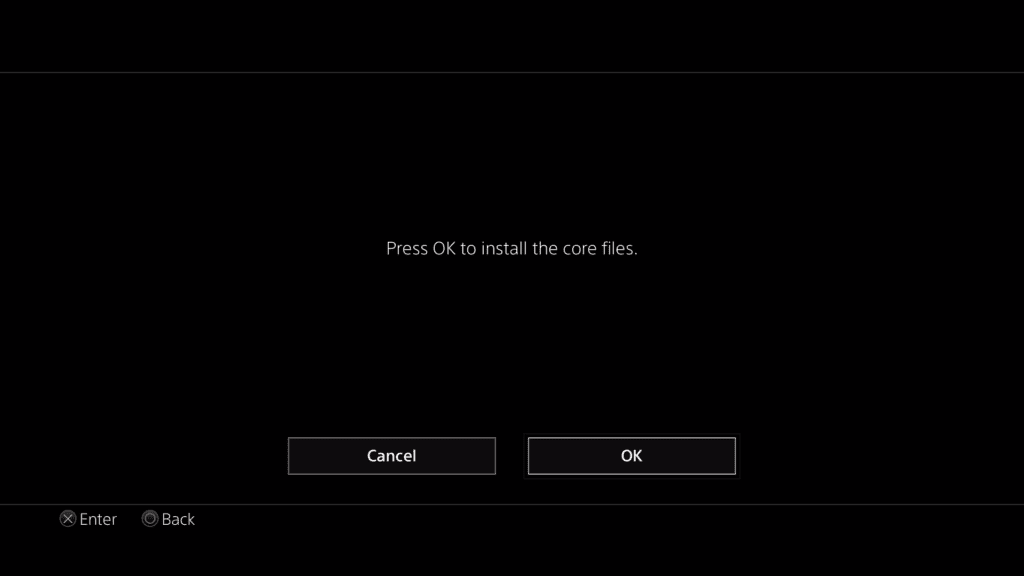
When you launch it, it’ll simply just install all 72 cores made available as of now, missing out on just a few newer console cores.
Change the PS4 Retroarch menu controls
From here you can close out and begin to load up Retroarch. I’d suggest upon using the app for the first time, you want to change the button layout. It’s using the Japanese method of confirm and cancel, with Circle being Cross and Cross being Circle.
You can do this in Settings > Input > Menu Controls > Menu Swap OK & Cancel Buttons.
Update PS4 Retroarch
Next in the Main Menu, choose Online Updater and just update everything. It’ll take a little while, but once you’re done you shouldn’t have to fiddle with any updates for the time being.
Missing cores are simply down to them not being ported just yet, so with a bit of patience, you’ll be able to use them all at some point in the near future. That or just wait for our Linux tutorial.
With everything updated, installed, let’s get some games going! Retroarch needs you to load the core then the game, so grab your favourite games from your *cough* very legal *cough* backup websites and put them onto an external drive to get going.
I’ve not had the best of luck with some cores on Retroarch, but after some tweaking, I did get great performance out of some of them. Next time we’ll look into the individual emulators available on the PS4 Homebrew Store and on the wider web for you to invest your time into!
About the Author