How To Change AirPods Name

Table of Contents
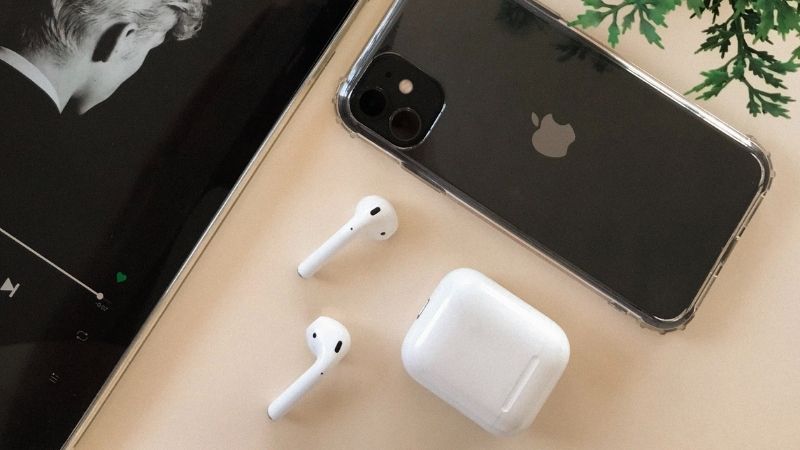
AirPods are wireless Bluetooth earbuds designed by Apple specifically for Apple devices including iPhones and iPads. The AirPods were introduced alongside the iPhone 7 when Apple decided to do away with the traditional headphone jacks we were all used to.
At first, this was a shock to everyone fearing how they could ever listen to music from their iPhone again, however luckily since then the AirPods have become very popular and a great way to listen to music and not get tangled up in all the wires.
AirPods can also be customized to your liking, including even their display name which can not only give it a personal flair but also make it easier to find on Bluetooth. Keep reading to find out how you can change your AirPods name on iOS devices.
IPhone And IPad
Luckily changing your AirPods name on mobile devices is quite straightforward and can be done after flicking through just a handful of menus:
Step
Bluetooth Menu
First start by scrolling to the ‘Settings' menu of your device and select ‘Bluetooth' from the menu that appears.
Step
Tap On The AirPods
In the list of recognised bluetooth devices, tap on the AirPods that you wish to change the name of and it will take you to another screen.
Step
Select New Name
From here there will be a box to enter your name of choice, once you have picked a suitable name simply click ‘Done' and your AirPods will be updated.
Mac
Along with mobile devices, AirPods names can also be changed on Mac which luckily can also be done very easily.
Step
Open Apple Menu
Start by clicking the Apple logo in the top right of your Mac to open the Apple menu.
Step
System Preferences
Next you will be presented with a drop down menu with a few options, click on ‘System Preferences' and you will be directed to a small menu.
There will be a tiny box near the left corner that will say ‘Show All' when you hover over it, click this.
Step
Select Bluetooth
Find the ‘Bluetooth' option in the middle row next to ‘Network' and you will be presented with a list of Bluetooth options that the Mac has connected to and recognised before.
If you have not yet connected your AirPods to a Mac, then you can easily do this here.
Step
Change Name
When you find the AirPods on this list, simply click on them and there will be a few options for you to edit.
Choose the ‘Rename' option and you will be able to freely type a new template for your AirPods which will update immediately.
Conclusion
It doesn't matter whether you change your AirPods name on a Mac or a different Apple device, it will apply all the same.
When you next look to connect to your AirPods in the Bluetooth menu they will pop up with the chosen name you gave it and is a great way not only to add some personalization to your devices but also to let other users know whose devices they are when they pop up on their Bluetooth menu.
Renaming your AirPods can seem like an afterthought but it actually has a lot of benefits and can be quite fun to do when you have multiple name ideas in your head, so it is always worth giving a go, especially for how quick and easy it is to do.

