
How to install a GPU in 6 easy steps

Reviewed By: Kevin Pocock
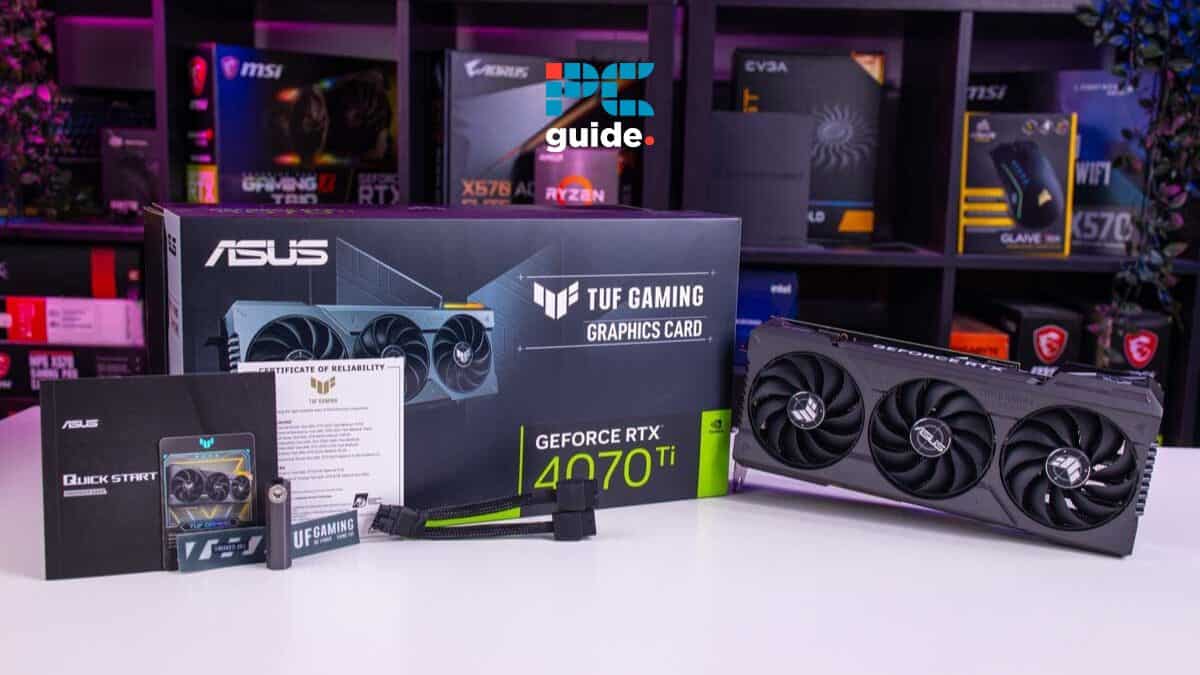
Table of Contents
If you were wondering how to install a GPU, we've got you covered with everything you need to know.
Installing a GPU might seem complex and unnerving at first, and that’s understandable because you're dealing with hundreds of dollars worth of equipment, and making all the connections can be confusing. However, it’s a simple process that anyone can do with the right tools and a bit of help.
Prime Day is finally here! Find all the biggest tech and PC deals below.
- Sapphire 11348-03-20G Pulse AMD Radeon™ RX 9070 XT Was $779 Now $739
- AMD Ryzen 7 7800X3D 8-Core, 16-Thread Desktop Processor Was $449 Now $341
- ASUS RTX™ 5060 OC Edition Graphics Card Was $379 Now $339
- LG 77-Inch Class OLED evo AI 4K C5 Series Smart TV Was $3,696 Now $2,796
- Intel® Core™ i7-14700K New Gaming Desktop Was $320.99 Now $274
- Lexar 2TB NM1090 w/HeatSink SSD PCIe Gen5x4 NVMe M.2 Was $281.97 Now $214.98
- Apple Watch Series 10 GPS + Cellular 42mm case Smartwatch Was $499.99 Now $379.99
- ASUS ROG Strix G16 (2025) 16" FHD, RTX 5060 gaming laptop Was $1,499.99 Now $1,274.99
- Apple iPad mini (A17 Pro): Apple Intelligence Was $499.99 Now $379.99
*Prices and savings subject to change. Click through to get the current prices.
To that end, we've put together this quick step-by-step guide to help you through the process of installing a GPU so you can start gaming or working right away. So, without wasting another second, let's get right into it.
What you'll need
Installing a GPU is easy, but you need the right tools. We've listed them below to save you time and effort.
Here's how you can install a GPU on your PC
Follow the steps below to mount a new GPU.
Step
Turn off the PC
Start by turning off your computer and the PSU switch and disconnecting the power cable from the wall socket. This is important because if your PSU is connected, your motherboard might be getting some power or holding a charge, which can short a component or damage the motherboard itself.
Step
Open the side panel
Using the four-head screwdriver, remove the screws from the back of the casing that holds the side in place. Some PC cases come with knurled screws which can be removed and tightened by hand, so if you have those, removing them should be even easier.
After that, the side panel should slide off, or you might have to unclip it to remove it, but this varies from casing to casing. A tempered glass side panel should come right off.
Step
Take out the GPU from the box
Open the GPU box and remove any plastic film on it.
Step
Mount the GPU on the PCIe slot
The first thing you need to do is check the dimensions of the GPU and see whether your case has enough space to house it adequately. If it’s cramped, that could lead to restricted airflow, resulting in overheating. If the casing doesn't have enough space, it would be worthwhile to invest in a bigger case, and we've got you covered there as well. Check out our best full tower case for the top picks.
Unclip the lock on the PCIe slot and align the GPU interface with the slot. Gently insert it until you hear a click, meaning the GPU has been locked into place.
Now, using screws, secure the rear frame of the GPU with the rear bracket of the casing.
Wear the antistatic wrap and connect the alligator clip to any metallic section of the PC case to ground yourself. Do this before the mounting process to avoid any static electricity build-up that can damage the GPU or other components.
Step
Connect the cables
Take out the placeholder from the back of the GPU and insert an HDMI cable or Display port cable, depending on your monitor.
Connect the power cable from the PSU to the GPU, which could have 8 or 16 pins. Hold the clip on the cable, insert it into the GPU port, and release the clip, which should secure it in place.
Step
Close the side panel
Attach the side panel on the PC case and tighten the screws.
Step
Turn on your PC
Plug the power cable into the wall socket, connect it to the PSU, turn on the switch, and power up the PC. If it boots fine, that means that the stability check for all components has passed, and you can now install the graphic drivers for your GPU.
Step
Install the GPU drivers
Depending on whether you have an Nvidia or AMD GPU, you’ll have to download the drivers separately. For Nvidia, you'll have to download the Geforce Experience, and for AMD, their Adrenalin software.
Download and install the respective software; it should automatically bring the graphic drivers up to date so you can start gaming immediately.
Wrapping up
This was everything you needed to know about how to install a GPU, and as you can see, it’s a fairly straightforward process. All you need are the right tools and directions; once you've done it, you can do it again and even help your friends. We've also covered different topics like this. If you're interested, check out some of the links below.
We also have reviews of GPUs tested in-house, and if you're interested in checking some upgrade options, we recommend the GPUs below.
-
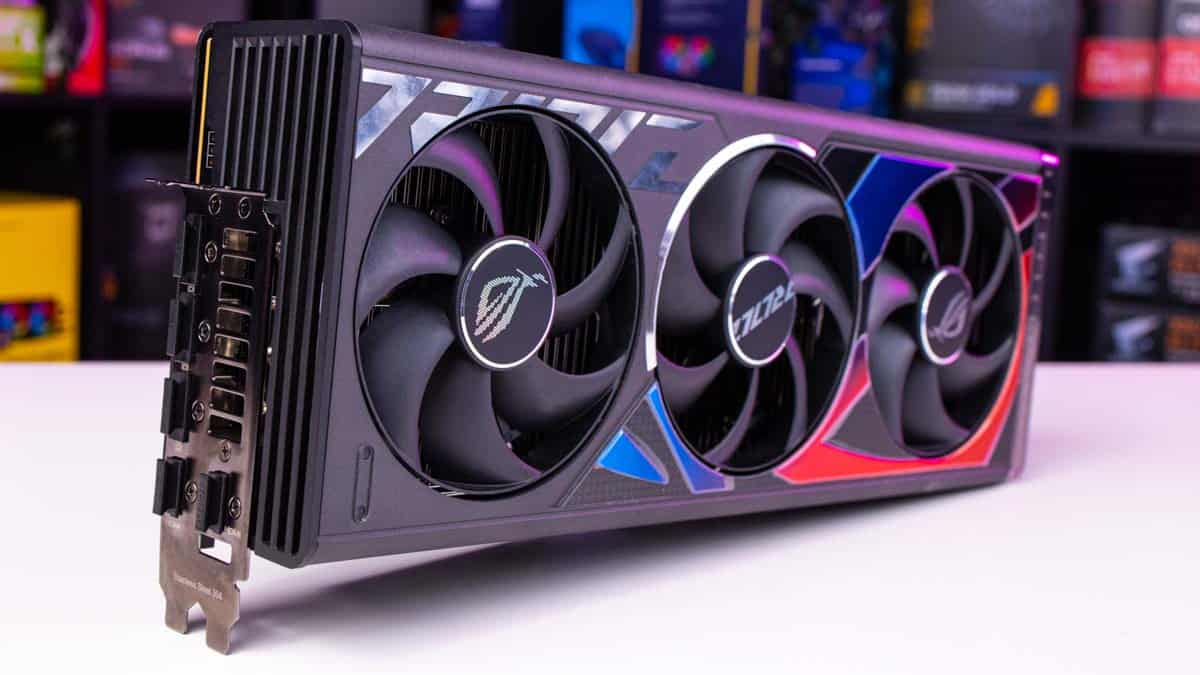
High-end GPU
ASUS ROG Strix RTX 4090 OC
- GPU: AD102
- CUDA cores: 16,384
- VRAM: 24GB GDDR6X
- Memory bus: 384-bit
- Bandwidth: 1,008 GB/sec
- Base clock: 2235 MHz

-
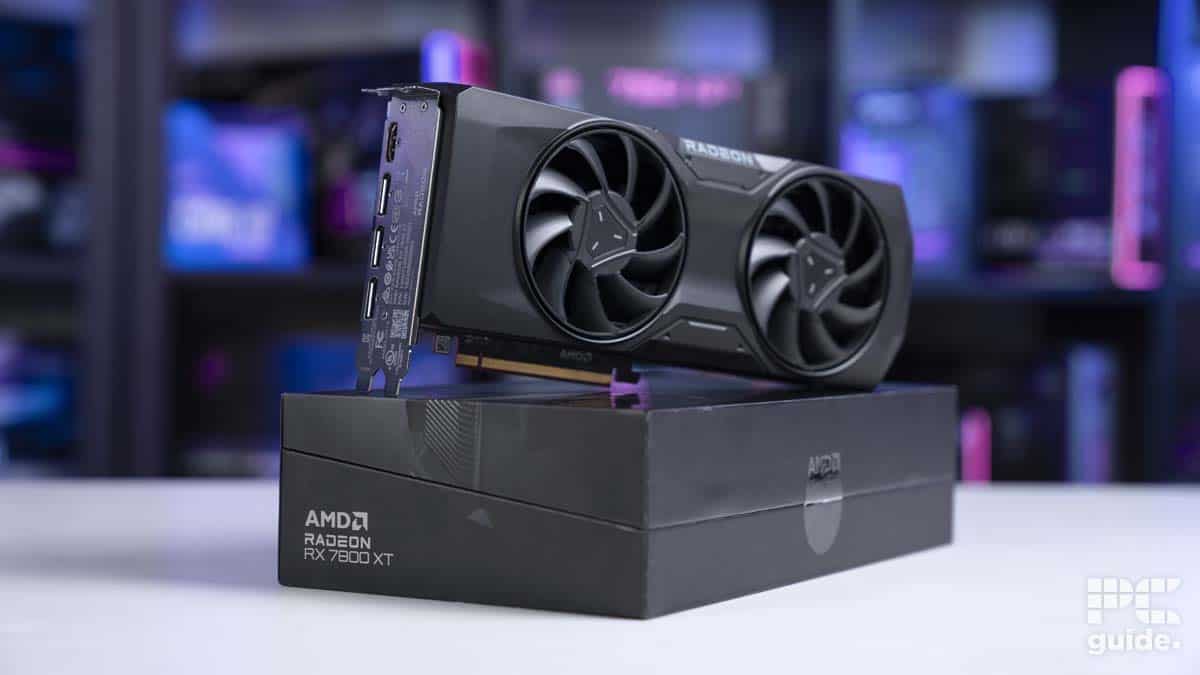
Mid-range GPU
AMD Radeon RX 7800 XT
- GPU: Navi 32
- Stream Processors: 3,840
- VRAM: 16 GDDR6
- Memory bus width: 256-bit
- Bandwidth: 624.1 GB/sec
- Base clock speed: 1,295 MHz
-
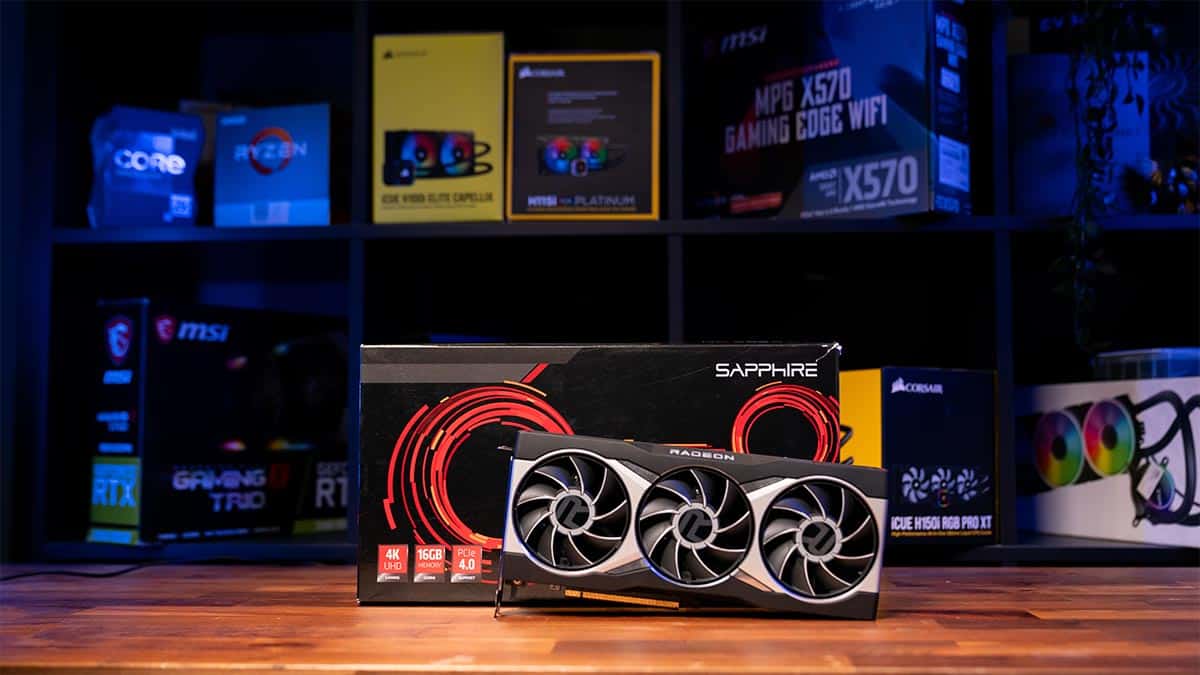
 Budget GPU
AMD Radeon RX 6800 XT

About the Author