How To Move Photos To An SD Card

Reviewed By: Kevin Pocock
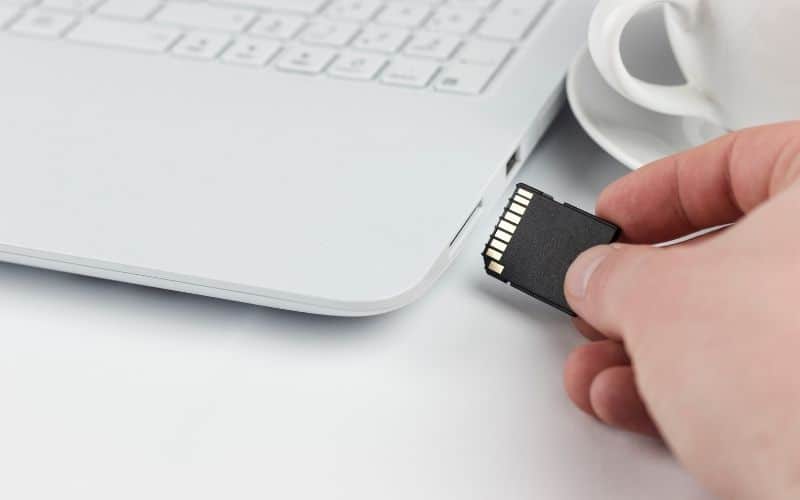
Table of Contents
Keeping your precious photos and memories safe and secure is a key priority for many of us, and moving them to an SD card is perfect for freeing up storage on your laptop or computer, without risking losing your images.
Wondering how to transfer photos from a camera to an SD card? How to copy pictures from phone memory to the computer? How to back up photos from iPhone to PC? We have the information that you need to proceed.
Why Back Up Your Photos?
You can lose everything in a moment – whether it’s through fire or theft, or simply by forgetting where you put something.
It doesn’t matter if you’re a professional photographer or just someone who likes taking photos with their smartphone; the best way to ensure that all of your work isn’t lost forever is to make regular backups of your files.
How To Move Pictures And Files To An SD Card From A Mac
The process of transferring photos from one device to another is very similar no matter what operating system you use.
If you are looking to transfer photos on a Mac, you should use the following steps:
Step
Insert SD Card
Insert the SD card into the computer’s slot
Step
Finder Window
Open the Finder window
The SD card will appear in a sidebar on the left side, usually under “Locations”
Step
Drag Files
Drag the files that you wish to transfer into the SD card
Step
Remove SD Card
Once all of the necessary files have been transferred over, you can eject your SD card to remove it
How To Move Pictures And Files To An SD Card From A PC
When transferring files from a PC to an SD card, you need to follow these easy steps:
Step
Connect SD Card
Connect the SD card to the USB port, or place the SD card in the reader
Step
Open SD Card
Double-click the icon for the SD card on the desktop, or open File Explorer to see the SD card listed in the sidebar
Step
Locate Files Or Photos To Move
Locate the files or photos that you wish to move across, and drag and drop them into the SD card
Step
Remove SD Card
When all the files have been transferred, click the SD card and Eject it. Once the name has vanished from the screen, you can remove the SD card.
How To Move Pictures To An SD Card From An Android
If you want to transfer photos from your Android device to an SD card, you will first need to purchase a smaller microSD card or an adaptor. Once this is in hand, follow these steps:
Step
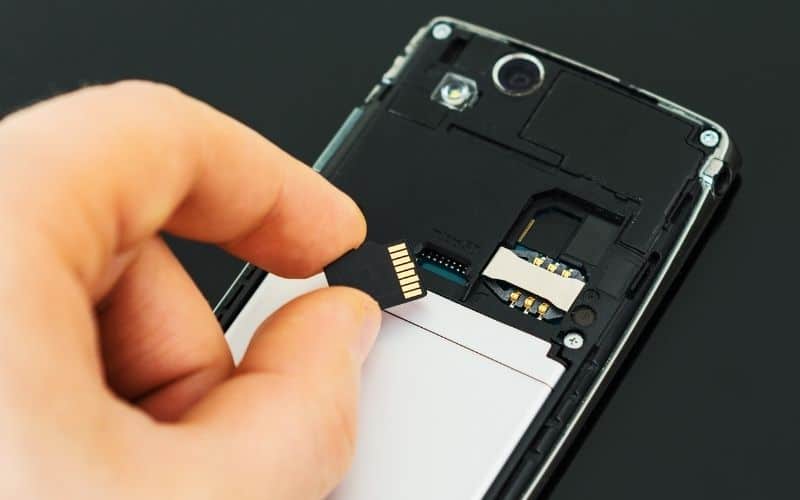
Insert MicroSD Card
Turn off the phone and insert the microSD card

Step
Turn On Your Phone
Turn the phone back on and head to Files
Step
Select Images
Select Images, and then Categories

Step
Press And Fold Photos
Press and hold the photo or photos that you wish to transfer
Step
Bring Up Options Menu
Tap the three dots in the top right corner – this will bring up an Options menu.
Step
Select Move To
Select Move to, and the SD card will appear. Tap this, and click Continue.
Step
Allow Access To SD Card Files
You may be prompted to grant access to the files by the SD – you can select Allow if this message comes up.
Step
Remove SD Card
Once all the photos have been transferred, turn the phone off, and remove the SD card.
Final Thoughts
Transferring photos from your device to your SD card is important for keeping your photos and videos safe and secure, and our short, simple steps will help you achieve this in no time, no matter which device you are using, allowing you to keep your files backed up and accessible whenever you need them.
About the Author