
How to wrap text in Excel – 2 easy ways

Reviewed By: Kevin Pocock

Table of Contents
If you want to know how to wrap text in Excel, we’ve got you covered right here.
Keeping spreadsheets, tables, and charts in Microsoft Excel organized and professional can be a challenge. However, there are a few features that can help you keep everything neat, such as Wrap Text. This option will split extra-long text into multiple lines so that you can see all of it clearly without having to change the text or cell size.
Prime Day is finally here! Find all the biggest tech and PC deals below.
- Sapphire 11348-03-20G Pulse AMD Radeon™ RX 9070 XT Was $779 Now $739
- AMD Ryzen 7 7800X3D 8-Core, 16-Thread Desktop Processor Was $449 Now $341
- ASUS RTX™ 5060 OC Edition Graphics Card Was $379 Now $339
- LG 77-Inch Class OLED evo AI 4K C5 Series Smart TV Was $3,696 Now $2,796
- Intel® Core™ i7-14700K New Gaming Desktop Was $320.99 Now $274
- Lexar 2TB NM1090 w/HeatSink SSD PCIe Gen5x4 NVMe M.2 Was $281.97 Now $214.98
- Apple Watch Series 10 GPS + Cellular 42mm case Smartwatch Was $499.99 Now $379.99
- ASUS ROG Strix G16 (2025) 16" FHD, RTX 5060 gaming laptop Was $1,499.99 Now $1,274.99
- Apple iPad mini (A17 Pro): Apple Intelligence Was $499.99 Now $379.99
*Prices and savings subject to change. Click through to get the current prices.
So, without wasting another second, let’s check out how to wrap text in Excel.
How to wrap text in Excel through a button
The best way to wrap text in Excel is by using a dedicated button.
Step
Select the cell
The first thing you need to do is select the cell which has the text that needs to be wrapped.
Step
Click on Wrap Text
Then, go to the Home tab, and click on Wrap Text, which can be found in the Alignment box.
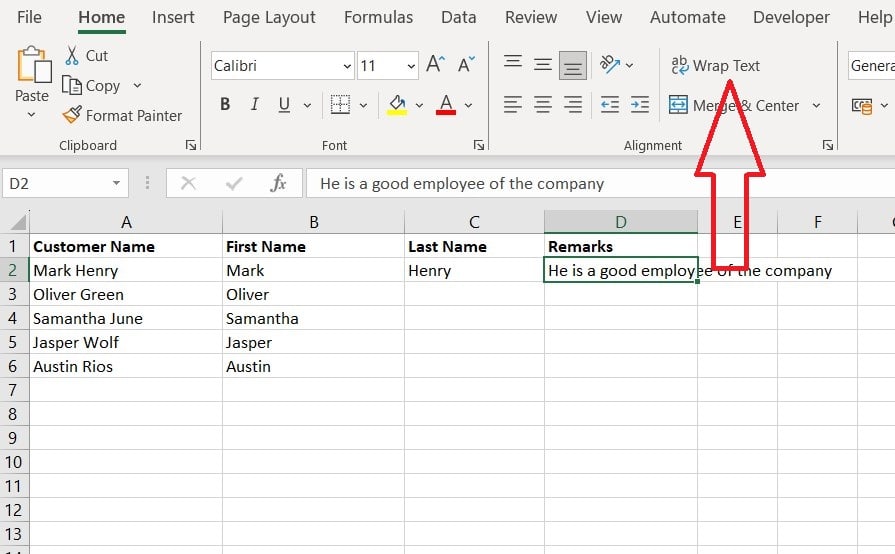
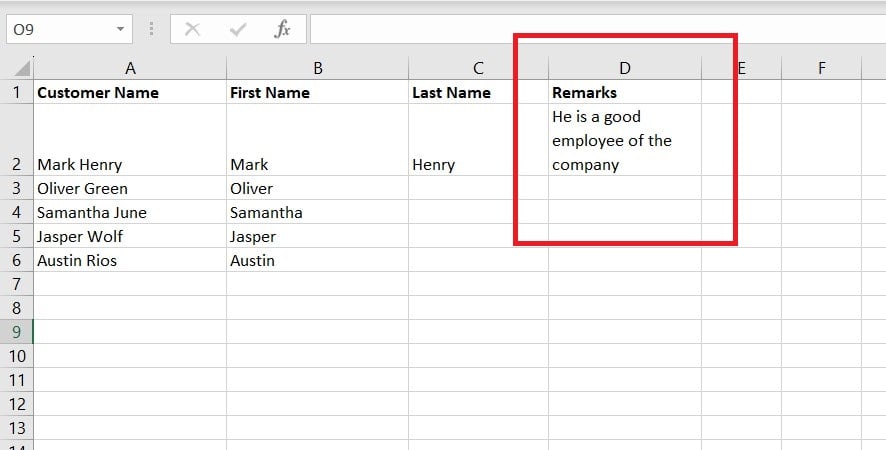
This will wrap the text.
How to wrap text in Excel through Format options
Alternatively, if the Wrap Text button is not working for some reason, you can try doing it through the Format options.
Step
Press Ctrl + 1
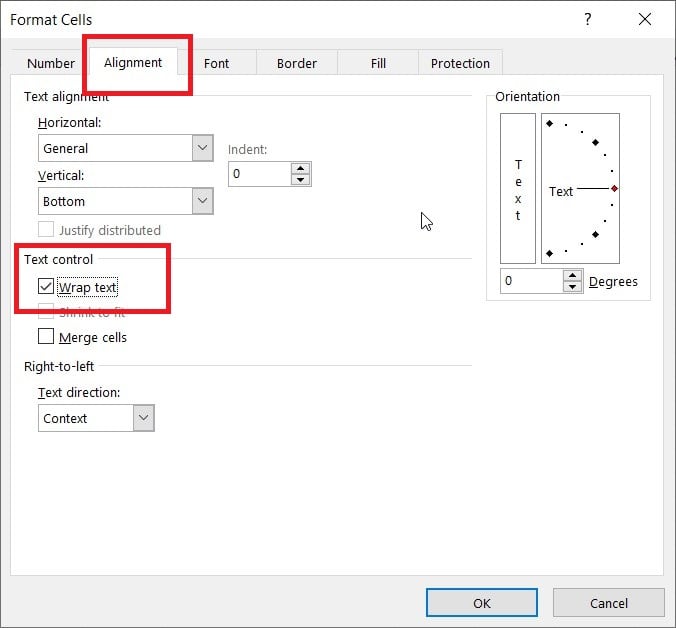
After selecting the cell with the text, press CTRL + 1 on your keyboard.
Step
Check the Wrap Text box
Next, go to the Alignment tab, check the box next to Wrap Text, and click OK.
Final thoughts
Above are a few options to help you wrap text in Excel, which can be used to make the sheet look organized and professional. Both methods work flawlessly, but we’d recommend using the Warp Text button, as the second method requires you to go through a few extra steps.
If you want to learn more about Excel and its features, give these helpful guides a read:
About the Author