Fix: bootrec /fixboot Access Is Denied
Table of Contents
Sometimes when we try to boot up our computers, we end up seeing a notification that there has been an error. Fixable, but what can you do when there's an error when you are trying to fix another error? Like “bootrec /fixboot access is denied.”
This is a common problem seen when trying to fix an error on Windows 10 computers. As many people who have tried to fix an issue with the popular command “bootrec /fixboot” are faced with the following information:
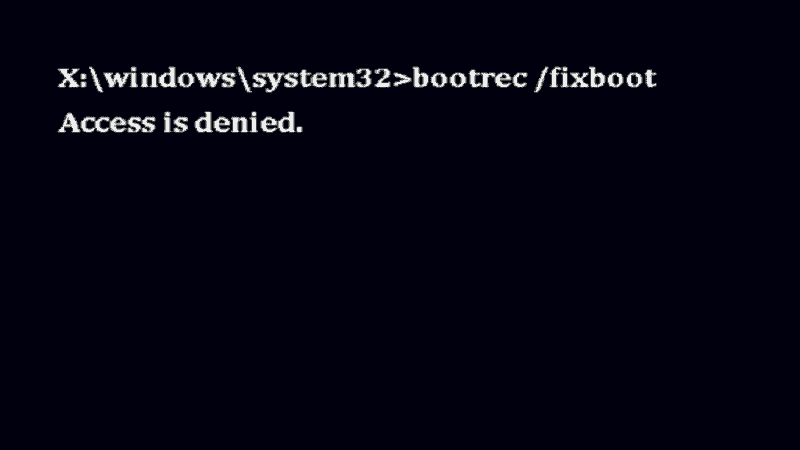
This screen error can be annoying and scary but don't worry – we are going to show you how you can fix this error and get around it. Check out our methods below and hopefully, you will find the solution to your problem.
The GPT Drive Method
This method only works on those computers with a GPT drive and Windows installation media.
Step
Download Windows Media Creation Tool
To get this media, download Windows Media Creation Tool and find a USB drive that you can use to carry over the installation media.
Step
Run The Creation Tool
Run the Creation Tool and make another installation media for another PC. Save all of this over onto your USB drive, bring it over to the computer that is suffering from the bootrec/fixboot access denied error, and you are ready to start this fix.
Step
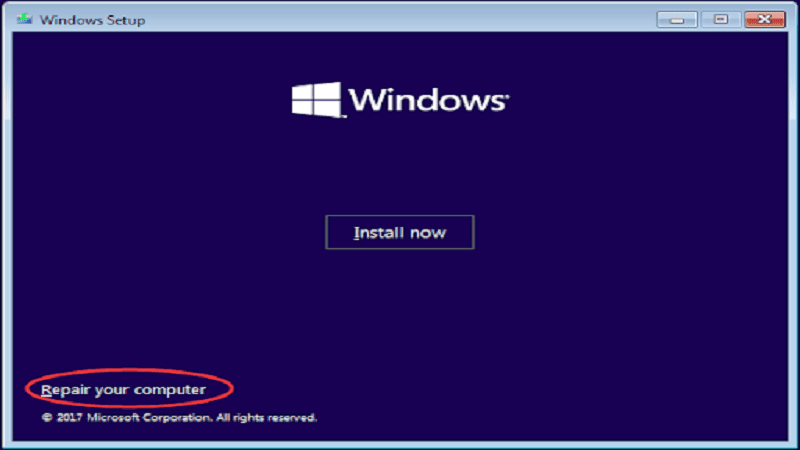
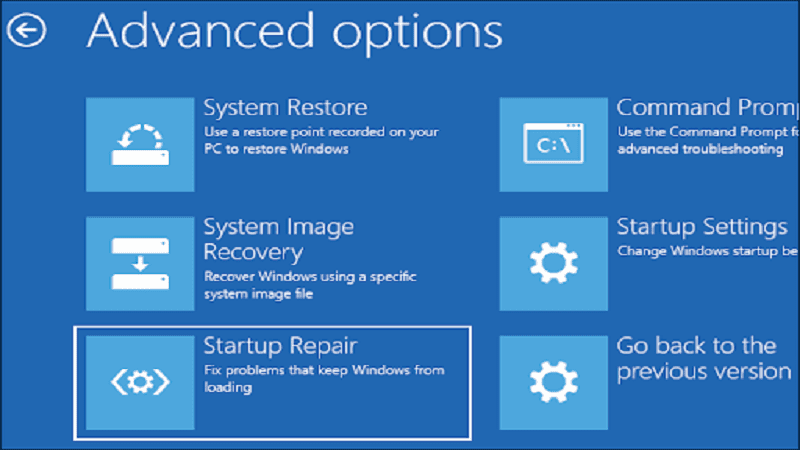
Click “Repair Your Computer”
When you boot up your PC and you are faced with the Windows installation page, you will need to click the ‘Repair Your Computer' option down in the bottom corner.
Step
Click On “Troubleshoot”
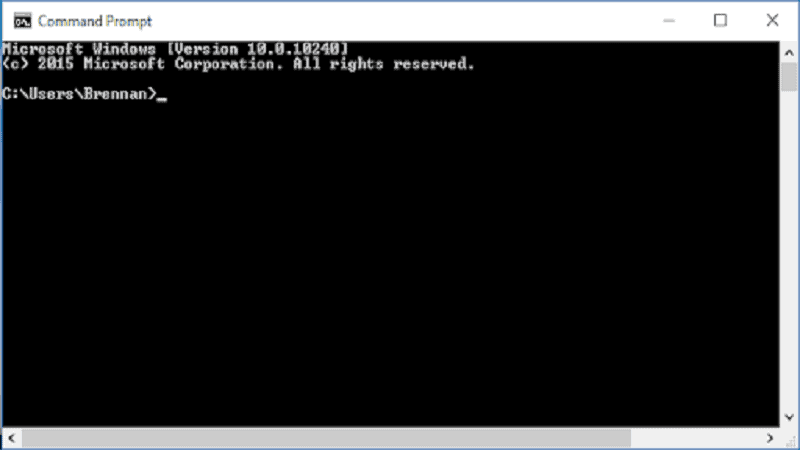
Then, you will need to click on Troubleshoot, and then on Advanced Options. This will then take you to the Command Prompt page.
On this page, you will then need to type a few things. First, you will need to type in diskpart and then press enter.
Step
Type “List Disk” And Press Enter
Then, type list disk and press enter. A list will come up and one will either be labeled doot disk and a number, or bust be Disk 0. If there is a different number, then write it down because you will need it in the future.
Then, select Disk 0 and press enter.
Step
Type in “List Volume” And Press Enter Again
Type in list volume and press enter again. The volume number of the EFI partition will come up and you should write this down as you will need it for the next few steps.
Step
Type In “Select Volume”
Type in select volume along with the volume number of your EFI partition. Press enter.
Then, type in assign letter, and a letter that is not being used by any of your partitions. Press enter again, type exit, and enter again so you can leave diskpart.
Step
Type In The Letter You Assigned To Your Drive
Now, type in the letter you assigned to your drive and press enter. Type in format (the letter you assigned to your drive): /FS:FAT32 and then hit enter.
Step
Type In “bcdboot C:\windows”
Type in bcdboot C:\windows /s (letter you assigned to your drive): /f UEFI and hit enter once more.
Step
Repeat The “bootrec/fixboot” Command
Now, try repeating the bootrec /fixboot command and you should now no longer have the access denied notification.
However, in some cases, you may have the bootrec access approved but not the fixboot. If this is the case, then you will need to try the startup repair on a MBR Disk instead.
The MBR Disk Method
Sometimes, running this method and the previous one is needed for you to gain complete access when running the bootrec /fixboot command.
This is often the case if there is no EFI partition on the boot disk, so let's take a look at this method which can help you out if this is the case.
Step
Download The MiniTool Partition Wizard Bootable
First up, you will need to download the MiniTool Partition Wizard Bootable – a built in tool that will help you out a lot. Download it and carry it over onto your computer using a USB if needed.
Step
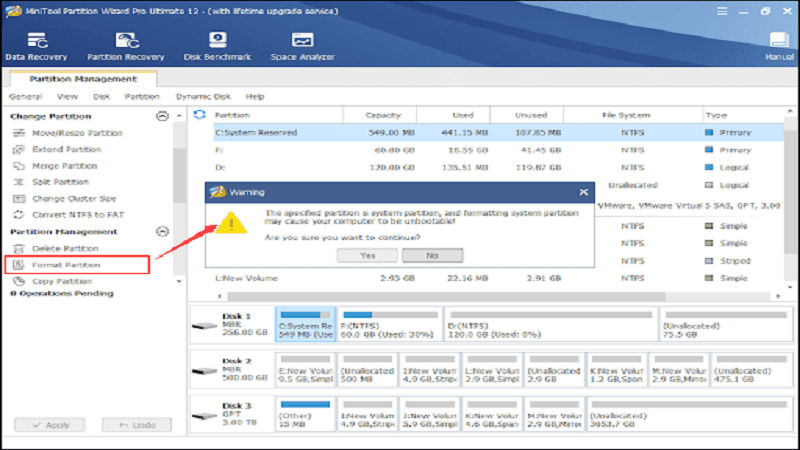
Boot Up The MiniTool And Click On “Format Partition”
When on your computer, boot up the MiniTool and click on Format Partition.
This option will be on the side panel menu under Partition Management. Once you have clicked on this, you will see a warning message – just click yes and move on.
Step
Activate The Automatic Startup Repair Function
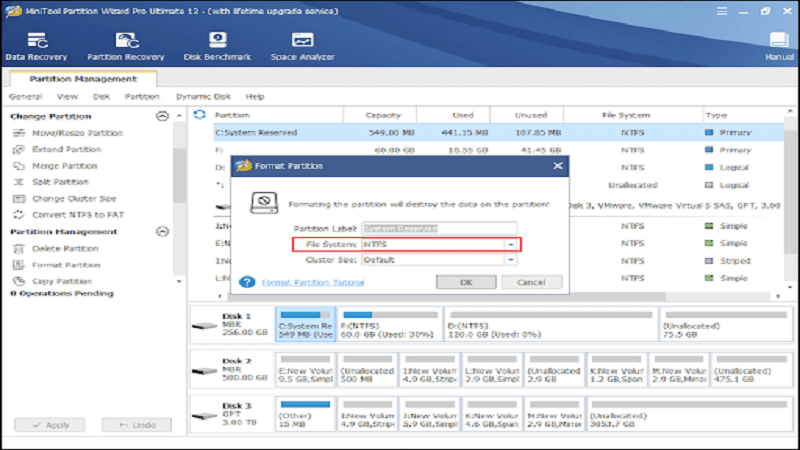
In the next pop-up window, you will need to select File System: NFTS and then click okay. An apply button may appear on the toolbar as well. If so, click on that too. This will activate the automatic Startup repair function.
Step
Click On The “Repair Your Computer” Option
Now, start up your computer using the Windows installation media again and click on the Repair Your Computer option. Just like before, go to Troubleshoot and then Advanced Options and select Startup Repair.
Step
Wait For Windows To Load
This will instantly start repairing your computer and brings a reboot.
For this part, you will have to be patient and wait until your Windows loads on its own. Once finished, you should be able to return to the bootrec /fixboot command and have it work this time.
Conclusion
And that's it. With ‘bootrec /fixboot access is denied’ resolved you should be able to finish your repair without any blocks in your way.
If for some reason you are still experiencing this problem, then all you can do now is save all of your files and then completely reinstall Windows 10 on your computer.
This is super annoying but when all else fails, it's all you can do to get your computer functioning properly. Just remember to back up your files first before you start.
Good luck!

