What is a Bootloader & how do you unlock it on Android? Find out here
Table of Contents
People often think that unlocking handsets to install custom Android ROMs and perform modding, in general, is for the dark side of the web, but it's encouraged. Android is an open-source platform, which means its code is available online for everyone to see with the stock Android ROM available for download. Google and Android even have their own Android emulator for enthusiasts and developers alike for testing in a safe environment.
What is a Bootloader?
A Bootloader, or ‘Bootstrap Loader' if you've been around for a while, is key to booting up any kind of operating system from handsets to PCs. A systems firmware will look for a bootloader in a handsets memory which then handles loading up an operating system, such as Android.
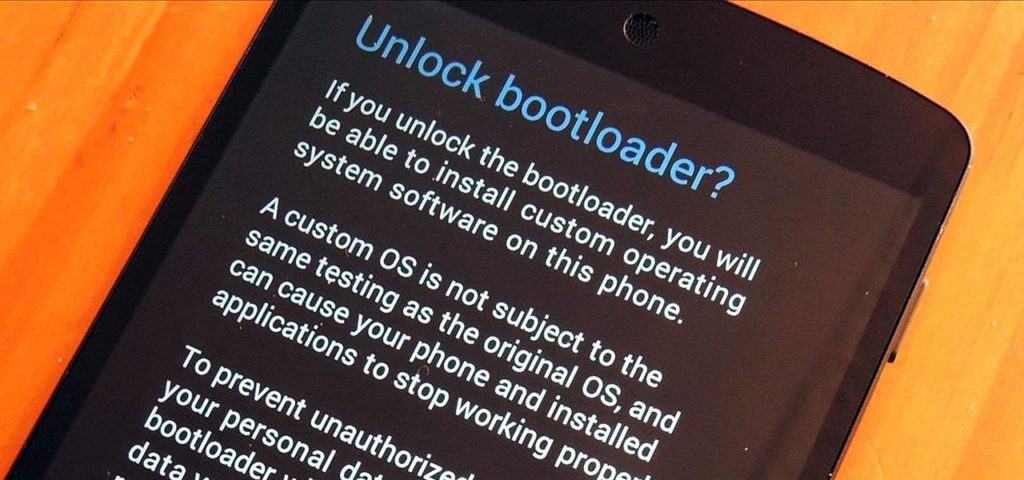
Stored in a partitioned portion of your phone's storage, a bootloader is responsible for all things to do with your operating system, and it's locked down as standard. You'll need to unlock your bootloader to install and custom Android ROMS such as the ones mentioned here.
Can you unlock a Bootloader on Android?
Sometimes, OEMs and network providers don't allow for bootloaders to be unlockable as standard, which means you'll have to hunt down security exploit to unlock your bootloader. The safest way to do this is by checking out the XDA Developers forums for your specific handset and getting instructions from there. It's also a good spot to find out if your phone can be unlocked officially or not ahead of time.
So let's get into it. Here are some detailed instructions on unlocking your bootloader, should your device allow for the official method:
Back up your device
Unlocking a bootloader involved erasing your handset, so it's a good idea to back up your files, settings, messages, and more via their respective backup process in the apps menu. In all honesty, if you think you may want to flash/root/unlock your handset at any point, it's good practice to unlock your bootloader from new to avoid the backing up process in the future.
Install Android SDK and phone drivers
You'll need to install the Android Development Bridge program on your PC or Mac, details on how to download and install this are here. You'll also need your handsets USB drivers installed on your PC, which should be available for download from the manufacturers' website. If you're running Windows 10 or 11, these drivers may be installed automatically, however, these may be default USB drivers and may not fully support your device.
Enable USB Debugging
Grab your handset and go to Settings > About Phone and find the ‘Build Number' field. Once found, tap the build number seven times to prompt the developer pop up, which should unlock the ‘Developer Options' menu in the settings app. Tap into the developer options menu and enable ‘OEM Unlocking' if it shows, don't worry if it doesn't. Finally, enable ‘USB Debugging, this will allow your handset to be controlled by the Android Development Bridge once you plug it into a PC or Mac via USB.
Get an Unlock Key
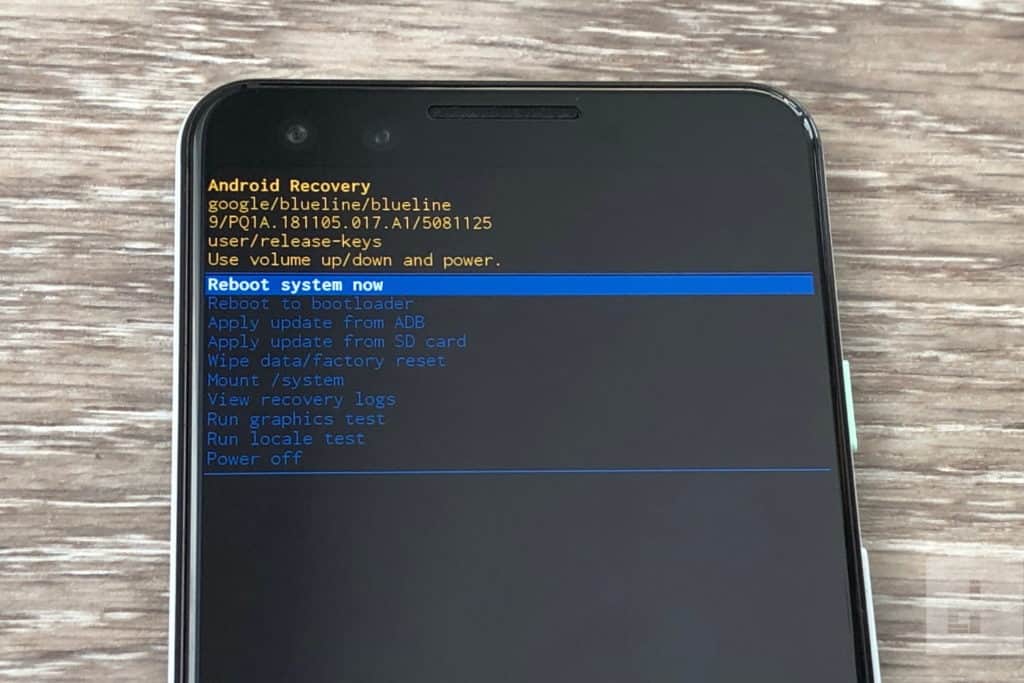
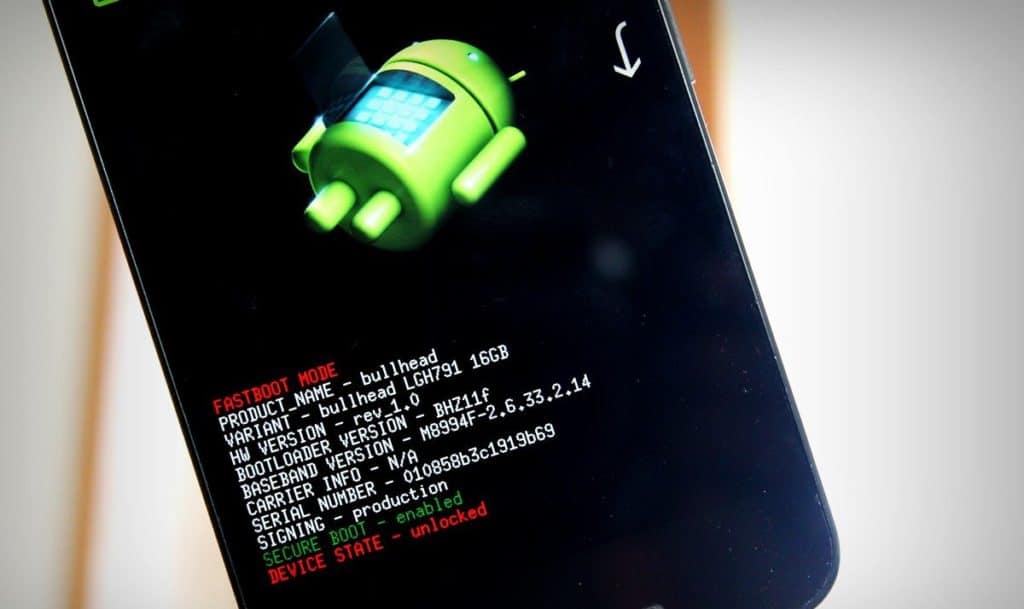
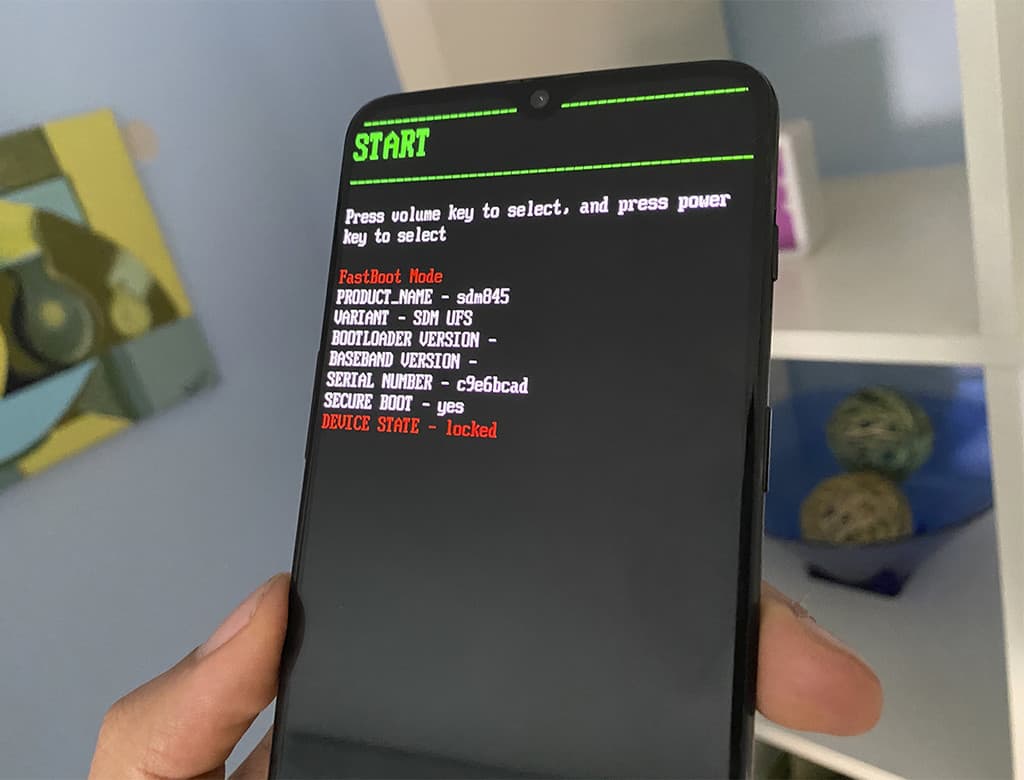
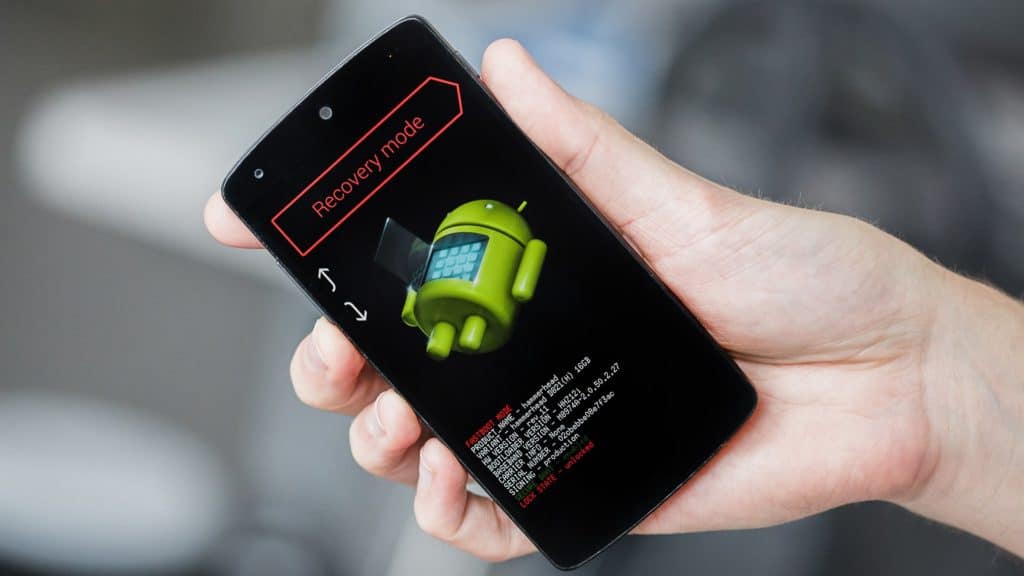
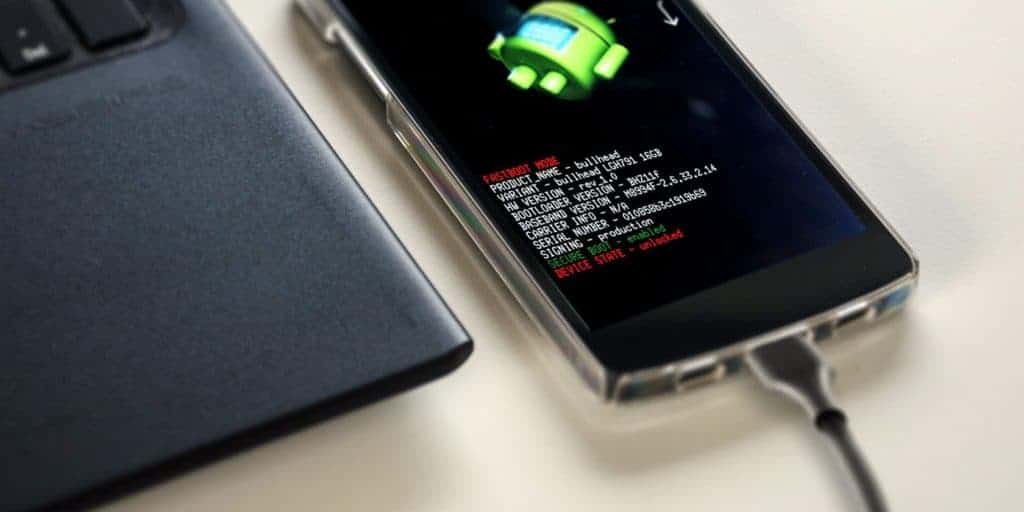
This next step isn't applicable for all handsets, but we've included it anyway so users can check for themselves anyway. Do a quick Google search for your handset manufacturer's bootloader unlocking page. Once located, choose your device if prompted and log in/sign up for a new account. Now boot your phone into fast boot mode (usually power and volume down).
Once you have the fast boot menu up, plug in via USB and wait for the handset to confirm a connection. On your PC or Mac, locate your Android SDK and Shift + Rick-Click and choose ‘Open command prompt here'. This is how you will retrieve your unlock key, of which instructions will be provided by your handset manufacturer. It normally involves typing in a command to generate a token for you to put into the website. Copy and paste this token into the website and submit it, you should then receive an email confirming your unlock key.
Unlock Bootloader
For this next step, you'll need the handset in fast boot mode and your Android Development Bridge / SDK command prompt open as in the previous step. Your phone manufacturer should provide you with the necessary single command line to start the unlocking process, but make sure the headset is plugged in via USB first.
If you've received a .bin file or similar from the handsets manufacturer, copy and paste this into the Android SDK folder for the command prompt to find. If your handset asks for confirmation to unlock the handset, just use the volume keys to continue and confirm the unlock.
After this process has been done, either reboot from your handset or use the ‘fast boot reboot' command from your PC or Mac. After seeing a message confirming the bootloader has been unlocked, Android should load up as normal. If you're following up on these steps with installing a custom Android ROM, make sure to boot into Android first before doing so.
Thanks for choosing PC Guide to help you unlock your handsets bootloader. For all things Android, make sure to check out our News and Android hubs.

