How to install a PS4 update from USB

Table of Contents
Updating your PlayStation 4 (PS4) to the latest software version is crucial for ensuring optimal performance and access to the latest features. While the PS4 can automatically download and install updates, this may not always be the case. In such scenarios, knowing how to install a PS4 update from a USB drive is a simple and effective way to keep your PS4 up to date.
In this article, we’ll guide you through the step-by-step process of how to install an update for your PS4 from a USB drive. Whether you’re experiencing technical difficulties, have a slow internet connection, or simply prefer manual updates, this guide will equip you with the knowledge and skills needed to install updates via USB.
To install a PS4 update from a USB drive, follow these steps:
Step
Prepare the USB drive
Format a USB drive to FAT32 or exFAT format. Create a folder named “PS4” on the root directory of the USB drive. Inside the “PS4” folder, create another folder named “UPDATE”.
Step
Download the PS4 update
Go to the PlayStation website and download the latest update for your PS4 system. Save the update file to the “UPDATE” folder on your USB drive.
Step
Connect the USB drive to your PS4
Turn off your PS4. Insert the USB drive into one of the PS4’s USB ports.
Step
Boot your PS4 in Safe Mode
Press and hold the power button on your PS4 until you hear two beeps, one immediately and another after 7 seconds. Connect your DualShock 4 controller to the PS4 using a USB cable.
Step
Install the PS4 update
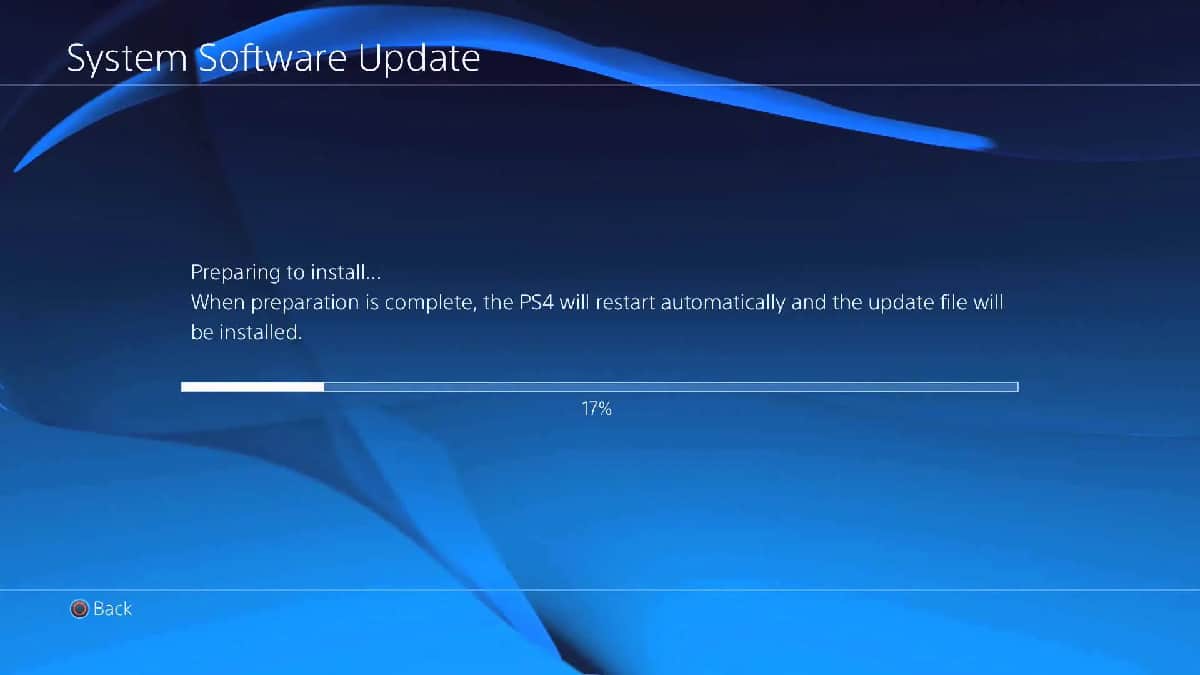
In Safe Mode, select “Update System Software”. Follow the on-screen instructions to install the update from the USB drive.
And there you have it. If all has gone well, you should have successfully managed to install a PS4 update from USB.
Why won’t my PS4 install the update from USB?
Ensure you’ve followed the steps above closely, as there are some key things to ensure you can install your PS4 update from USB. First, ensure that the USB drive is formatted to the correct formats (FAT32 or exFAT) in step one of this how to. Also ensure that you have correctly named the folders as detailed.
Finally, ensure you have inserted the USB drive while your PS4 is turned off, and that you boot your console using safe mode.
PS4 update from USB – Final thoughts
Updating your PS4 to the latest version is essential for ensuring optimal performance and access to the latest features. Installing updates via a USB drive is a simple and effective way to update your console manually. With the step-by-step process outlined in this article, you can easily install updates from a USB drive and keep your PS4 up to date.