

Last Updated on
Being able to freeze rows on a spreadsheet is a great tool for organizing data and making it easier to work with.
It can be difficult when you’re faced with rows and rows of data, and you’re flicking back and forth to find the information you need.
But if you have a sheet that’s organized in a way where you can easily reference the data, then freezing your rows will make it easy to navigate through your sheets while still keeping all the relevant information right at your fingertips.
This article will show you how to freeze the first row of your Google sheet, or any other row that you want to be frozen.
Freezing Rows In Google Sheets
Freezing a column is the ability to keep selected columns or rows in a pinned state whilst still being able to scroll down and see more data.
The ability to freeze columns and rows comes in handy for many situations. For example, if you are working with a large amount of data, you may want to keep certain columns or rows frozen so that you don’t have to scroll past them every time you add new data.
Or maybe you just want to keep some columns or rows frozen because they contain important details about your data.
To freeze rows, conduct the following steps:
Step
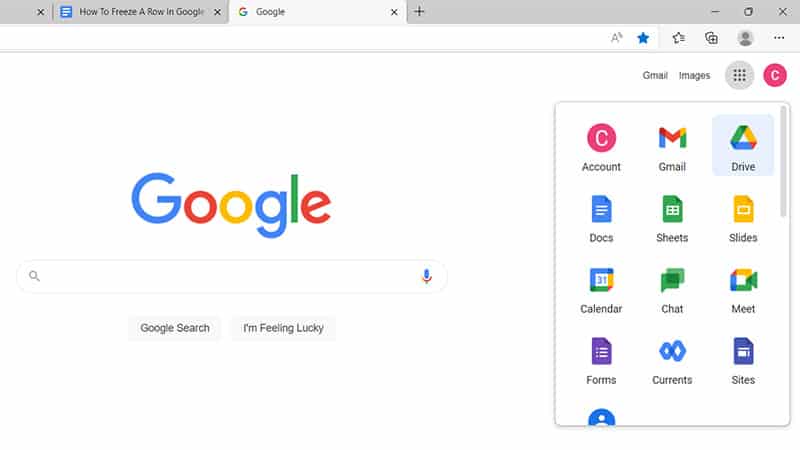
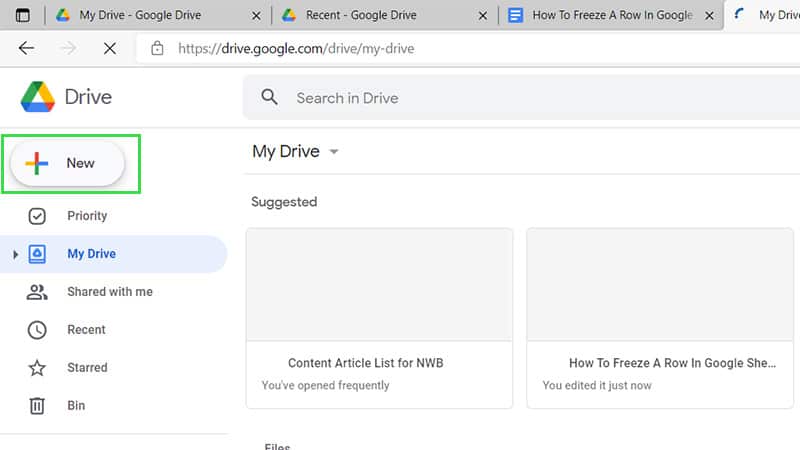
Open A New Google Spreadsheet
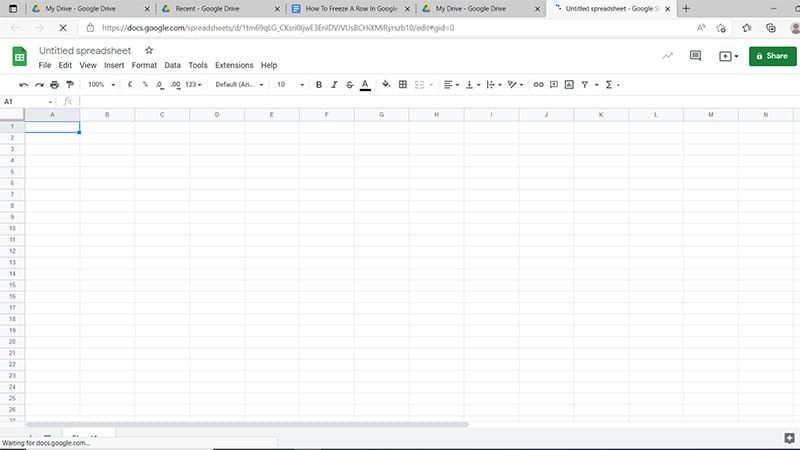
Begin by opening a new Google spreadsheet. You can do this by proceeding to select your Google Drive. Then select the tab in the left corner of the screen marked ‘New.’ O
n selecting this, you will see a drop-down menu. Select the option listed ‘Google sheets.’ This will open up a new blank spreadsheet for you to work with.

Step
Choose Rows To Freeze
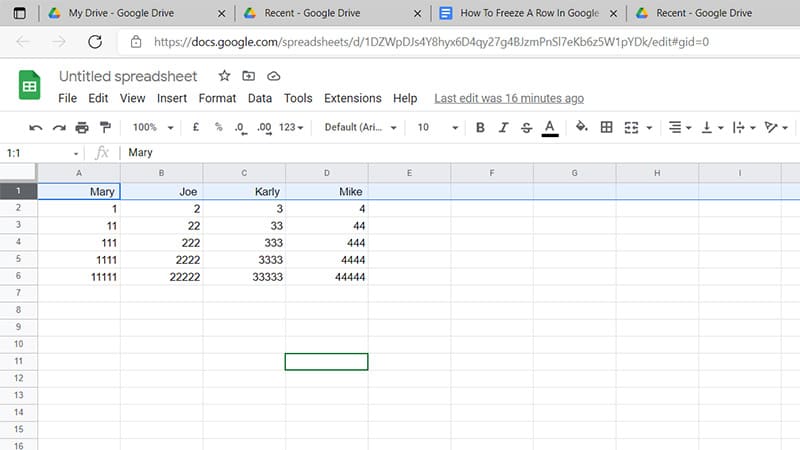
Once you have populated with your data, you can decide which row/s you would like to freeze. To freeze a row, simply select your chosen row at the far left at the listed numbers in the margin.
Step
Double Check Data
After selecting your chosen row i.e. row 1, the entire row will appear highlighted. This is a good chance to double-check that you have selected the right data for keeping in a pinned position (this will most likely be valuable data that you will need to frequently refer to).
Step
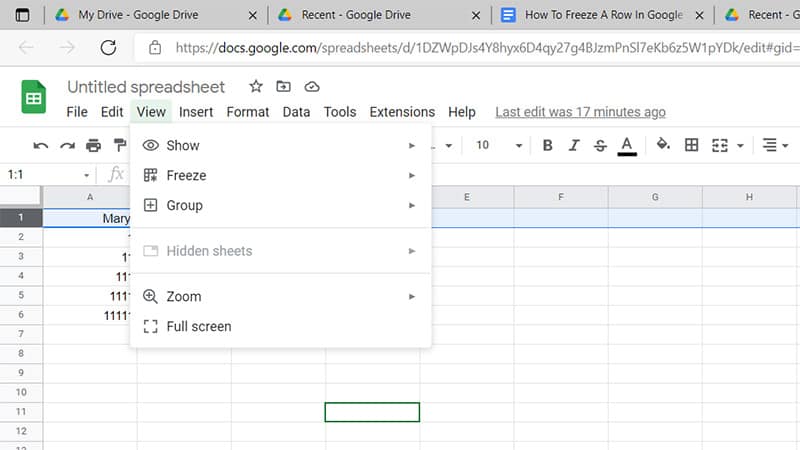
View Submenu
Once highlighted, move your mouse to the top of the left of your screen. Here you will see a selection of tabs listed; File, Edit, View, etc. Select the tab marked ‘View.’ On selecting this tab, you’ll be presented with a drop-down menu.
Step
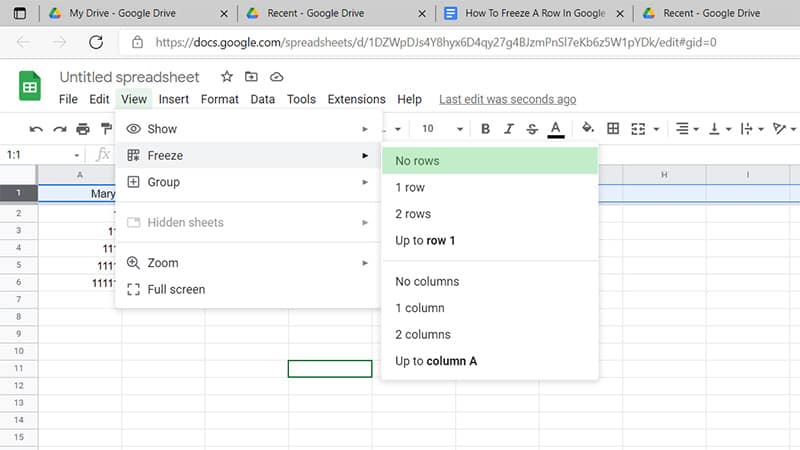
Freeze Rows
Hover over the second tab marked ‘Freeze’ on the drop-down menu. Here, you’ll be able to select how many rows you wish to freeze. And it’s as easy as that!
When you return to your spreadsheet, you will now be able to scroll up and down and your selected row will be frozen.

Step
Unfreeze Rows
Unfreezing rows and columns is just as simple. All that’s required is to follow the previous steps, up to step 4. Instead of selecting more rows, select ‘No rows,’ or ‘No columns.’ This will remove the pin from your frozen row.
Final Considerations
Sifting through data has never been easier. The Google sheets freeze tool makes it possible to quickly access specific sections of your spreadsheets without having to scroll through each section manually.
It also allows you to organize your data in a way that makes it easy to navigate through.
If you’re looking to free up space in your Google Drive, then there is no better solution than freezing rows in Google sheets. This method helps to save you a lot of time. So why wait? Go ahead and try out this amazing feature today.
