How To Create A Drop-Down List In Excel

Reviewed By: Kevin Pocock

Table of Contents
A drop-down list is an extremely useful tool when entering data into spreadsheets. Let’s look at a few easy ways to use this tool in Excel.
Manually
The easiest way to create a Drop-Down List in Excel is by entering it manually. This is ideal when you only need a drop-down list in a single cell and when you don’t need to update the list often.
For example, if you’re sending people a file where they have to fill out some fields and one of those fields has a simple list of options, then this method is ideal.
Step
Set Up A List Of Data

To create a drop-down list manually you can set up a list of data validation rules using the Data Validation dialogue box. Data validation lets you specify how data entered into a cell should be validated before it is used in a formula.
Step
Data Validation
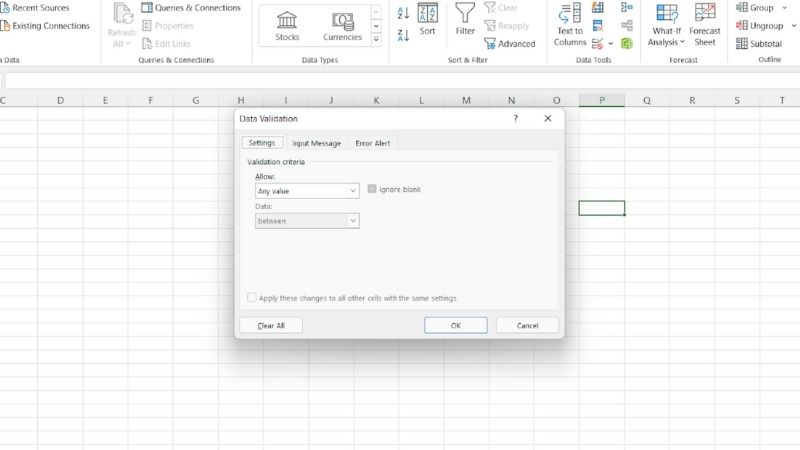
For example, you might use data validation to restrict the values allowed in a text box or to require that an entry be numeric.
Set The Source Range
When you set the source range, you can choose whether to pull data from the same sheet as the original data, or from another sheet. You can follow this process:
Step
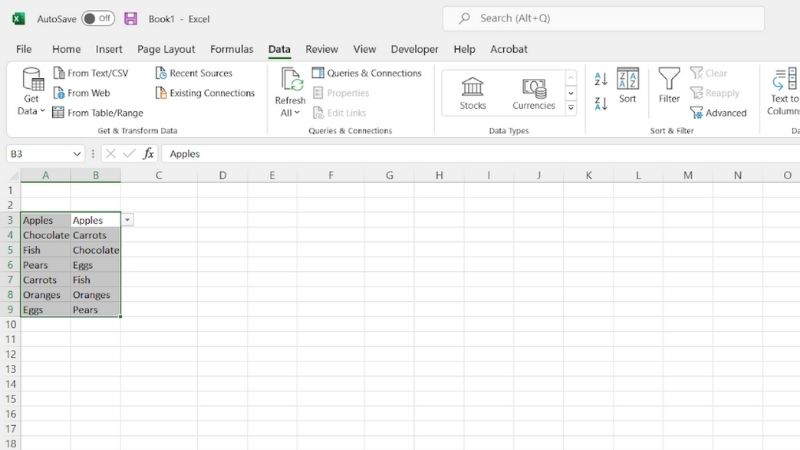
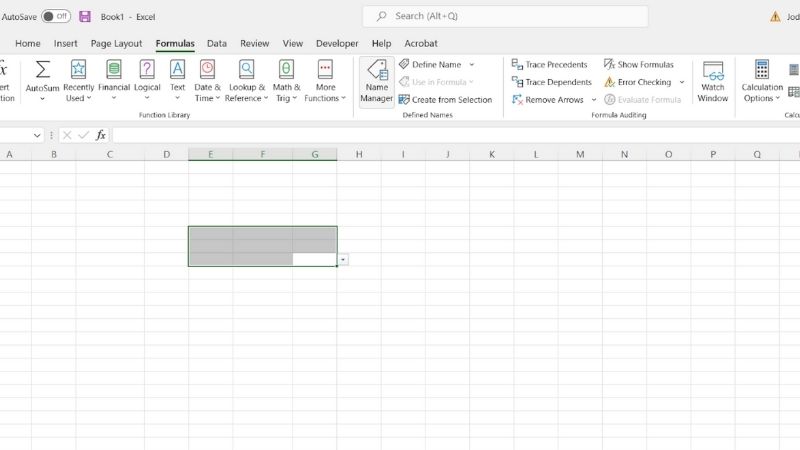
Drag The Mouse
 Mouse” width=”800″ height=”450″ />
Drag the mouse pointer over the entire range of cells containing all of the list items that you want to include.
Step
Down Arrow Icon
![]()
Select the down arrow icon to expand the Data Validation Window again.
Step
Source Field
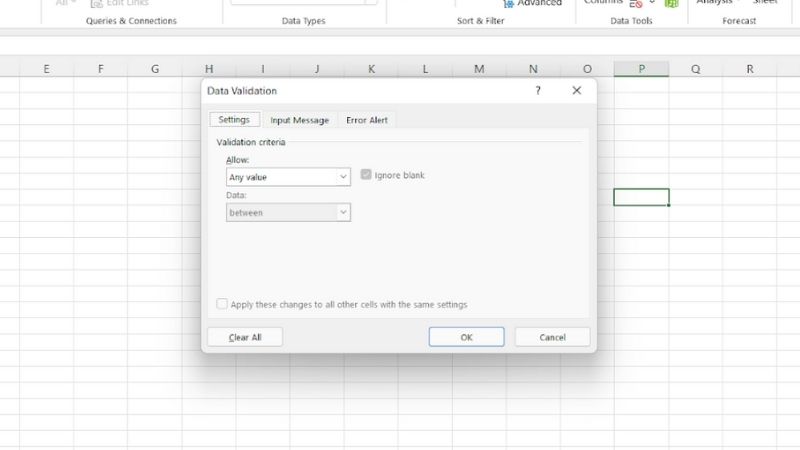
You’ll see that the range you’ve selected now appears in the source field.
Step
Click OK
Click OK to accept the settings. When you create a dropdown list using a range, each item within that range will be used as the option value. So if you use a range that includes 5 cells, then you will end up with 5 different options.
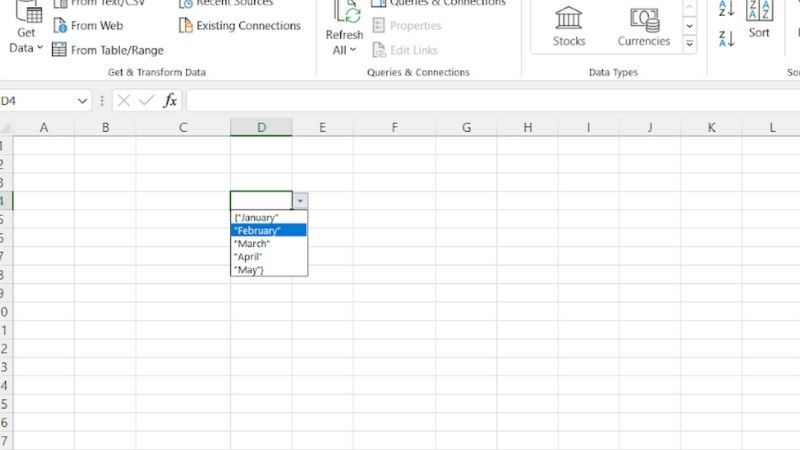
In order to get around this limitation, we recommend creating an array formula that contains the values you want to include in your dropdowns.
For example, if you wanted to create a dropdown containing the names of the months, you could do something like this: {“January”, “February”, “March”, “April”, “May”}.
Then, if you were to enter a date such as 1/1/2016 into a cell, the drop-down would display January, February, March, April, or May depending on what month was being entered.
Adding To The List
To add new entries to a list, you must first select a cell or group of cells that contain the information you want to enter into the list.
Then, you must increase the number of cells in the range by one cell. This will automatically change the selection of the data validation drop-down menu.
Step
Insert A Blank Cell
To insert a blank cell, select the cell you want to insert a blank cell after, then press Ctrl+Shift+Down Arrow. You can now type anything you want in that cell.
This method allows you to add a new item to your drop-down list. However, it requires some extra steps.
Step
Configure The Data
To use this method, you must first configure the data validation to your drop-down range. Then enter the new item into the list box, and select the Add New Item button.
Step
Value Property
Finally, you must set the value property of the List item element to the index position of the new item.
Deleting And Editing
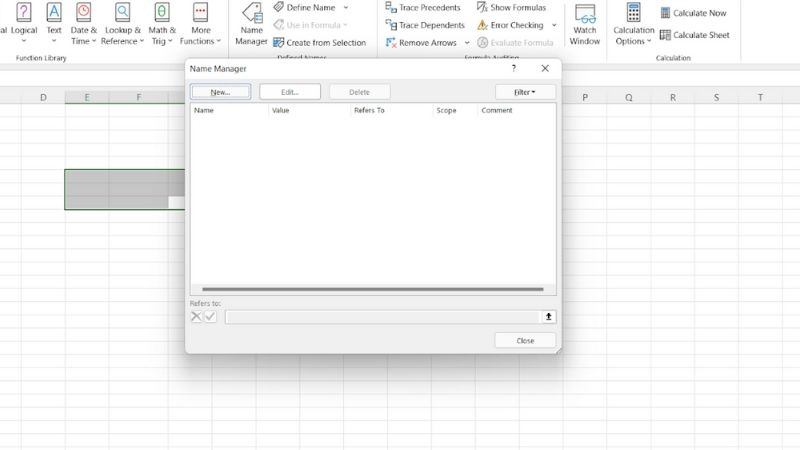
You can edit or delete named ranges by clicking the Formula tab, selecting the Name Manager icon, and then selecting the name you want to edit or delete.
Step
Cell-Range Button
In order to do this, you first select the name you want to modify and then click the cell-range button at the bottom of the Name Manager dialogue box.
Step
New Range
Next, select the new range you want to apply and click the cell-range buttons again.
When you create a new cell range, you should always set the number format to General This ensures that the cells will be formatted correctly when you copy them over to other worksheets or workbooks.
Conclusion
So, there you have it. Hopefully, these methods will help you navigate through Excel with ease!
About the Author