
Table of Contents
Are you wondering how to lock cells in Excel? If so, then we’ve got you covered with two methods.
Learning how to lock cells in Excel prevents anyone from messing around with sensitive data, as it allows users to input and change only the data allowed by the workbook or spreadsheet owner. Why should anyone need to learn how to lock cells in Excel, though?
There are plenty of reasons to lock down certain cells. Perhaps the information in the spreadsheet is incredibly important and, if altered, may ruin companies’ projected targets and revenue. To help you out, we’ll go over two methods that can get the job done.
How to lock a cell using the Format button
Here’s how you can quickly lock a cell using a single button.
Step
Select the cells
First, open your Excel sheet and select the cell or cells you wish to lock.
Step
Click on Format
Now, go to the Home tab and click on Format. This can be found in the ‘Cells’ box.
Step
Lock the cell
From the drop-down menu that will appear, click on ‘Lock Cell.’

Once done, the cell will be locked.
How to lock cells using the Format Cells menu
Alternatively, you can use the Format Cells menu to lock the cells.
Step
Open the Format Cells menu
First, select all cells and right-click on them. Then, click on Format Cells.

Step
Lock the cells
Now, go to the Protection tab and check the box next to ‘Locked.’
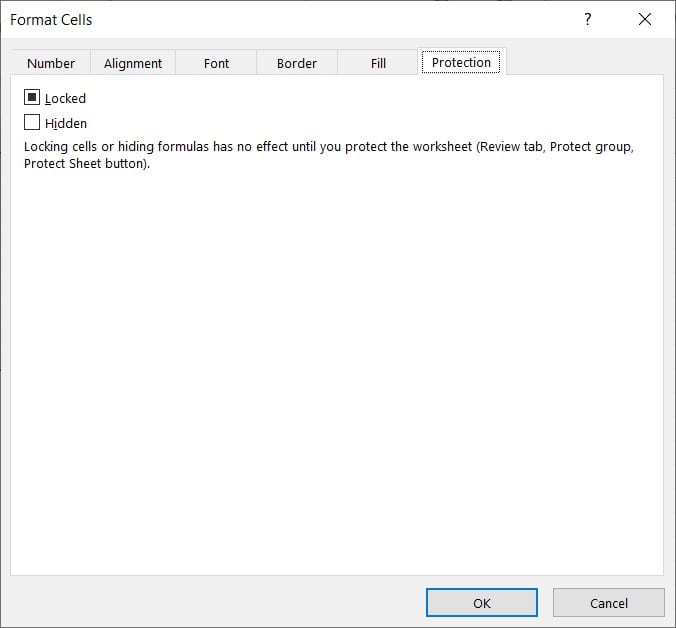
Once done, click on OK.
Step
Protect the sheet
Next, right-click on your sheet and click ‘Protect Sheet.’

Choose a password to unprotect sheet, check the box next to ‘Select Locked Cells,’ and click OK.

Conclusion
Now that you have learned how to lock cells, you can finally protect the important data in your spreadsheet. Both methods mentioned in this guide should work flawlessly, and no one will be able to mess with the information inside the cells after you make the changes.
If you want to continue learning about Excel and how its features work, give these guides a read:
About the Author
