How To Insert A Line In Word

Reviewed By: Kevin Pocock

Table of Contents
Word is arguably one of the easiest Microsoft programs to navigate, once you can get your head around the large amount of tools and basic design elements at your disposal; from creating resumes to adding shapes and lines.
In fact, as one of the staple tools of the program, it’s really important that you learn how to perform this function in Word.
Adding horizontal lines, or “horizontal rules”, to an email message or an entire document on the program can help to visually break up the on-screen content for easier viewing, and will also make the page far more visually appealing.
It might sound difficult, but it is actually quite an easy process. If that wasn’t enough, Word offers a lot of choice in terms of horizontal line options which makes for a convenient experience.
Use The Shapes Menu
Arguably the simplest way of adding a line to a Word document is to draw it directly onto the page. This is easy to do thanks to the Shapes drop-down menu that contains several line options, including those with arrow points on one or both ends.
Step
Place Your Cursor
Place your cursor in the spot where you would like to insert a line.
Step
Navigate Your Cursor
Navigate your cursor to the format ribbon at the top of the page, and click the Insert tab.
Step
Select The Shapes
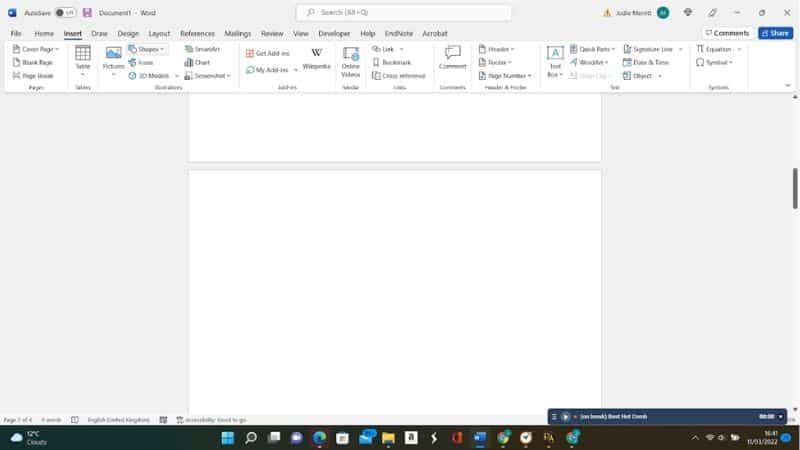
Select the Shapes drop-down menu.
Step
Decide On Your Preferred Line Type

In the Lines section, decide on your preferred line type. There will be many options here for you to choose from.
Step
Drag Your Cursor
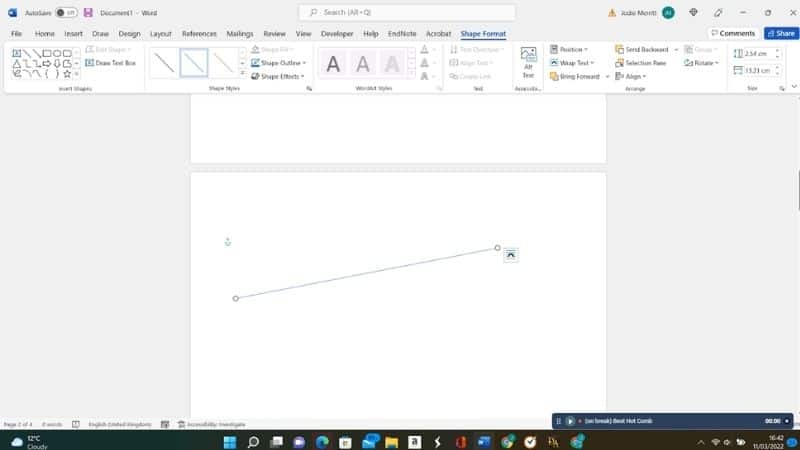
In the Word document, drag your cursor across the screen and then right click to release where you want the line to end.
Step
Shape Format Tab
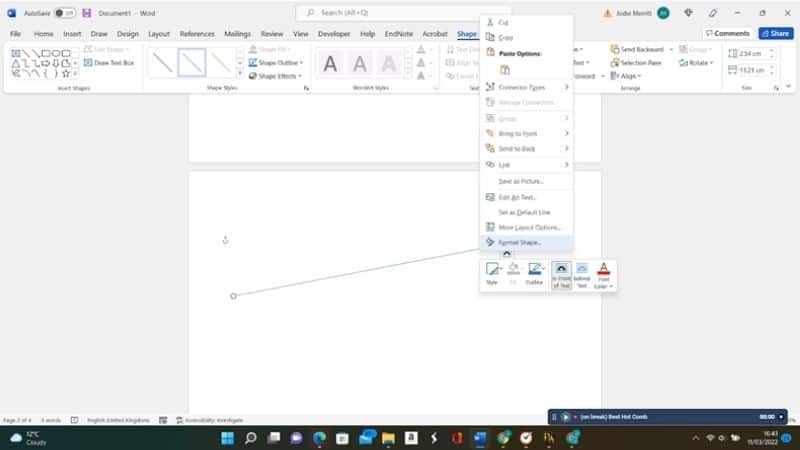
If you want to alter the way the line looks on the page, click on the line until the Shape Format tab is activated. This might simply be a Format tab in some versions of Microsoft Word.
After you draw the line, customize the color and appearance. These options can be entirely customized in the drop-down list. Also, feel free to include horizontal or vertical lines in your Word document!
Use the Horizontal Line Tool
You could also use this easy method as a way to insert a horizontal line into your Word document. All you need to do is know how to use the built-in tool.
Step
Place The Cursor
Place the cursor where you want to insert a horizontal line into your document.
Step
Move The Cursor
Move the cursor to the Home tab and select it.
Step
Select The Borders

In the Paragraph section, select the Borders drop-down menu and then select Horizontal Line.
Step
Change The Look
To change the look of the line, double-click the line where it is placed in your document.
Step
Format Horizontal Line
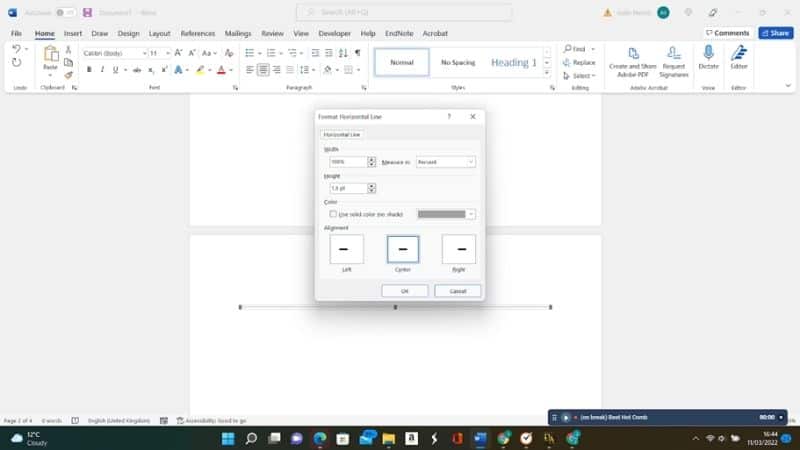
In the Format Horizontal Line dialog box, feel free to modify the line’s width, height, color, and alignment so it fits with the content on your page.
Using AutoFormat
By holding down the hyphen button, it's super quick and easy to create a horizontal line in Microsoft Word. But there are other variations of the AutoFormat line to decide between.
After opening your document, place the cursor where you want to insert the horizontal line.
All you need to do is insert a line into a Word document by typing in 3 or more symbols and click Enter. Some examples of these characters will include:
Step
Type In Three Dashes
Type in three dashes and you will get a solid single line.
Step
Type Three Underlines
Type three underlines and you'll achieve a bold single line.
Step
Three Equal Signs
Three equal signs will result in a double line.
Step
Three Asterisks

Three asterisks means you will be able to add a heavy dotted line into your document.
Feel free to type more than 3 of each character as there isn't a limit. As long as you have three symbols that begin at the left-hand margin, you're good to go! The line will then be inserted for the full width of the page.
If you want to add some text above the line that you have just made in Word, all you need to do is place the cursor where you want the text and begin the typing process.
Note that the AutoFormat features will not be available in Office Online.
Conclusion
The above methods for inserting a line in Word are simple enough that almost anyone can learn them quickly, whether you're a seasoned pro or a complete beginner to using the program.
With so many shortcuts available, you'll have a suitable line in your text in next to no time at all!
About the Author