How to connect your Hisense TV to WiFi

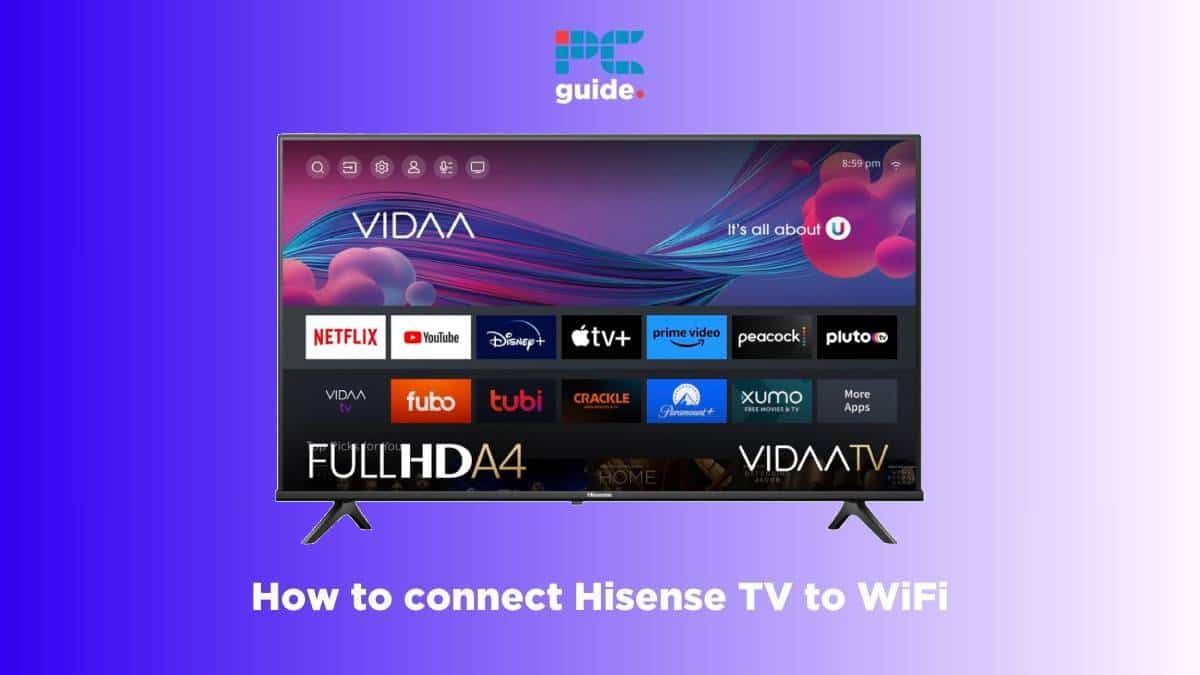
Table of Contents
If you want to learn how to connect your Hisense TV to WiFi, then we have you covered right here.
Now, connecting your Hisense TV to WiFi is very much similar to connecting your mobile phone or laptop to WiFi. Further, the process is more or less the same for all Hisense TVs, with some minor differences – so we have compiled a guide for most TVs.
With that being said, you should be able to connect your Hisense TV to WiFi quite easily. But if you're facing any issues, check out our guide on how to fix Hisense TV not connecting to the WiFi.
How to connect your Hisense TV to your WiFi network
Step
How to connect your Hisense Android TV to WiFi
If your Hisense TV runs on Android OS, then here's how to connect it to WiFi
- Head over to ‘Settings' from home screen
- Click open Network & Internet
- Enable WLAN and toggle WiFi on
- From the list of available devices, choose the WiFi network you want to connect to
- Enter the password
The TV should now be connected to the WiFi network.
Step
How to connect your Hisense Roku TV to WiFi
- From the home screen, go to the ‘Settings' menu
- Then, click on Network
- Choose the ‘Set up connection' option
- Select the ‘Wireless' option
- Select the WiFi network you want to connect to
- Enter the WiFi password
You should now be able to take your TV online.
Step
How to connect your Hisense Fire TV to WiFi
- Go to the home screen
- Go to the ‘Settings' menu
- Click open the Network menu
- You will see a list of available WiFi networks
- Choose your WiFi network and enter the credentials
Your TV will now be connected to the internet.
Step
How to connect your Hisense VIDAA TV to WiFi
- From the VIDAA TV home screen, go to Settings
- Head over to ‘Network'
- Then, go to Network Configuration
- From there, select ‘Wireless' as the Connection Type
- You will see a list of available WiFi networks, choose the one you want to connect to
- Input the WiFi password
Your TV should now be connected to the WiFi.
Step
How to connect your Hisense Google TV to WiFi
- Head over to your profile and then click open Settings
- Then, click open Network & Internet
- Choose your WiFi network from the list of available networks
- Enter the network password
- Your TV should now be connected to the chosen network
Frequently Asked Questions
Why is my Hisense TV not connecting to WiFi?
Your Hisense TV may not be connecting to your WiFi due to a variety of reasons. The most common reasons are – poor WiFi signal, TV being out of WiFi range, and wrong DNS settings.
Conclusion
To sum up, connecting your Hisense TV to WiFi is not at all a difficult task. As long as you have a stable internet connection, the TV is within the WiFi range, and you enter the password correctly, you will be able to connect your TV to WiFi.
About the Author