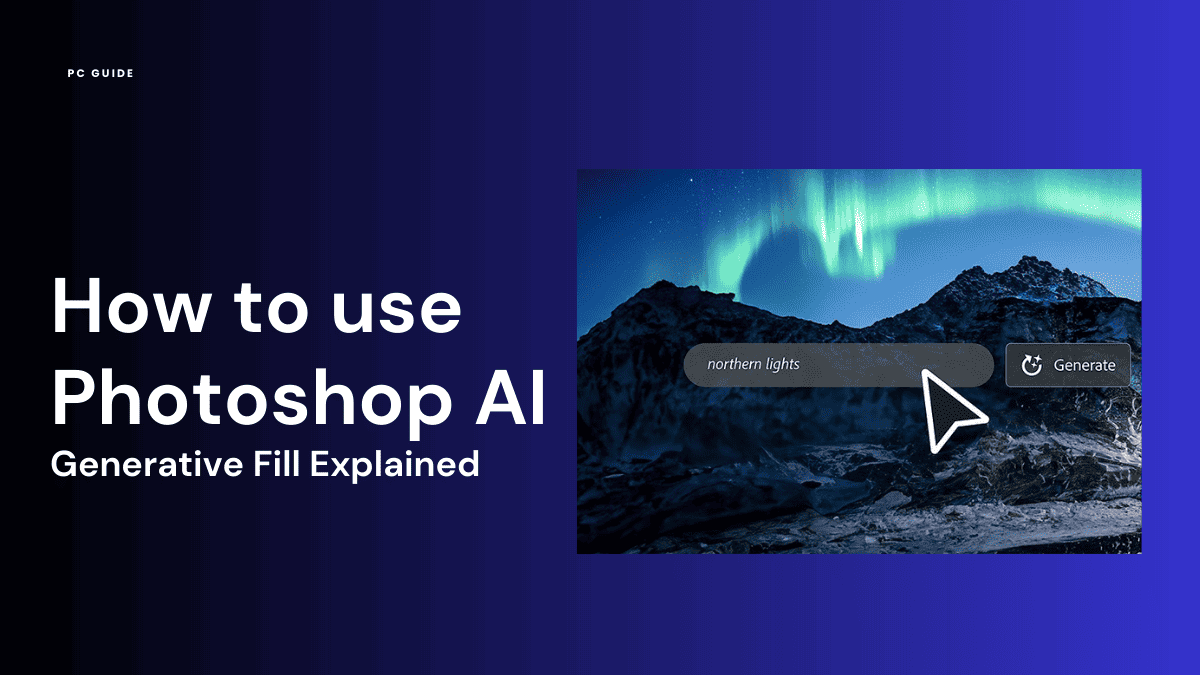
How to use Photoshop AI – Generative Fill explained

Table of Contents
Welcome to Photoshop AI, where Adobe Firefly powers a new set of tools to help bring your creative vision to life. In this article, we will explore one of the most exciting features called “Generative Fill”, teaching you how to use Photoshop AI.
By the end of this guide, you will have a solid understanding of how to effectively use the Generative Fill tool inside Adobe Photoshop AI Beta to enhance your images and create stunning visual effects.
Essential AI Tools
What is Generative Fill?
Generative Fill is a cutting-edge technology in Photoshop AI that automatically generates image content based on existing patterns or selections. You can download Photoshop AI Beta as part of the Adobe Creative Cloud app. For more information on how to do this, check out this article. This tool is free to anyone with a pre-existing Photoshop subscription and is fine for commercial use.
This powerful tool analyzes your image and fills in areas with new and realistic details, textures, or patterns, seamlessly blending with the surrounding pixels. With Generative Fill, you can easily remove unwanted objects, extend backgrounds, or create stunning visual effects effortlessly.
You can also guide these adjustments by using text prompts to specify what you want generative AI to produce or take away. All you need to do is select the layer you want to change, input your prompt, click the generative fill button, and let Photoshop do the rest.
How to Use Generative Fill: A Step-by-Step Guide
Access Photoshop Beta
First things first, you are going to have access to the Photoshop beta app to find the generative fill feature. To do so, head to the Creative Cloud desktop app and select beta apps.
From here you have the option to install Photoshop Beta. Once the installation is complete, you will find the application under “Installed beta apps”. Launch the application to start using this version of Photoshop.
Step
Making a selection
To begin using Generative Fill, you need to make a selection around the area you want to modify or replace. With the selection tool of your choice, carefully outline the target area. Ensure that your selection includes enough relevant information for Generative Fill to generate accurate and realistic results.
Step
Activating Generative Fill
Once your selection is complete, activate Generative Fill by going to the “Edit” menu, selecting “Fill,” and choosing “Generative” from the options. A dialog box will appear, giving you further control over the process.
Step
Adjusting Settings
You can fine-tune the Generative Fill dialog box settings to achieve the desired result. Scale, Color Adaptation, and Texture Adaptation allow you to customize the generated content. Experiment with these settings to find the perfect balance that seamlessly integrates with your image.
Step
Generating the Fill
After adjusting the settings, click Generate to initiate the Generative Fill process. Photoshop AI will analyze the selected area and use its deep learning algorithms to generate new content that matches the surrounding context. This may take a few moments, depending on the image’s complexity and your computer’s processing power.
Step
Refining the Result
Once the Generative Fill process is complete, you will see the generated content overlaid on your image. Assess the result and, if necessary, make further adjustments to enhance the blending and overall appearance. You can use tools like the Eraser or the Clone Stamp to refine specific areas manually.
Step
Fine-tuning with Blending Modes and Opacity
To seamlessly integrate the generated content, experiment with different blending modes and adjust the opacity. This allows you to control the transparency and blending of the fill with the underlying image, giving you full creative control over the outcome.
Step
Saving your Work
Once satisfied with the result, save your edited image in the desired format. It is always a good practice to save your work in a different file to preserve the original image and avoid accidental overwriting.
FAQs
Can Generative Fill Work with Complex Images?
Yes, Generative Fill is designed to handle complex images. Its advanced deep-learning algorithms analyze the image content and generate new details seamlessly blending with the surrounding pixels. However, the accuracy and quality of the results may vary depending on the complexity of the image and the selection made.
Can I Undo the Generative Fill Operation?
Yes, Photoshop AI allows you to undo the Generative Fill operation. Use the “Undo” command or press Ctrl+Z (Command+Z on Mac) to revert to the previous state. It’s always a good idea to experiment with different settings and adjustments while working with Generative Fill, knowing that you can easily undo any undesired changes.
Why do I not have generative fill in Photoshop?
In order to be able to access the new features and capabilities from Adobe’s generative fill tool you need to download the beta version of Photoshop. This is its own standalone app, separate from the original platform, and it can be found on Creative Cloud desktop.
Conclusion
Generative Fill is an incredible feature in Photoshop AI generative AI technology to empower you to effortlessly modify, replace, or create content within your graphics or photography.
Following the step-by-step guide outlined above, you can use this powerful tool to enhance creativity and produce stunning visual effects. Experiment, explore, and let your imagination soar as you unlock the full potential of Generative Fill in Photoshop AI.
If you are looking for more information about Adobe Firefly, then head over to our Adobe Firefly vs. Photoshop Beta AI piece.
