How to Bypass TPM 2.0 and Install Windows 11

Table of Contents
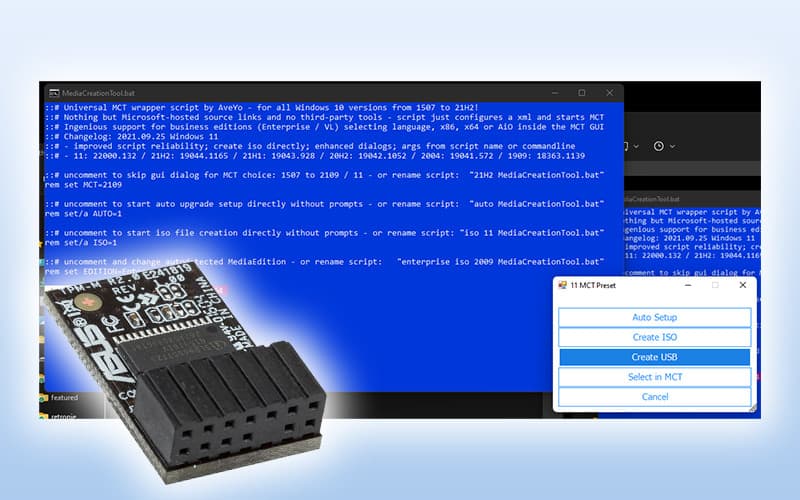
With the launch of Windows 11 bringing with it some headaches, of course, there’s a person out on the web who has come in and done what everyone wanted, but without any fanfare. The user on GitHub – a repository for developers – has created a custom tool for deploying versions of Windows as USB, ISO, and even just giving you the option to use Microsoft’s own tools.
There are now two versions, with the recommended being Version 2, but I had no issues with the first, and Windows 11 simply updated once installed.
While this should allow you to install on almost any PC, regardless of specifications, please bear in mind that Microsoft has said they will not support PCs that do not meet these requirements. It’s probably recommended you meet some specifications, such as a drive with more than 64 GB.
How to Bypass TPM 2.0 and Install Windows 11
So, how do you exactly bypass that pesky (and needless) TPM 2.0 requirement? Follow the steps below and you should be good to go.
Step
Download the program
You’ll need to download the GitHub files from the repository, which can easily be done by going straight to the link and, in the top corner, pressing “Download Zip”.
You don’t need to faff around with copying code or anything on your PC, as this has already compiled versions for you.
These files will flag up on Windows as ‘threats’, but we can circumvent that by just pressing “More Info” and then “Run Anyway”.
Step
Extract the files
You’ll notice the file name you’ve downloaded is just a random string of numbers and letters.
Open the ZIP file and then extract everything into a better-named folder and place it elsewhere on your PC (maybe your Desktop), as we’ll need to come back to it later on.
Once you’ve done this, you’ll find the folder is full of different files, but the only ones we need to really focus on are MediaCreationTool and Skip_TPM_Check_on_Dynamic_Update.
If you have the Version 2 files, you’ll see two of the Skip_TPM files, just choose Version 2 in this case.
Click MediaCreationTool to make your ISO or bootable USB device.
Step
Windows Media Creation Tool
When this loads up initially, you won’t actually need to do anything until it prompts you with the windows of which version of Windows would you like it to grab. It will then use Microsoft’s official servers to pull everything it needs and downloads everything as normal.
If you’re grabbing Windows 11, it will still say “Windows 10” on everything, this is normal.
We want to choose Windows 11, and then it’s your choice for what you want.
I find ISO the easiest, as I can mount it in Windows and run the setup.exe inside directly on the operating system itself. From here on out, we’ll be using the ISO method, as it’s always handy to have one around on your PC anyway, in case you need to do a clean installation.
Step
Turn off Windows 11 TPM Requirement
The file Skip_TPM_Check_on_Dynamic_Update is essentially a toggle, running it once will turn it on, and turning it off is done by running it once more.
Run it, and then we can proceed with installing Windows 11.
If you want to just use this and the official Windows 11 ISOs, you can do so! Just run the TPM_Check and then run the Windows 11 media as normal.
Step
Mount ISO
Mount the ISO. It should automatically pop up with the files.
From here, choose setup.exe and just follow along, saving your work before you do, as this process will restart the PC multiple times once it gets going.
An ISO is essentially a digital disc that Windows will then create a ‘virtual disk drive’ for, treating it from there on like a DVD.
Once you’re done with the installation process, you should then be greeted with a fresh Windows 11 install.
Reports have come out that this has also allowed them to launch Windows 11 on systems really not intended for the operating system, but again, mileage will vary.
PC Guide’s Recommendations
Of course, we think that the TPM requirements aren’t exactly the best and the culling of hardware that’s still incredibly relevant is, honestly, quite overkill. But at some point, you’ll need to install Windows 11. We’re not entirely sure Microsoft will play ball with your new Frankenstein machine.
So, we do recommend you check out our CPU guide, as well as the motherboard one if you need to upgrade.
On top of this, if your system is ready for Windows 11, but you have no TPM, you can always buy one, as they’ve now come back in stock.
For more Windows 11 news, guides and how-tos, be sure to check out our dedicated hub.
