How to split cells in Excel – our guide to splitting a cell horizontally

Reviewed By: Kevin Pocock

Table of Contents
If you want to know how to split cells in Excel, you’ve landed on the right page.
Excel is a program that offers a great deal of power to users – providing, of course, if you know how to get the best out of it. Knowing how to split a cell is one of the essential tasks, and there are a few methods available to users, which we will explore in greater detail here.
So, without any further ado, let’s go through how to split a cell horizontally in Excel.
Scenario at hand: For this article, we are going to split the first and last names into two different columns. We will be using two different methods to split one cell into two in Excel, and both of them are pretty simple.
How to split cells using the Text to Columns feature
Here’s how you can use the Text to Colum feature to split cells in Excel.
Step
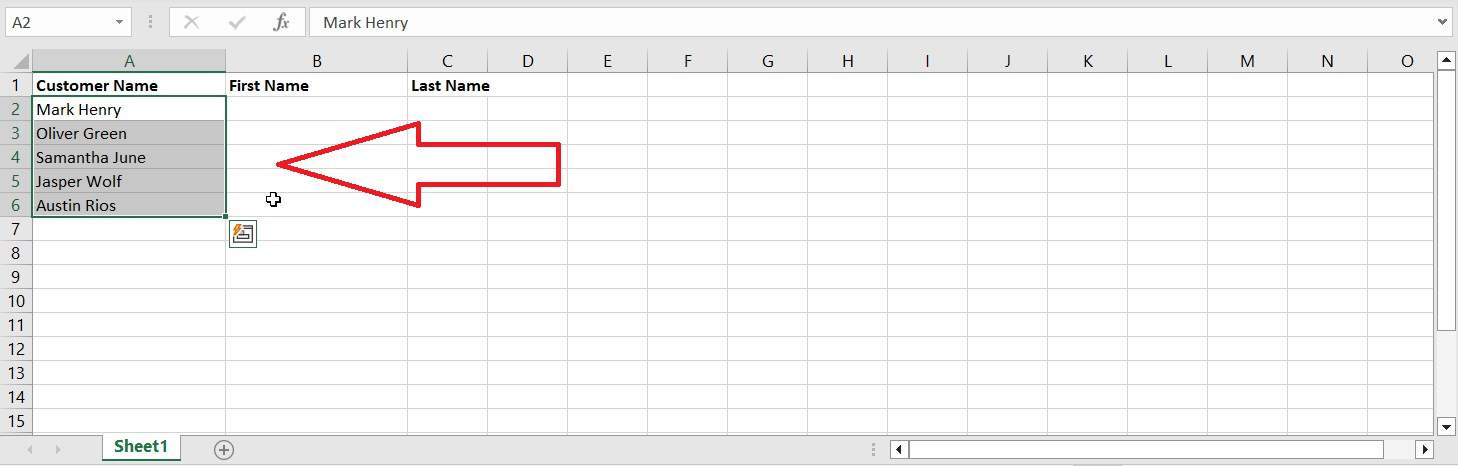
Select the range of cells
Select the cells you want to split. In this scenario, we will select all the names.
Step
Click on the Text to Column button
Next, go to the Data tab and click on Text to Column button.

Step
Select Delimited
In the Window that will pop up on your screen, select the “Delimited” option and click Next.

Step
Select the type of Delimiter
Now you’ll have to choose the type of delimiter in your data. In our case, the first and last name are separated by a space, so we’ll select space.

Step
Enter the destination cell
Once done, click Next, enter the destination cell for the data, and click Finish. The first and last names will be split into two different cells.

How to split cells using the Flash Fill feature
You can also use the Flash Fill feature to quickly split cells in Excel.
Step
Enter the first name and drag it to every cell
The first thing you need to do is enter the first name in an adjacent cell and then drag it to the bottom cells. In this case, we will type Mark and drag it down.

Step
Select Flash Fill
Next, with all the cells with the first name selected, click on the auto fill options icon and select Flash Fill. This will automatically fill the first names in every adjacent cell.

Repeat the same process for the last names column.
Final thoughts
Splitting cells in Excel is a fast, simple process, and one that allows you to use sheets and manage information more effectively and efficiently – and now you know exactly how to do it! Both methods work flawlessly, and they can help you split the cells within seconds.
Learn more about Excel and its features through these in-depth guides:
- Finding the second match with VLOOKUP in Excel
- How to add a number in front of a number in Excel
- Excel status bar not showing sum
About the Author