How to Boot Windows 11 into Safe Mode

Table of Contents
Running into some trouble with the developer build of Windows 11 from the Insider’s Program? Well, Safe Mode might look weird, throw your resolution into a frenzy and utterly break some systems underneath, but it’s a great way to fix issues with the OS that you normally have to fight through the interference of whatever issue is currently causing issues.
What is Safe Mode?
We’ve been covering adjacent topics for Windows 11, so you can figure out if your CPU is compatible with Windows 11, the best CPUs for Microsoft’s upcoming OS and how to check if you have a TPM enabled CPU in the BIOS.
Want to get into Windows 11 early with your current PC? We’ve got the guide for you to get through the loops into the Microsoft Insider’s Program. If you don’t want to commit the whole computer to it, but get an idea of what’s coming in the Autumn, we also show you how to install it to a Virtual Machine. We even have a guide to get it up and running on a Raspberry Pi 4!
Safe Mode is a method of rebooting your PC into a bare-minimum environment to assist with fixing issues that might have come about from being infected with a virus or other nefarious software, or even sometimes, just a normal piece of software causing problems somewhere down the line.
By stripping everything back, Safe Mode can assist with getting into different areas of the PC that might not be too accessible if say, a virus is causing slow down or covering parts of the screen and crashes.
This is why when you load it up, it’ll make your monitor look weird with a super low resolution, you might not have an internet connection or any sound will be turned off. In this mode, you can hopefully reach the end of your issues and find the solution.
However:
Safe Mode is not an end-all-be-all solution for safety. In fact, it doesn’t even bolster your security, and using it as your main way to work is not advisable as Windows doesn’t run any needed drivers. By pulling it all back, Safe Mode is there to assist by giving you free access to do what you need to.
If any issues do persist, or you’ve unfortunately got infected with something that’s lodged itself deep within Windows 11, you might just be best using Safe Mode to backup and reinstall the operating system.
How to Boot Windows 11 into Safe Mode
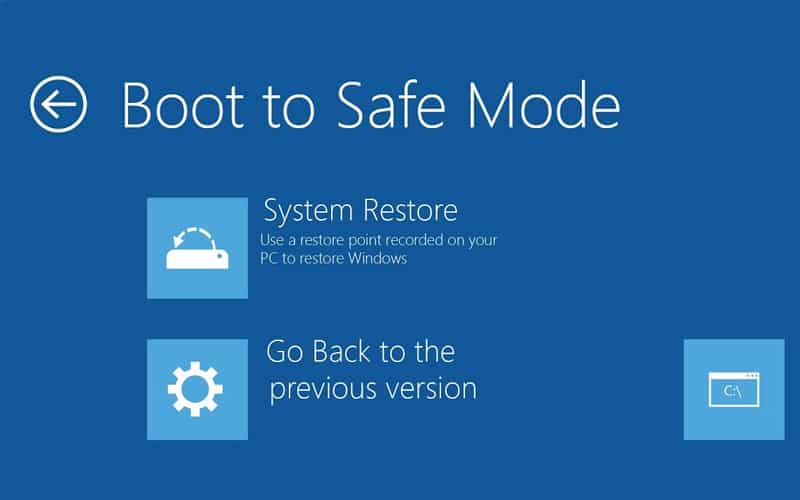
To get access to Safe Mode in Windows 11, you’ll need to follow a few steps. Luckily, we’ve written up a full guide below so let’s get into it!
Advanced Start Up
If you want to just restart the PC into Safe Mode, you can go through the following for Windows 10 and 11:
Go to Settings or search for Recovery Options in Windows 10 or Recovery in Windows 11. If you've come through Settings, you want to go to Update & Security, Recovery.
Troubleshoot Menu
This will eventually load you into a blue screen with options. You want to head into Troubleshoot.
Start-up Settings
You now want to choose Start-up Settings, which will kick you into a bullet point list of things you can change before you press restart.
Choose Safe Mode
Once you click Restart, you’ll be taken through to yet another menu. Here, you’ll use the Function Keys (F1 to F9) to select a mode. We want 4, so F4 will send us through to Safe Mode.
If your troubleshooting needs the internet or any networking, you’ll obviously want to head into menu option 5 or 6 if you’re in need of the Command Prompt to be launched on reboot.
In Safe Mode
When the computer reboots into Safe Mode, you’ll be met with a black background, low resolution, and perhaps a few error messages.
As you’ll see, Safe Mode is incredibly stripped back and not intended for much use outside of fixing the problem without the interference of any nastiness that has embedded itself in your PC.
Leaving Safe Mode
When you’re ready to quit out of Safe Mode, shut down and restart the PC to boot into your regular desktop.


