How To Add Roles On Discord


Table of Contents
A role, in Discord, is basically permission with a name. There is a default role named “@everyone,” which gives a wide range of permissions like talking in the chat room and reading the messages.
Server administrators can create a moderator role, which adds the power to mute or ban other people. People can also have multiple roles. Someone who has both “@everyone” and “Moderator” roles would have all the permissions of “@everyone” plus the powers of a moderator.
There are 29 permissions on Discord, and they’re divided into three categories: General, Text, and voice. Each category contains different permissions.
For example, General permissions allow users to create channels, invite others, and more. Text permissions let users send messages, add emotes, and more. Voice permissions let users make calls, record videos, and more.
Here is how to add roles on Discord!
Basic Permissions
If a user has been granted permissions thanks to being given a role in the server, then they will be able to do things that other users will not. This user has permissions to manage channels, kick members, ban members, create instant invites, change nicknames, and manage nicknames.
This app requires a lot of permissions, but we need them to make your life easier! You can use these permissions to do things such as send messages, see voice channels, and manage emojis.
Text
- Send and manage messages – This permission allows you to send messages, read messages, and manage your message history. You can also send tts messages and embed links into your chats.
- Mention everyone – This permission allows the user to send messages to every member of the channel.
- External emojis – This permission allows the users to post emojis from external services.
- Add reactions – This permission allows the members of the channel to react to posts by adding emoticons to them.
Voice
When you use voice activity, your phone will beep every time you say something. This permission lets you talk without having to press any buttons. When you use a priority speaker, your phone will beep when someone else speaks so that you can hear them better.
You Can Also:
- Move users – This permission enables you to move members to a different channel.
- Mute – You can stop some members from being heard
Creating Roles
To set up your roles properly, you should create them before you invite people to your server. You can always edit them later if necessary.
Step
Select Your Server
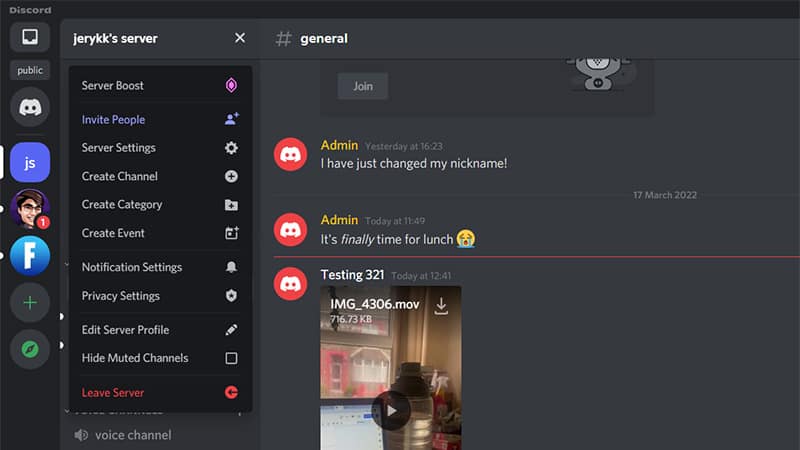
Go to Discord and select your server. Look for the small drop-down menu next to the server name.
Step
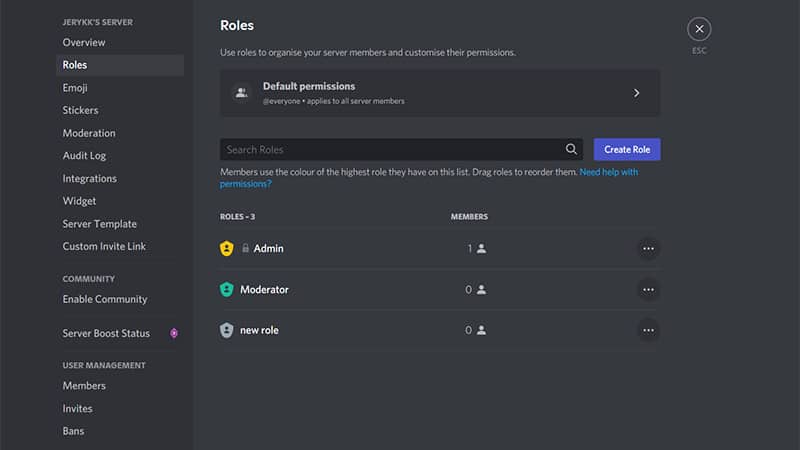
Open Server Settings
Click it to open the Server Settings page. Click Roles in the left panel and then click on Create Role.
Step
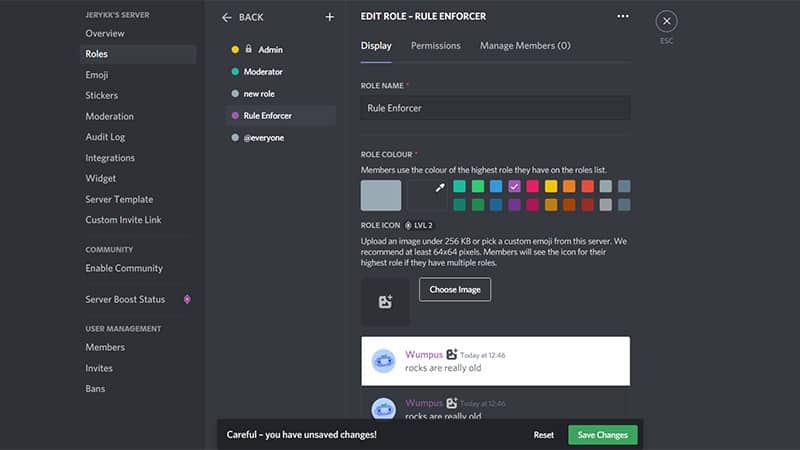
Create New Role
Now you can create your new role.. Name the role something helpful and assign it a color.
Step
Review Permissions
Review all 32 permissions, toggle on only the ones you need to be associated with that particular role you can then save changes at the bottom.
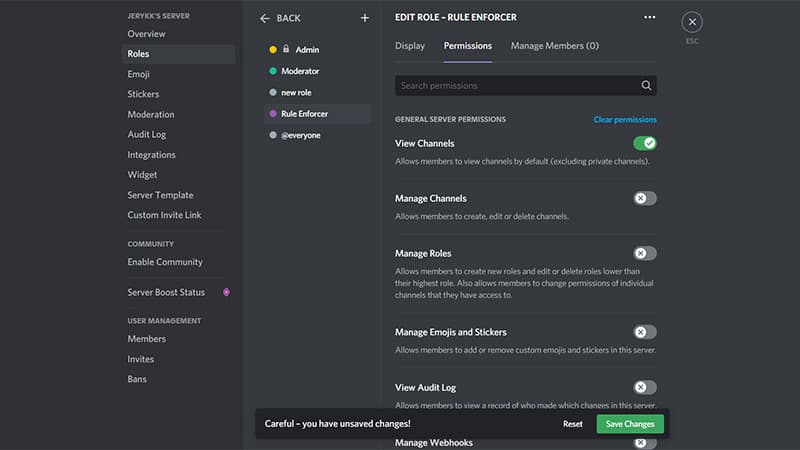
If you forget to save your changes, an alert box appears to remind you to do so before continuing. Repeat for each new user role.
Permission levels allow users to be given certain permissions based on their role within your community. This helps you manage who has access to what information and how much power they have over others.
Assigning Roles
Follow these simple instructions on assigning roles:
Step
Display Members
After assigning roles to your server, you first need to go to Server Settings and find User Management. Then click on Members. Here will be a list of members in your server.
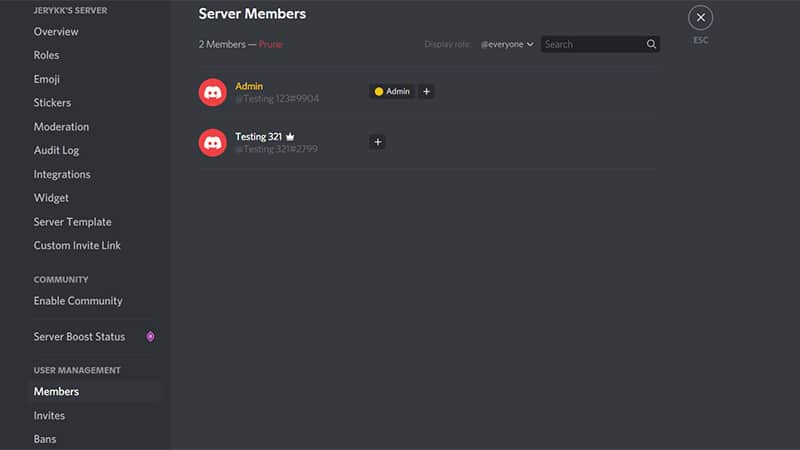
Step
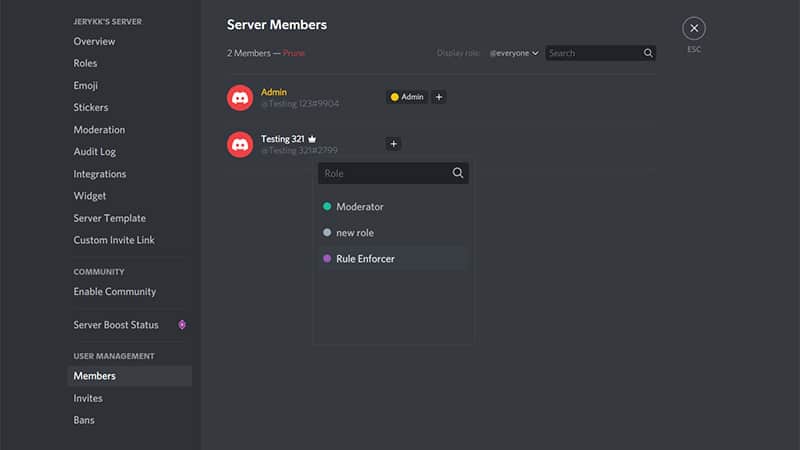
Assign The New Role
Choose who you want to assign the new role to. Then, select the small “+” sign next to the username. From the menu, choose the role name from the dropdown list.
Assigning Roles On Mobile
Follow these simple instructions on how to assign new roles on mobile:
Step
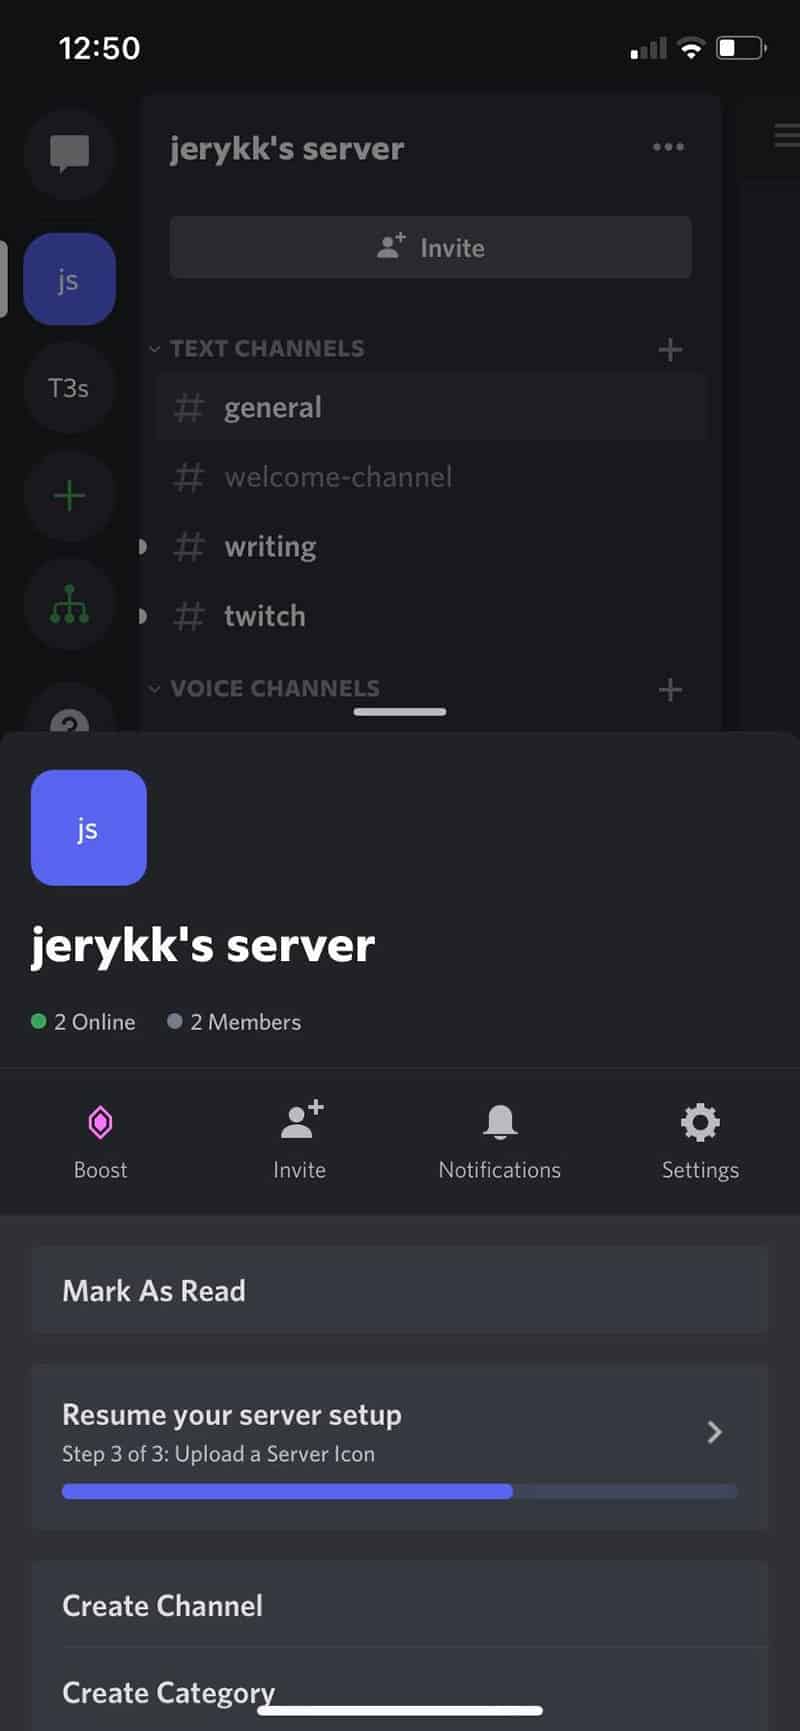
Create New Roles
To create a new role and give it to someone else on the go, open the Discord app on your mobile phone. Select your server. Tap on three vertical dots in the upper right corner.
Step
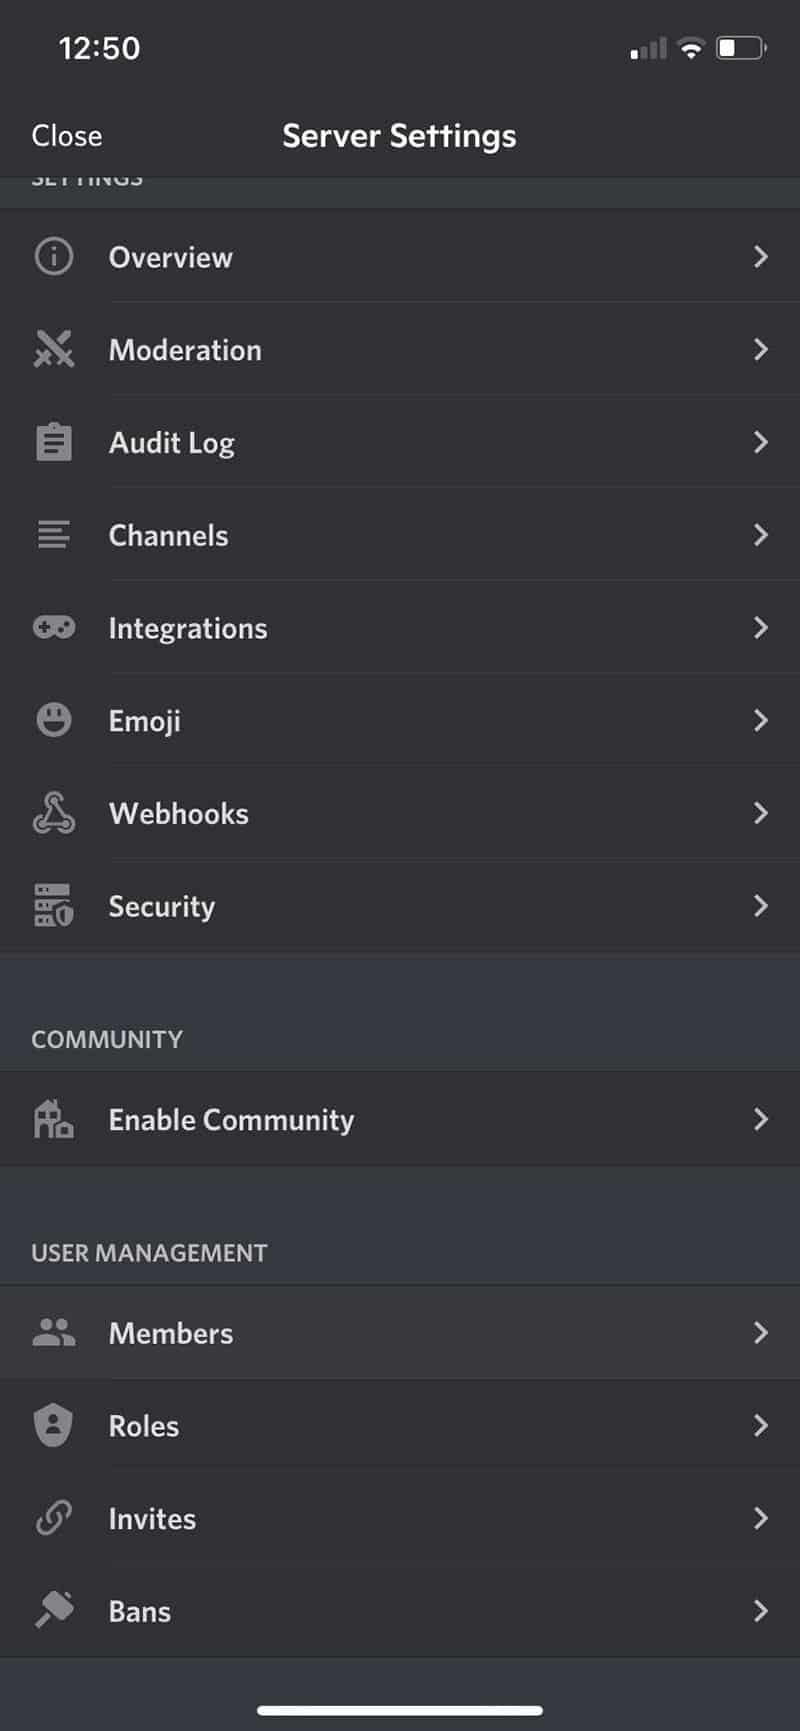
Server Settings
Tap on “settings,” then scroll down to “members.”
Step
Assign The Role
Click on the name of the person who you want to be assigned the role.
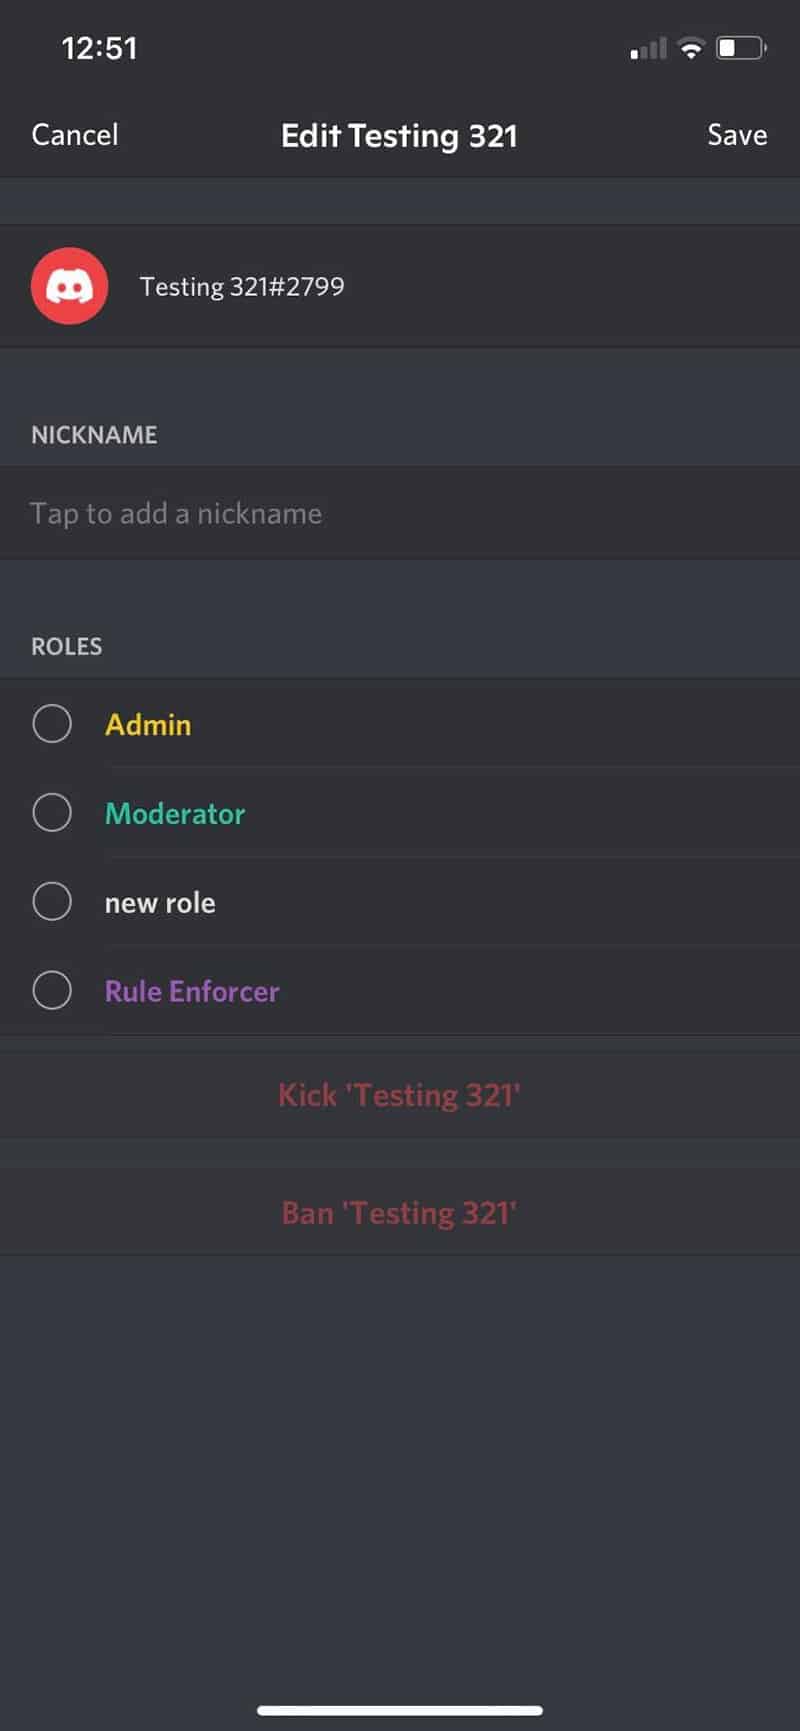
Choose Edit Roles, then tick the role that you want to give that person. Don't forget to save your changes!
Conclusion
Job done! Everyone should now have their own specific role and you can get on with using Discord.
Need more Discord help?
About the Author