How To Format SD Card To Fat32

Reviewed By: Kevin Pocock
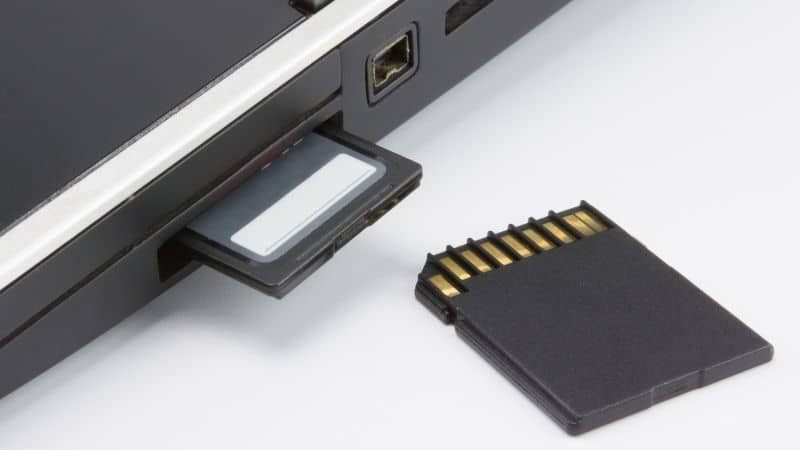
Table of Contents
If you have bought a new SD card and plan to use it for transferring files between computers with different operating systems, then you may need to format it to Fat32. Fat32 is a 32-bit version of the FAT file system and is a format typically used for USB sticks and SD cards.
This file system arranges the space on your drive so that you can store files and access them on any kind of computer.
In this article, we will tell you how to format an SD card to Fat32.
Formatting Cards That Are 32GB Or Under
Most cards that you buy with 32GB of space or under will be sold already formatted to Fat32. However, if you have a card that has been formatted differently, it is very easy to restore it to this filing system.
There are a few different methods for doing so, which we have explained below.
Step
Formatting An SD Card With Windows Disk Management
The easiest way to alter the formatting on a USB stick or SD card is to use Windows Disk Management.
To reach this program, you can type Disk Management into the search function on your laptop.
Alternatively, you can access it by opening the Command Prompt and typing in: ‘diskmgmt.MSC'.

However, once you have opened the program, you should be able to scroll down until you find the drive you want to format.
Right-click on the drive and select the ‘Format' option from the list that appears.
This will open up a new window that will allow you to select how you wish to format your drive. Click on the ‘File System' menu and scroll down the options until you see Fat32.
Formatting Drives Over 32 GB
Normally, drives with more space than 32 GB won't be suitable for the Fat32 filing system. However, there are ways around this using third party software such as the FAT32 format tool or EaseUs Partition Master.
Step
Formatting A Drive With Fat32 Format Tool
This is one of the simplest programs to use for formatting a drive larger than 32 GB to the Fat32 file system. All you need to do is download the FAT32 Format tool and install it on your machine.

Once you have done this, a window will pop up allowing you to select the drive you want to format as well as the allocation unit size.
After you are done, simply press the start button and wait for your drive to format.
Step
Formatting A Drive With EaseUs Partition Master
The EaseUs Partition Master is a little more complex than the last piece of software we looked at, but it is also capable of doing more things.
Simply download the EaseUs Partition master from their website and install it. Then you can open the program and select the drive you want to format from the list in the main window.
When you have selected your drive, pick the ‘Format' option. Select Fat32 from the list of file systems, and press start to begin formatting your drive.
Conclusion
Formatting a drive to Fat32 doesn't take long, and it means you will be able to swap files between computers with different operating systems. This is great for anyone who works with multiple computers and needs to be able to switch between them quickly and easily.
About the Author