How to remove a GPU in a couple of easy steps

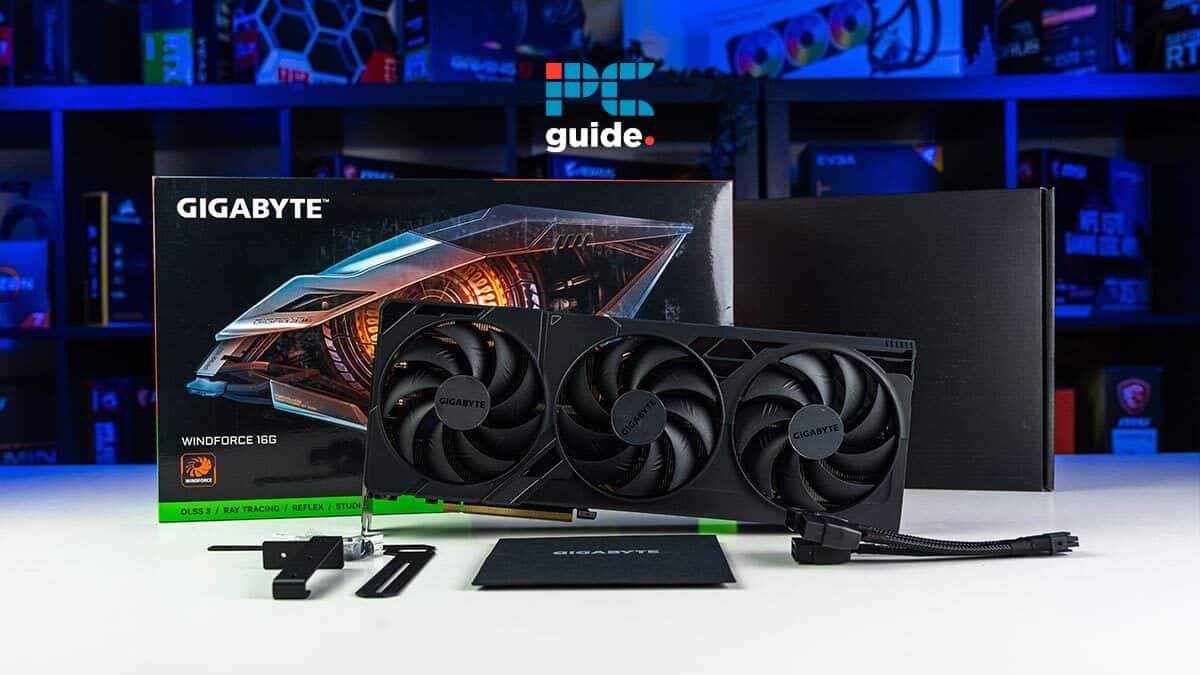
Table of Contents
If you were wondering how to remove a GPU, you've come to the right place.
Every once in a while, you will need to remove a GPU from your computer. Whether your graphics card is Nvidia or AMD, it can often be daunting having to make the change manually, but it doesn't need to be. Whether you are switching to a newer one, cleaning it, or just checking up on it, this guide will provide you with a straightforward step-by-step guide on how to remove your graphics card from your motherboard and computer.
We have plenty of additional articles and content on GPUs, such as the best graphics card and the best graphics card for new gamers. However, for now, let’s turn our attention to how to remove a graphics card.
Quick Answer
Disconnect the power and HDMI or Display port cables > Remove the side panel > Remove the GPU power cable > Hold the GPU in place and remove the screws from the bracket > Unclip the PCIe slot lock > Gently pull the GPU out.
What you'll need
To remove your GPU, you'll need the right tools. We've listed them below to save you time and effort.
Here's how to remove a GPU from the motherboard
The process of removing the GPU can be done relatively quickly and safely, with no risk involved. So, follow the steps carefully and chronologically. Make sure to be vigilant with your computer components in the process. Finally, be sure to look out for our expert tips, which can provide additional resources and suggestions to those looking for extra peace of mind.
Step
Power down and unplug
Begin by shutting down your computer completely. Once it’s powered off, unplug the power connector from the source. Make sure no power supply is on and the product is detached from the power source.
This step is essential to prevent any electrical damage or short-circuiting.
Disconnect other external cables connected to the GPU, like HDMI or DisplayPort cables.
Step
Open the case
Using the four-head screwdriver, remove the screws at the back of the case holding the side panel in place. Some casings have knurled screws which are easy to unscrew by hand. After that, the side panel should slide off, or you'll have to unclip it, depending on the case design.
Ensure you have clear access to the GPU.
This is a great time to wear the antistatic wrist wrap and connect the alligator clip to something metallic on the PC case. This will ground you and keep the components safe.
Step
Disconnect remaining cables
Identify any power cables connected to your GPU. These cables usually run from the PSU to the GPU.
Gently disconnect these by pressing down on the clip and carefully pulling them out. Avoid using excessive force which might damage the connectors.
Step
Remove screws or brackets
Locate the screws at the back of the casing holding the GPU frame in place. Use a screwdriver to loosen them, but remember to support the GPU with your other hand. This is important because you don't want the GPU's weight to be on the PCIe slot and lock. The interface could bent, and there is no coming back from that.
Unscrew them carefully and keep them in a safe place. You will need them if you plan to install a new GPU or re-install the same one later.
Step
Release the PCIe lock
The next step is to find the PCIe slot lock at the end of the GPU slot on the motherboard. This lock secures the GPU in place.
Depending on your motherboard, this lock could require you to push it down or pull it to the side gently. Doing so will release the GPU from the PCIe slot.
Check for obstructions: Sometimes, other components like RAM, cables, or even CPU coolers can obstruct the removal of the GPU. If needed, temporarily remove these components to make GPU removal easier.
Step
Gently remove the GPU
With the PCIe lock disengaged and screws removed, hold the GPU by its edges and carefully lift it straight up and out of the slot. Ensure you're not touching any of the circuitry.
Avoid any twisting or sideways motion as this can damage the PCIe slot or the card.
Ground yourself: Before handling the GPU or other internal components, ground yourself to prevent static electricity from damaging the components. This can be done by touching a grounded metal objects.
Step
Store or replace the GPU
If you're not immediately installing a new GPU, place the removed GPU in an anti-static bag or a safe, dry place. This protects it from static damage and dust. The GPU comes in it, so if you have the original packaging, look for it if you have it saved.
If you're replacing it with a new card, you can now proceed with the new GPU installation.

Handle with care
Whenever deconstructing a piece of hardware or removing a component, you should aways do so in a relaxed and calm manor. Removing something erratically or with too much force can cause unnecessary damage to other areas of the device.
Is it safe to remove a GPU from the motherboard?
Yes, it is safe to remove a GPU from the motherboard as long as the computer is powered off and unplugged. Ensure you handle the GPU carefully to avoid static discharge or physical damage. Always ground yourself before touching any internal components to prevent electrostatic discharge. As stated previously, this can be done by acquiring an antistatic wrist strap. The overall risk of the process is incredibly low and needn’t worry those looking to attempt the removal of an old graphics card.
How do you open the GPU slot?
The GPU slot is relatively straightforward to open. Firstly, locate the latch at the end of the PCI-e slot where the GPU is installed. Gently push down or slide the latch sideways to unlock the GPU from the slot. Be careful not to apply excessive force to avoid damaging the latch or the motherboard. Disclaimer – mishandling or negligence to your hardware can cause additional problems. This process can sometimes be tricky on the first try, though once you discover how to do it properly, you should not require additional assistance again. If you continue to have problems, seek professional technician support.
Wrapping up
Learning how to remove a graphics card from a PC or desktop is an important skill, especially for gamers. The process and instructions above allow you to remove an old GPU, clean it, or simply check up on the condition of your existing GPU. The process is simple and effective, taking up very little time. For more information on this topic and useful how-to guides, stay tuned to PC Guide.
About the Author