


Table of Contents
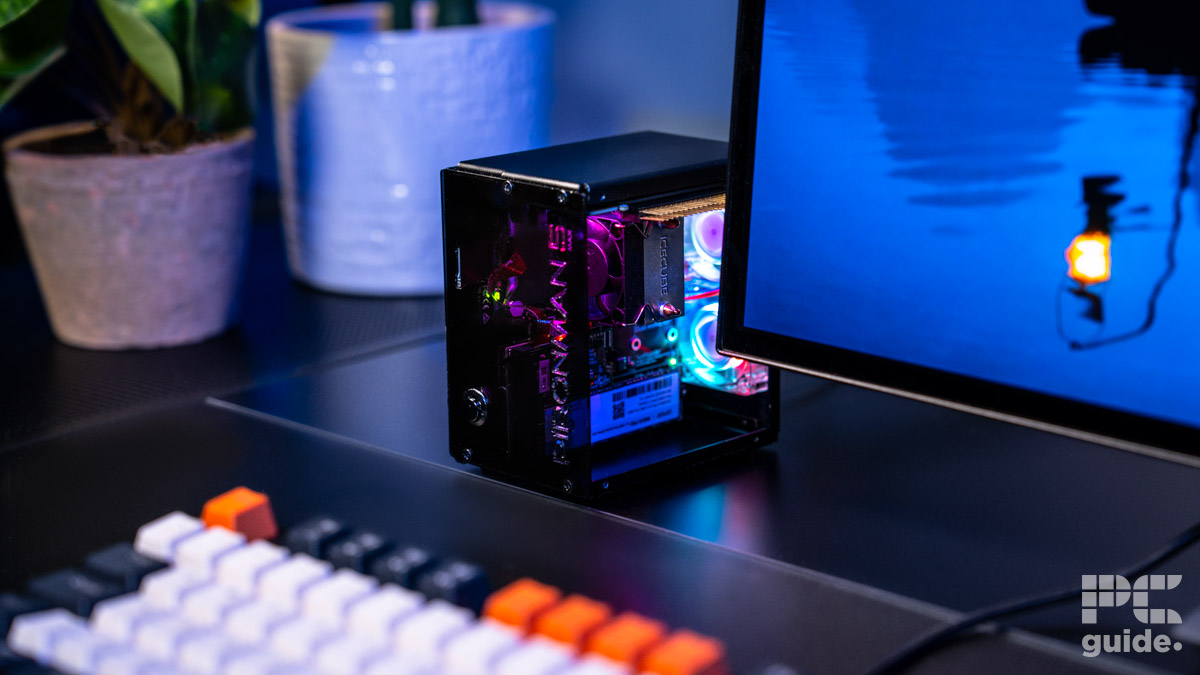
SunFounder is an official partner for Arduino and Raspberry Pi, focusing on STEAM education. While the brand offers lots of products, one that piqued our interest is the Pironman 5-MAX, a case for the Raspberry Pi 5, putting it in an enclosure and essentially making it look like a mini gaming PC.
It’s not just looks, though, as it adds cooling and plenty of custom hardware and software to the mix to create this miniature case. With practical uses including an expanded IO and keeping temperatures down, it is a great kit. I enjoyed putting it together. Plus, after installing its software, the screen and lights make it a joy to have on your desktop.
Of course, it’s not the ideal solution for those needing their Raspberry Pi 5 for any other project, and it does take some time to put together. Along with not being the easiest things to put together or cable manage, it is a rather unique case for the Pi. So here’s my review of the Pironman 5-MAX case after assembling and running it.
Latest tech deals.
- AMD Ryzen™ 9 9900X 12-Core - was $499 now $331
- Sony INZONE M10S 27” - was $899 now $748
- Thermaltake LCGS View i1470S-170 - was $2,399 now $2,099
- Apple 2026 MacBook Air - was $1,999 now $1,891
- Bose QuietComfort Headphones - was $359 now $169
- LG 77-inch OLED C6 - was $2,499 now $1,999
- MSI Prestige 16 Flip - was $2,149 now $1,870
-
Hisense 85" U6 Pro Series-
Prices correct as of November 5th, 2026.
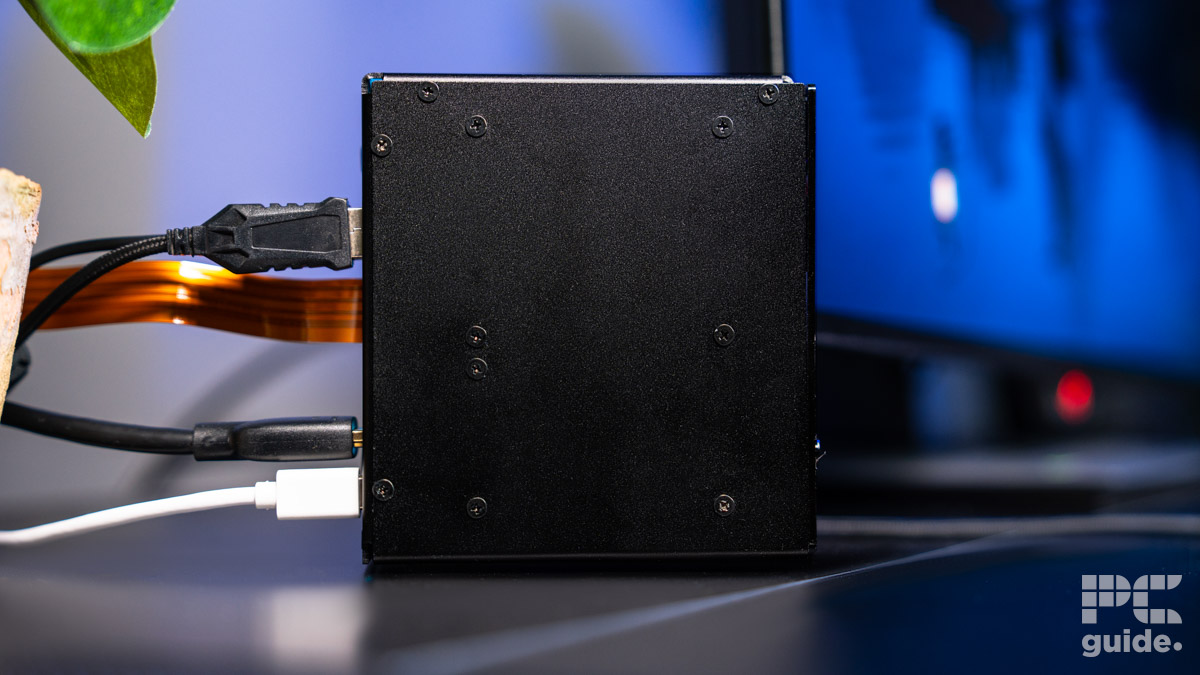

- Dimension: 111.9 x 78.5 x 117mm (4.4 x 3.09 x 4.6 inch)
- Compatibility: Raspberry Pi 5
The SunFounder Pironman 5-MAX is an excellent case for the Raspberry Pi 5, except it’s more than just that. With the custom hardware and software, the addition adds plenty more to the Pi’s use case, even if it does affix it to one place, you still have access to the expandability and connecting to its pins.
That doesn’t come cheap though, high above any other normal case, it’s a more enthusiast level of a kit. Providing a couple of hours of entertainment, just putting it together, it makes it much like a desktop PC with cooling on board that does, in fact, offer benefits over just looking cool.
- Incredible aesthetic and look
- Great control and service provided
- Top design choices and custom hardware onboard
- Effective cooling
- Quite the time investment to put together and install
- Cable routing not easy, and management is not ideal for a see-through case (fans especially)
- Rather expensive for a Raspberry Pi 5 case which is hard to remove later
What you get
When you order and receive the Pironman 5-MAX case, there are a bunch of items that come in the box. Here’s what you can expect from the base version.
- Metal plates
- Acrylic plates
- Tower cooler
- 2x RGB fans
- Power switch
- Silicon pads
- Thermal pad
- Insulation piece
- Button battery
- Daughter boards
- OLED screen
- IO expander
- USB HDMI adapter
- NVMe PIP
- MicroSD extender
- 4-pin header
- Screwdriver and cross wrench
- Power switch converter
- 2-pin wires
- FPC cable
- 2x screw types
- 5x standoff types
There are also optional extras that you can order from SunFounder to install into the case and the Raspberry Pi, which we received for this review as well. These include:
- Raspberry Pi 5
- 2x NVMe SSDs
- Raspberry Pi AI camera
- Raspberry Pi AI accelerator
Assembly
As soon as I started getting everything out of the box, I realised just how much you get with the case itself. Being a barebones case you build up yourself, it’s nothing like a full PC case, or at least the most common ones. Instead, you build up everything from the bare bones and each component separately.
To start off the build, you start by unscrewing the metal plates. Separating the two segments might seem counterproductive, but it does mean getting easier access to each of the points of installation. That’s the start of trying to keep track of each screw and component.
Particularly with so many various standoffs that are provided, and a couple of screw options, it does take some time to pick it out and double check it’s the right screw. That’s what probably added to the time it took me to build out this system, and the fact that there are quite a few fiddly options to decide upon.
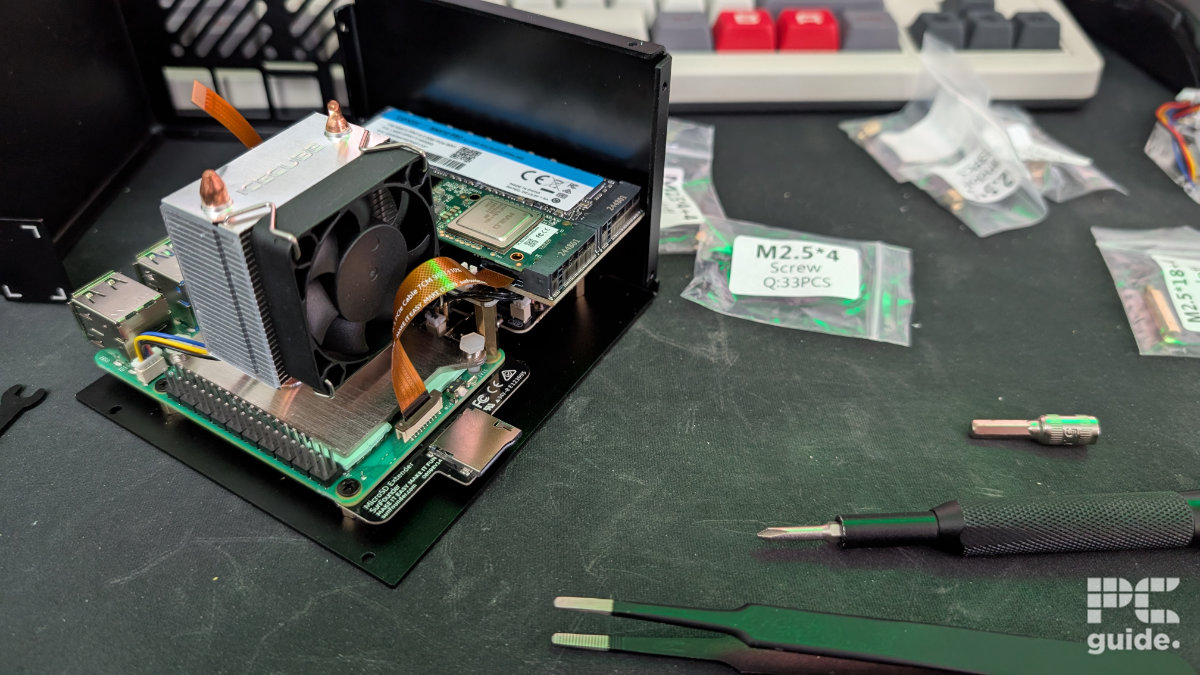
SunFounder Pironman 5-MAX build cooler and NVMe PIP, Image by PC Guide
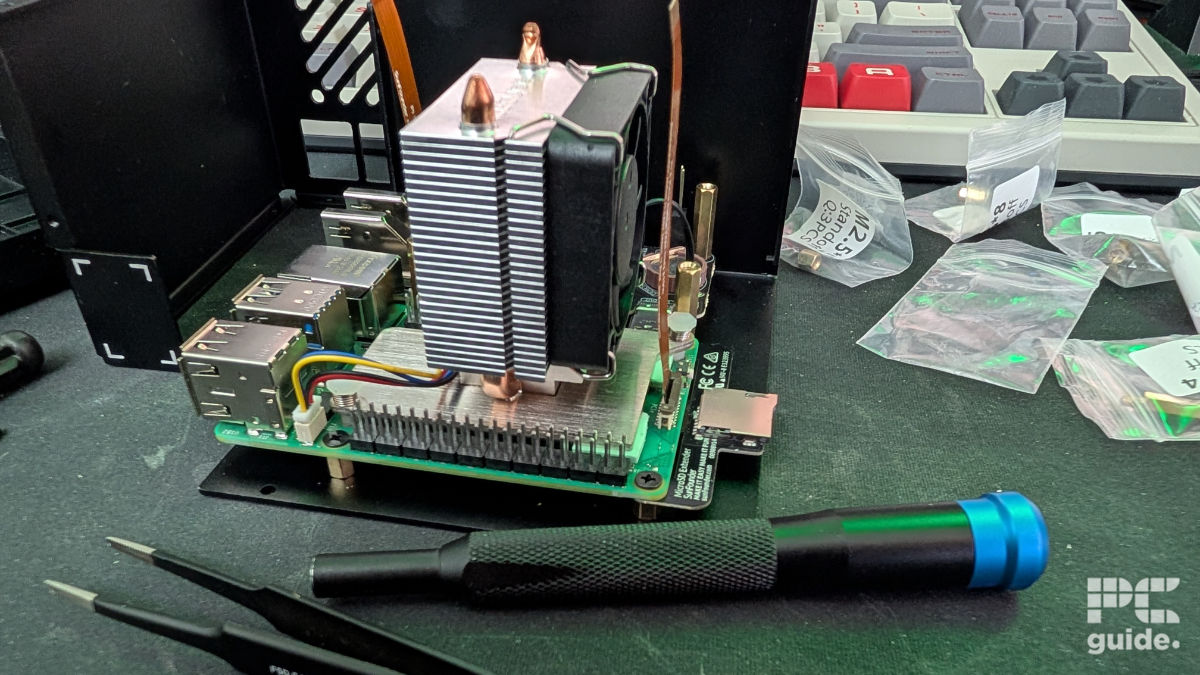
SunFounder Pironman 5-MAX build cooler, Image by PC Guide
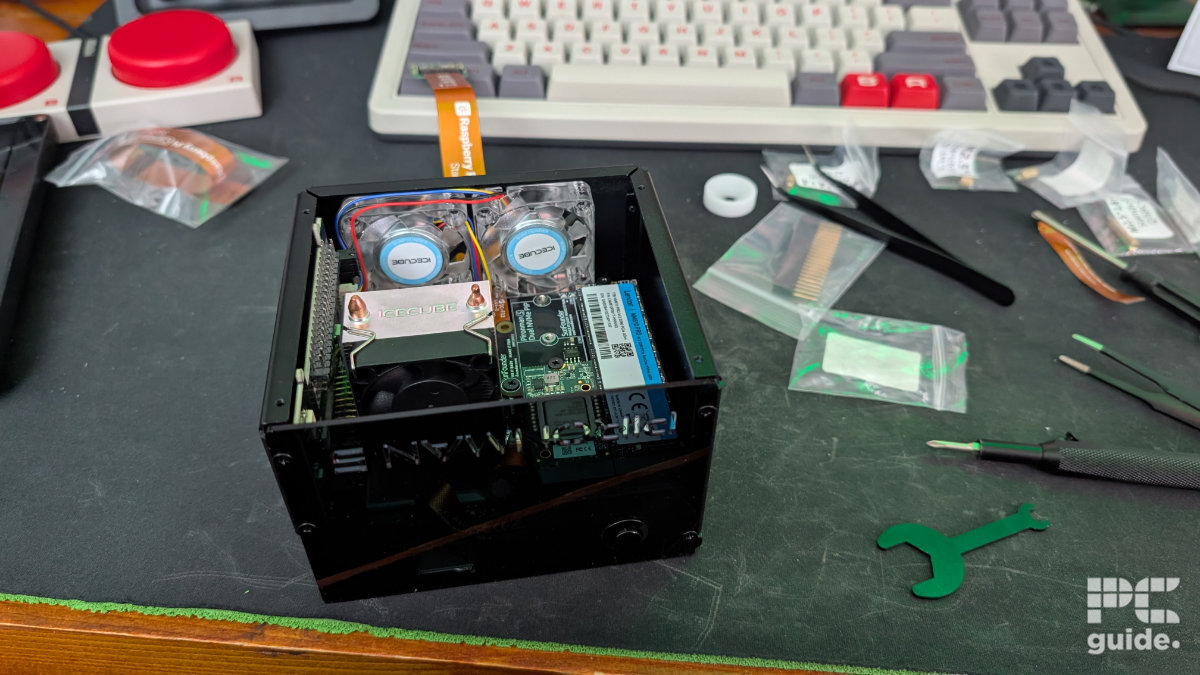
SunFounder Pironman 5-MAX build front panel, Image by PC Guide
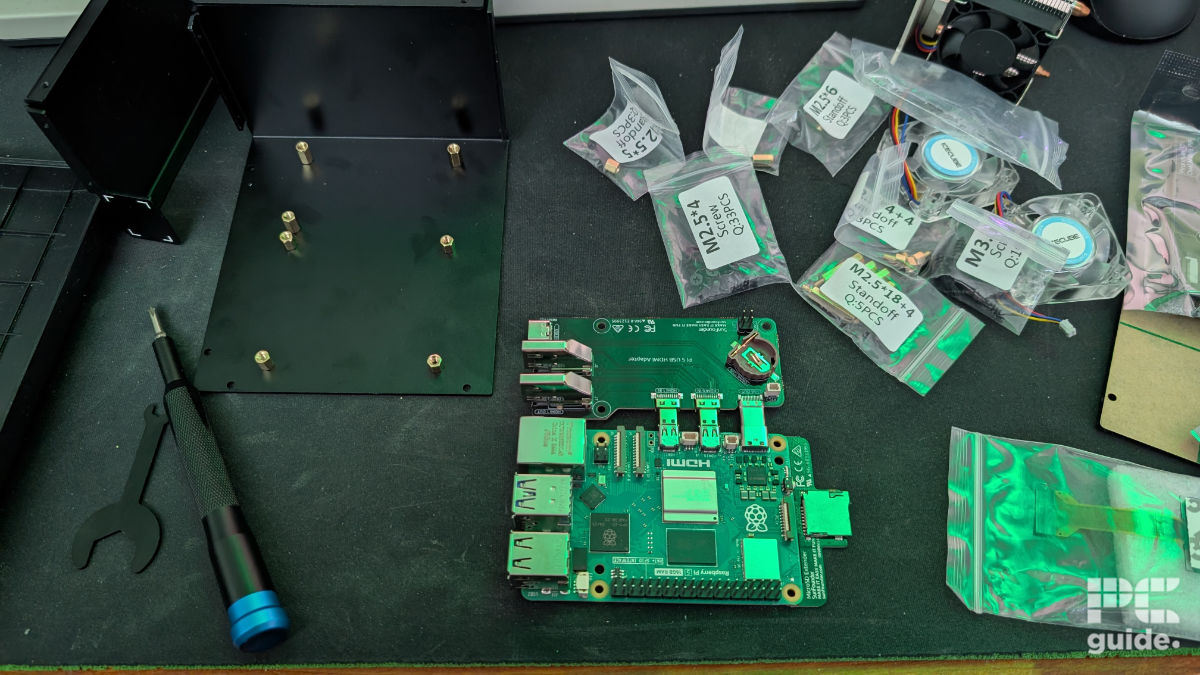
SunFounder Pironman 5-MAX build HDMI adapter, Image by PC Guide
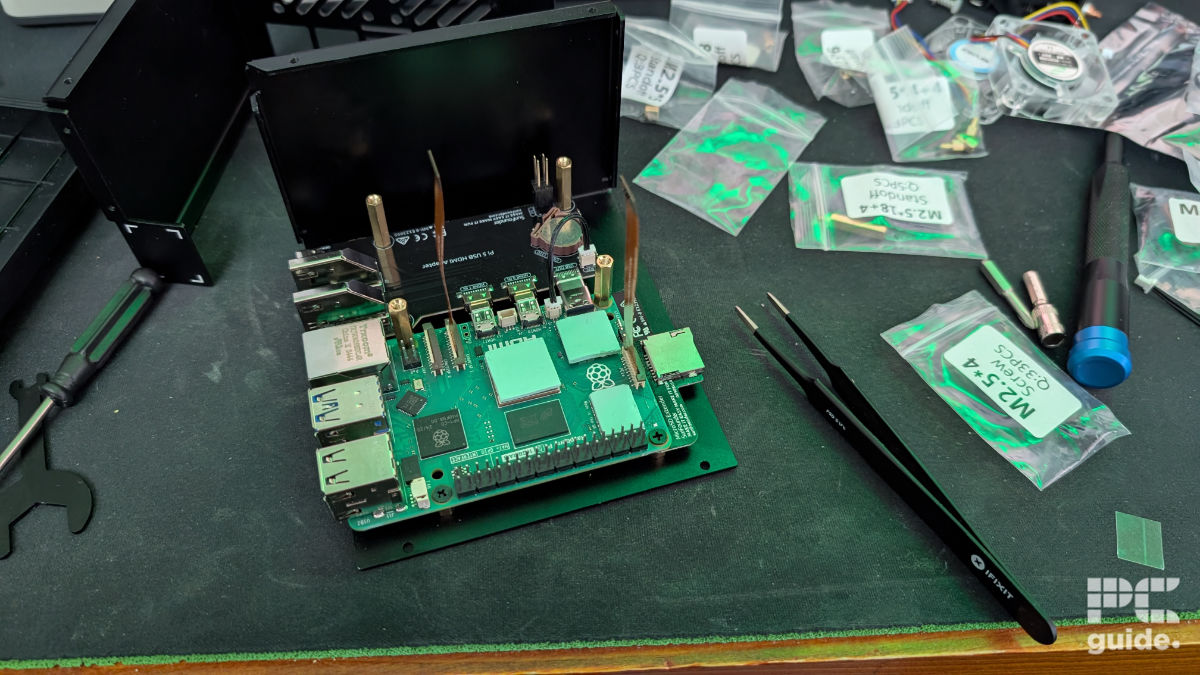
SunFounder Pironman 5-MAX build base layer and FCPs, Image by PC Guide
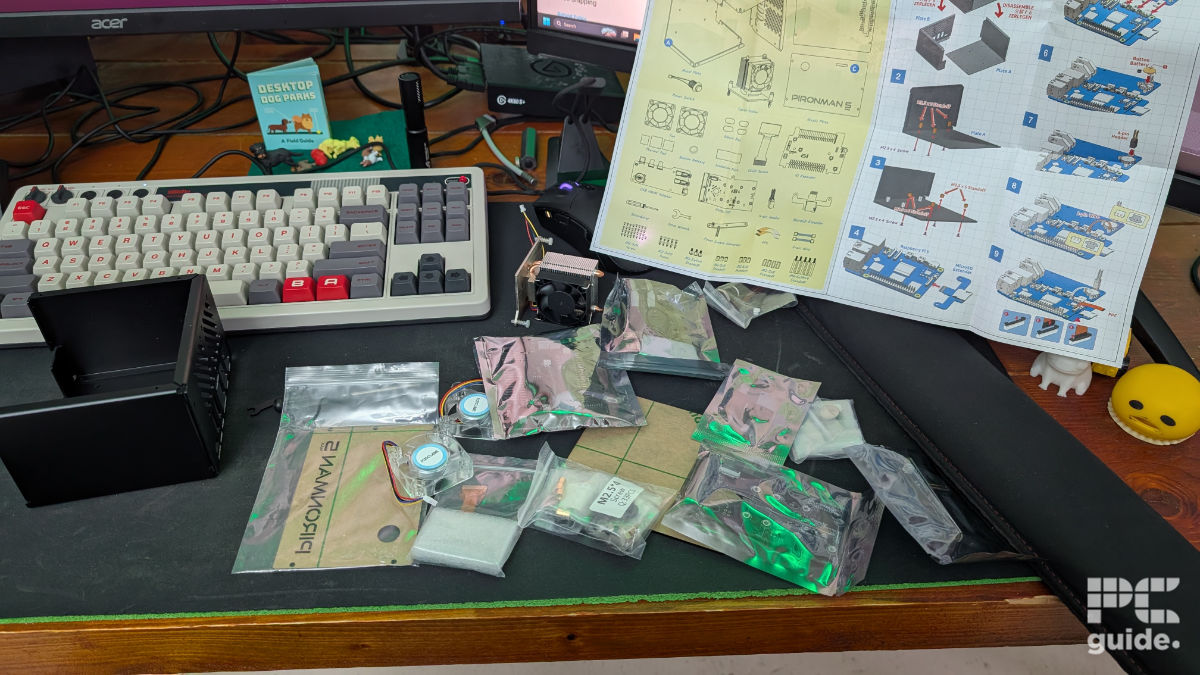
SunFounder Pironman 5-MAX build contents and instructions, Image by PC Guide
That’s not to detract from the instructions and labelling; each of them is labelled well enough to get it built. Except for when there’s a bunch of holes on the plates, and it might just take a sec to figure out which one the instructions want you to fit them to. It also lacks some of that depth, being a printed sheet, such as in step 16 of installing the NVMe PIP, and having to align the 4-pin header extender from the board below, which was a pain to do.
Another fiddly part of the installation can be the thermal pads, FPC cables, and those smaller parts, particularly with my rather large fingers. But utilizing tweezers and lining things up beforehand makes it a lot easier and certain. As the likes of thermal pads are sticky and a bit fragile, I was rather careful in making sure to stick them onto the right component.
Some of the FPC cables were particularly hard to work with as well. Apart from installation into their respective ports, some of the routing is difficult; for me, that was the AI camera. The case comes with a smaller cable to use and route through the rear of the case. With the slot rather small, it was hard to get through there to connect to the camera, maybe it was my mess up, but trying to pull the cable through with tweezers, I did end up tearing it and having to replace it with teh camera’s original one, so its not exactly the most friendly way to install.
Once it comes together, though, it’s a very satisfying build. It did leave me with the satisfaction of completing it, and it felt very guided. Even if I had to figure out some things that went wrong, it didn’t feel like I was lacking help. Standing it up, it does just look like a standard PC now as it awaits me figuring out the Raspberry Pi boot up and initialization.
Design and quality
The design of the whole case is rather impressive. With all the custom-printed PCBs and components from SunFounder, it is a very well-designed system. All of it slotting together, and with the pieces such as the power switch converter that uses spring-like connectors to keep pressure and touch, there are some engineering choices that make it easy for builders to utilize.
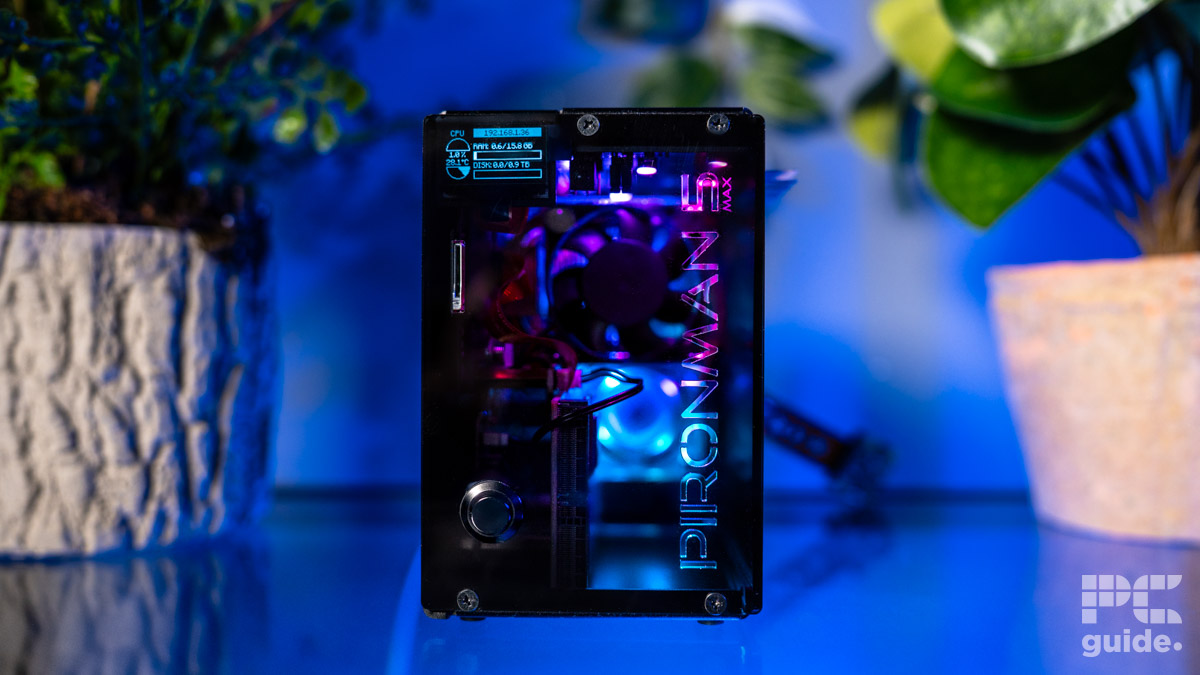
SunFounder Pironman 5-MAX front on with screen, Image by PC Guide
SunFounder Pironman 5-MAX on desk, Image by PC Guide
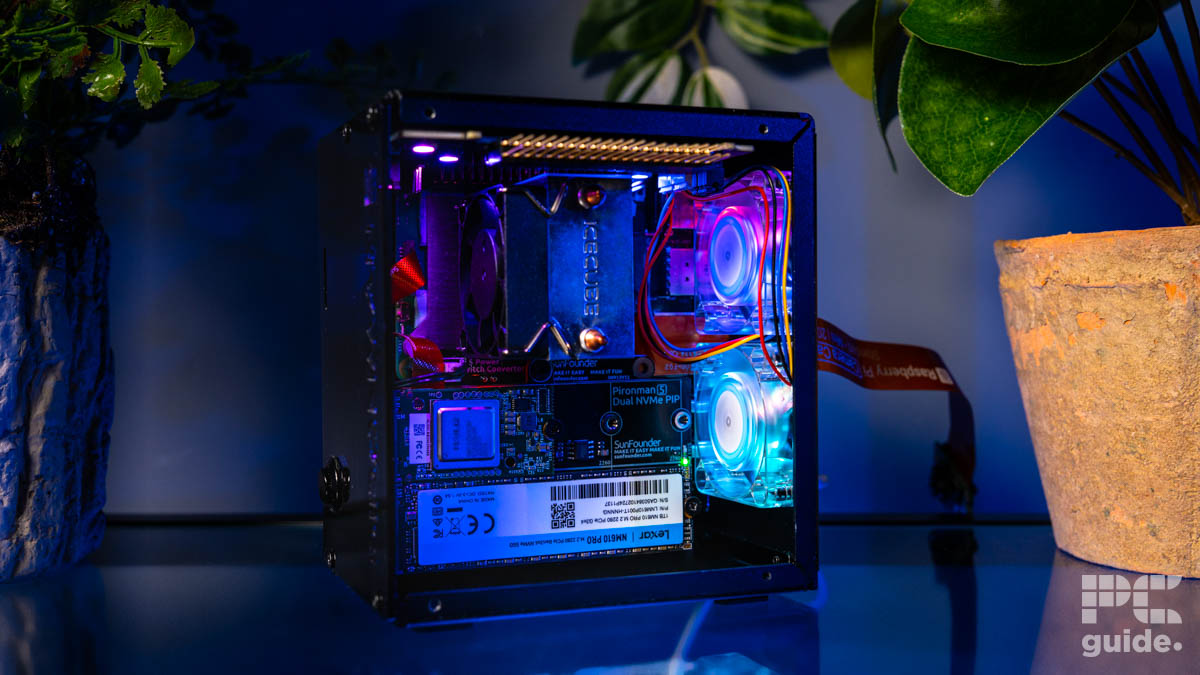
SunFounder Pironman 5-MAX open side, Image by PC Guide
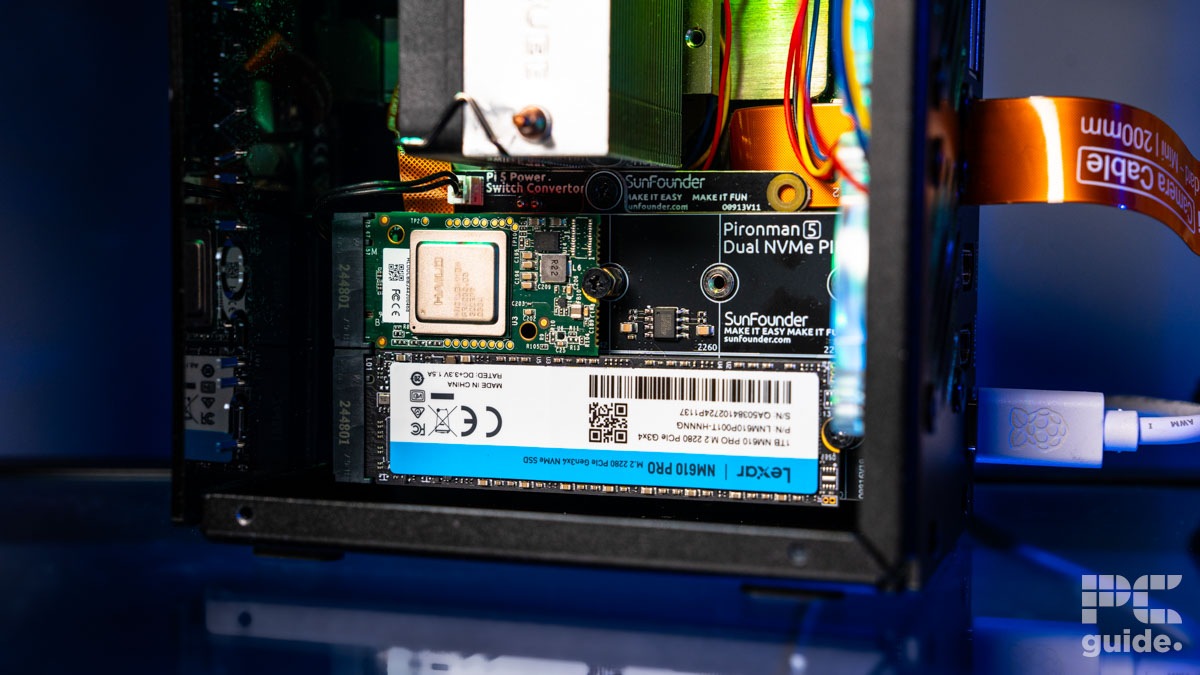
SunFounder Pironman 5-MAX PCIe board, Image by PC Guide
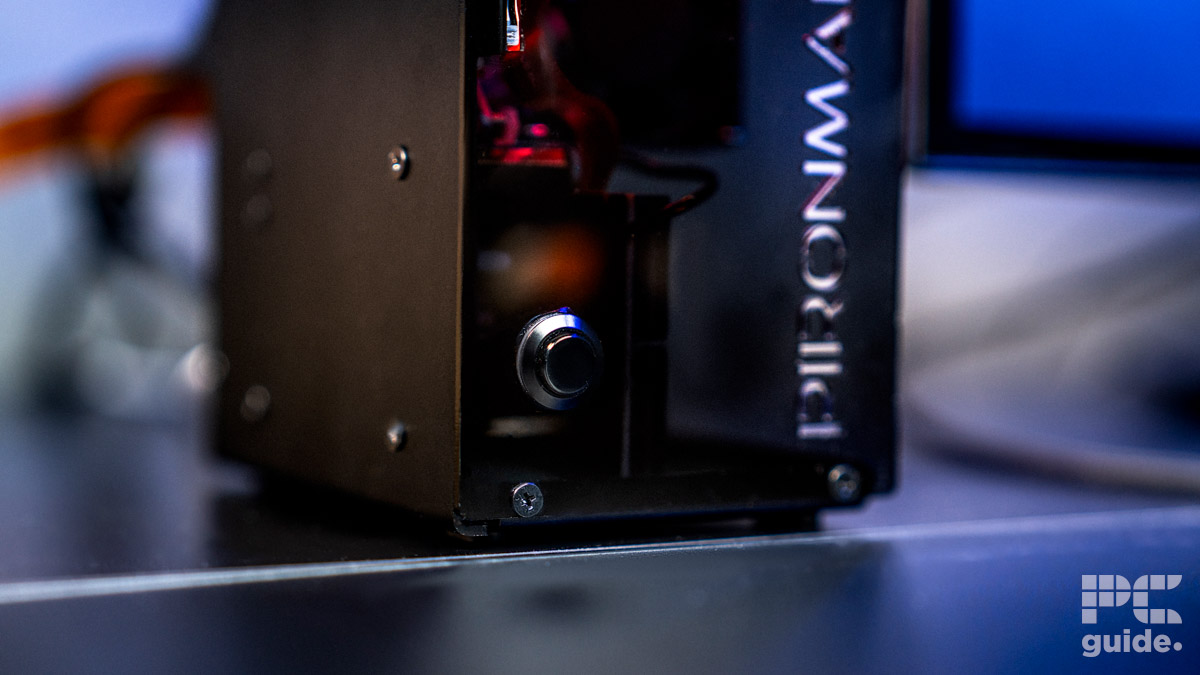
SunFounder Pironman 5-MAX power button, Image by PC Guide
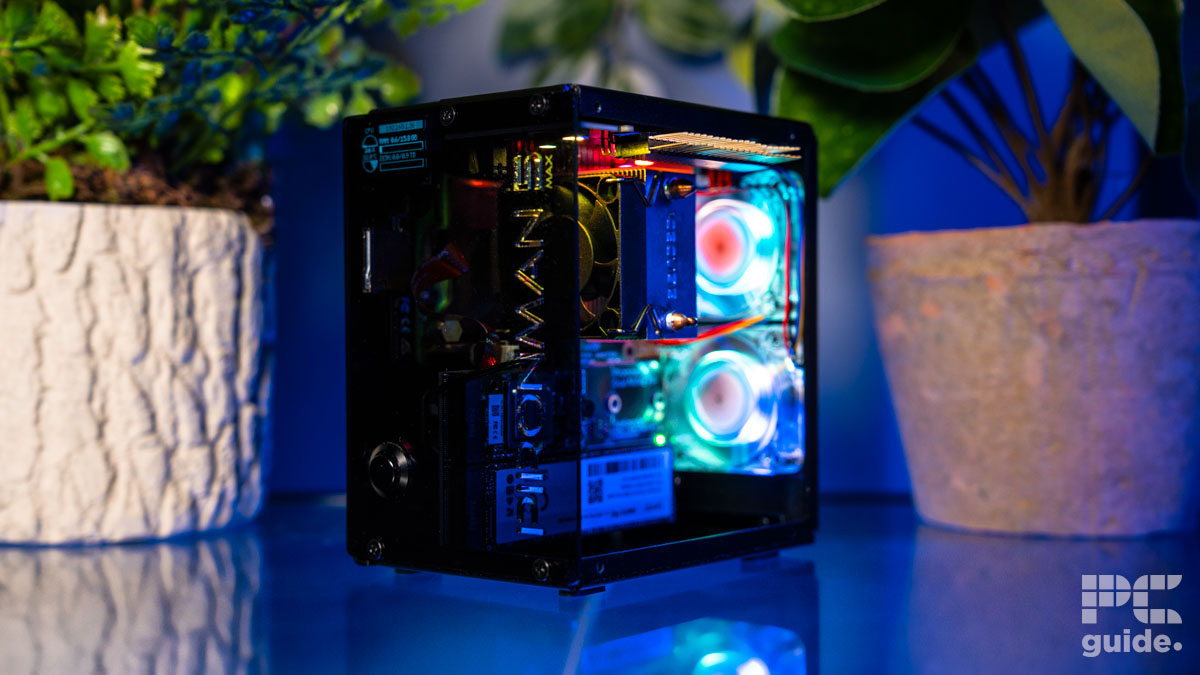
SunFounder Pironman 5-MAX profile, Image by PC Guide
It is fantastic that they manage to provide all of this in a contained package. Even without tools, you get given everything you need to build it up. Including the range of custom solutions, it is well-built with all the pieces going together rather seamlessly. Considering the small form factor it utilizes and stacking components on top, the design is exceptionally thought out.
There were still a few parts here and there that had issues, or there were some things that could be a bit frustrating. Like the fact that I came across one screw that was seemingly too small and wouldn’t screw the fan in, and I had to use a different one. Then the acrylic protective stickers on top were a bit of a pain to remove as they didn’t come off seamlessly around the lettering.
If you also opt for the camera, it just weirdly gets left alone and dangling out the back. You kind of have to find your own solution to affixing it, as there’s nothing the Pironman 5 Max comes with to install it; rather, that’s left to your own devices.
Those are some rather small things to nitpick compared to a relatively excellent build in general. When I have to highlight some small details, the rest is rather impressive. Like the OLED screen that is handy in providing readouts, even if waking it from sleep does require slapping the machine via the vibration sensor. That kind of highlights the ingenuity and ability of the case as a standalone system.
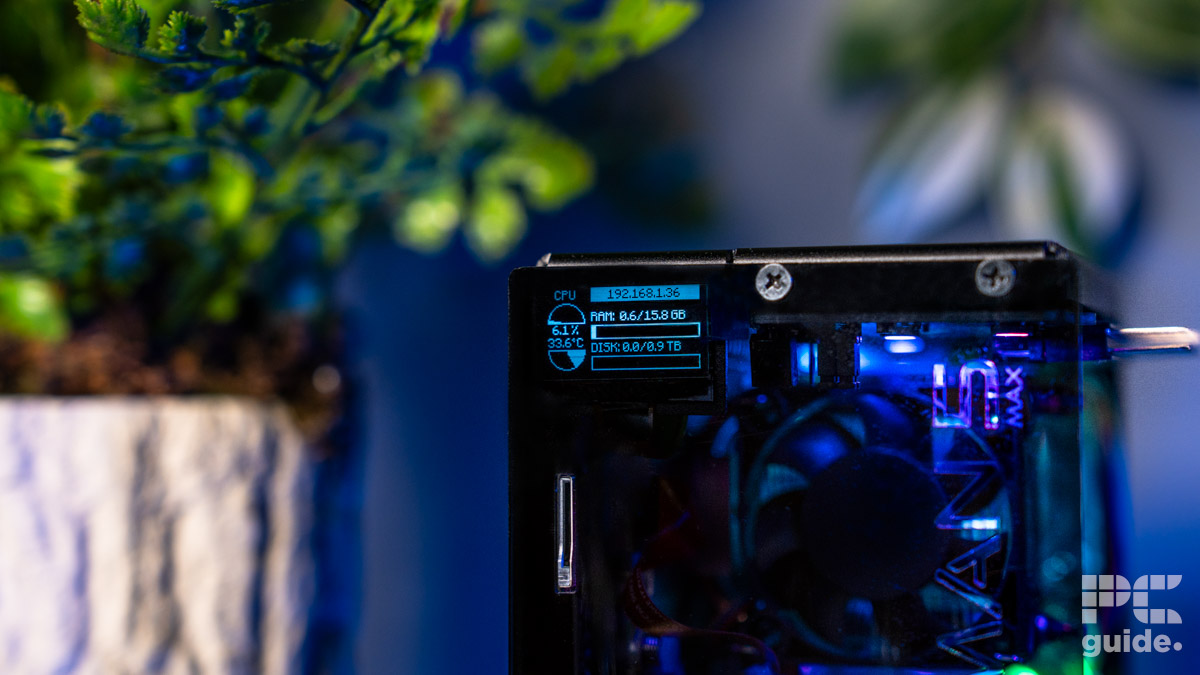
SunFounder Pironman 5-MAX screen, Image by PC Guide
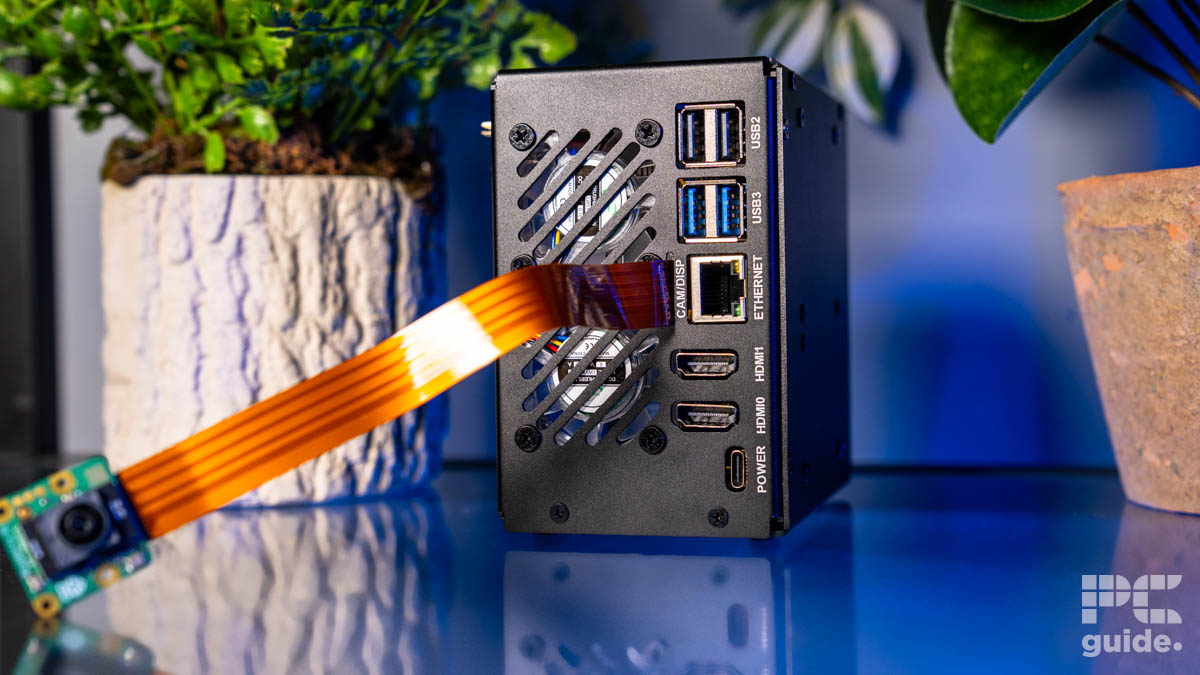
SunFounder Pironman 5-MAX rear, Image by PC Guide
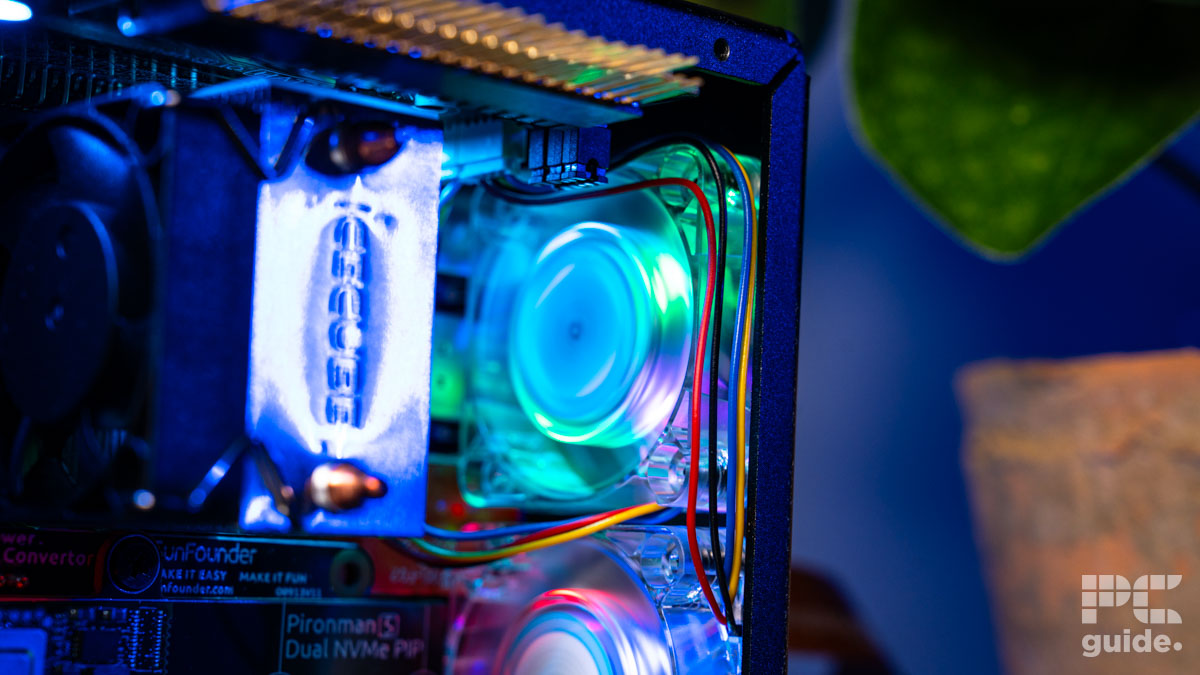
SunFounder Pironman 5-MAX fans, Image by PC Guide
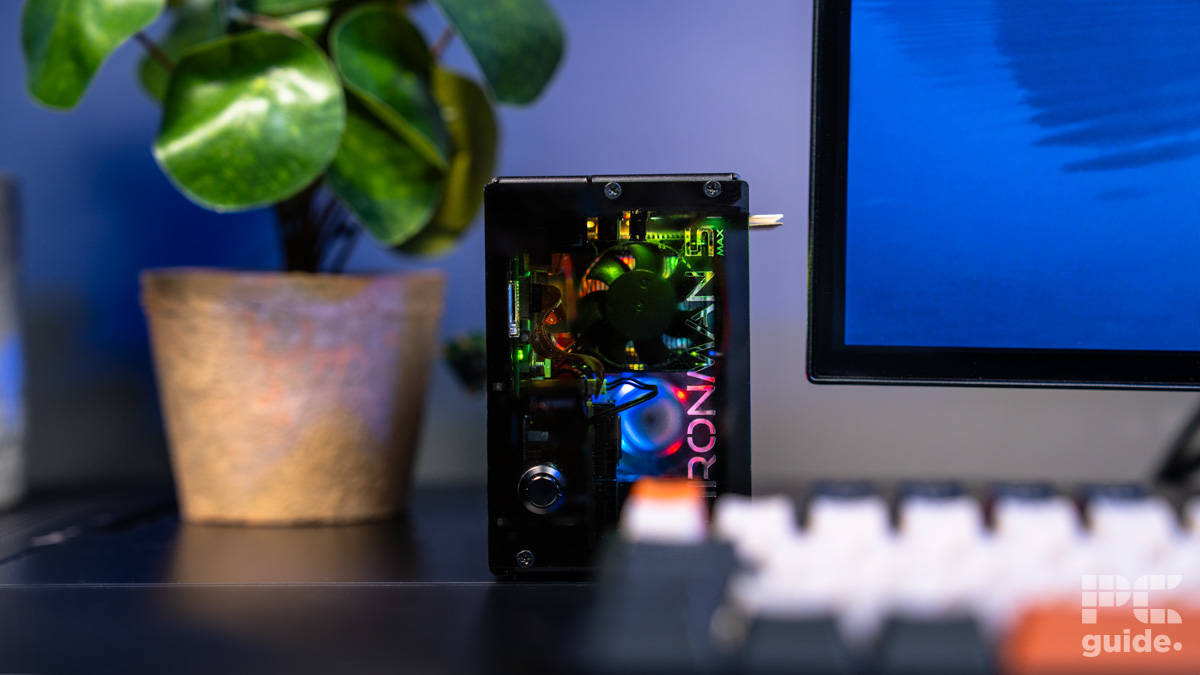
SunFounder Pironman 5-MAX desk and keyboard, Image by PC Guide
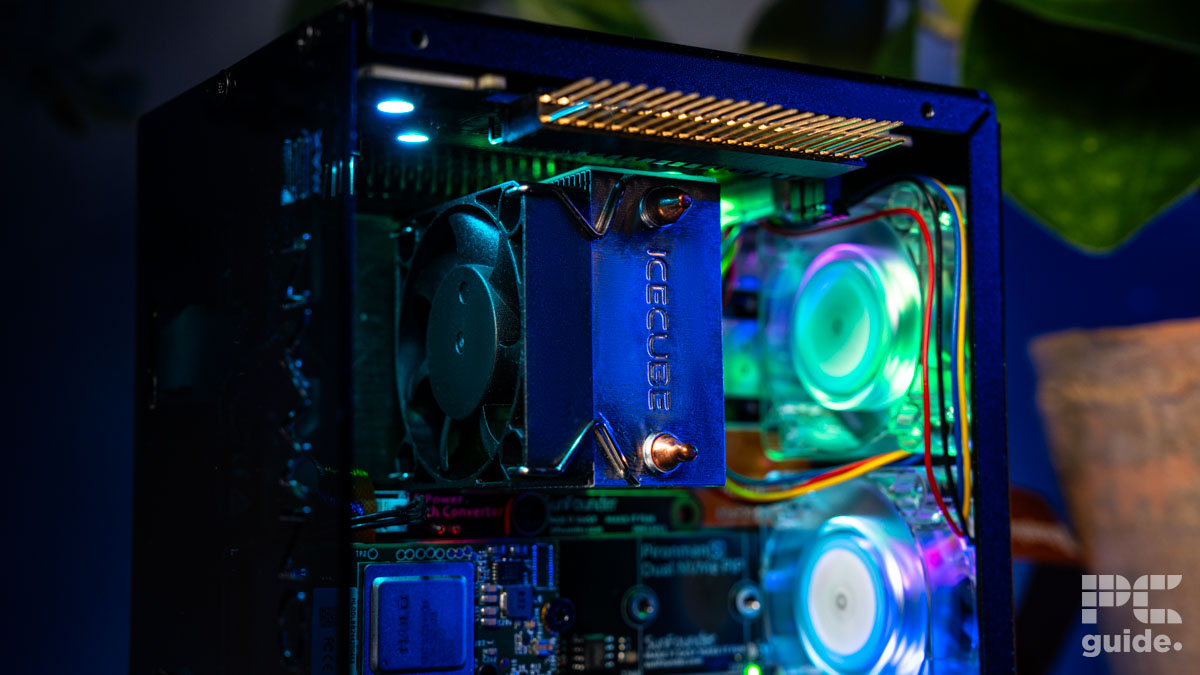
SunFounder Pironman 5-MAX cooler, Image by PC Guide
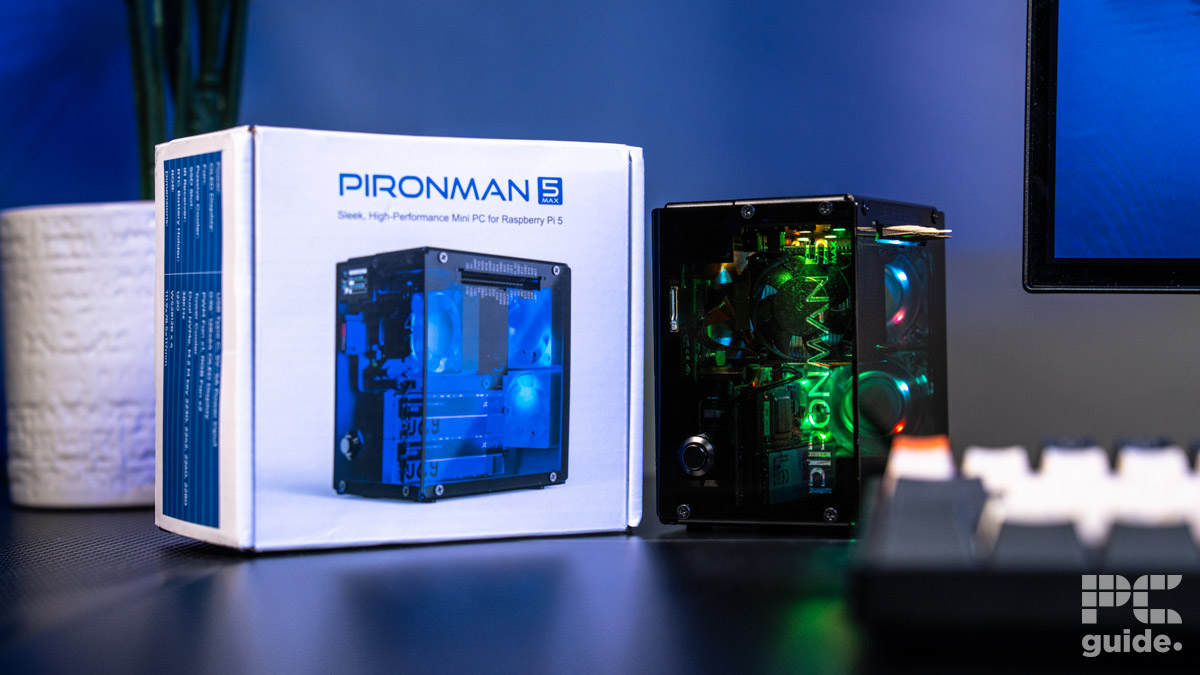
SunFounder Pironman 5-MAX case with box and keyboard, Image by PC Guide
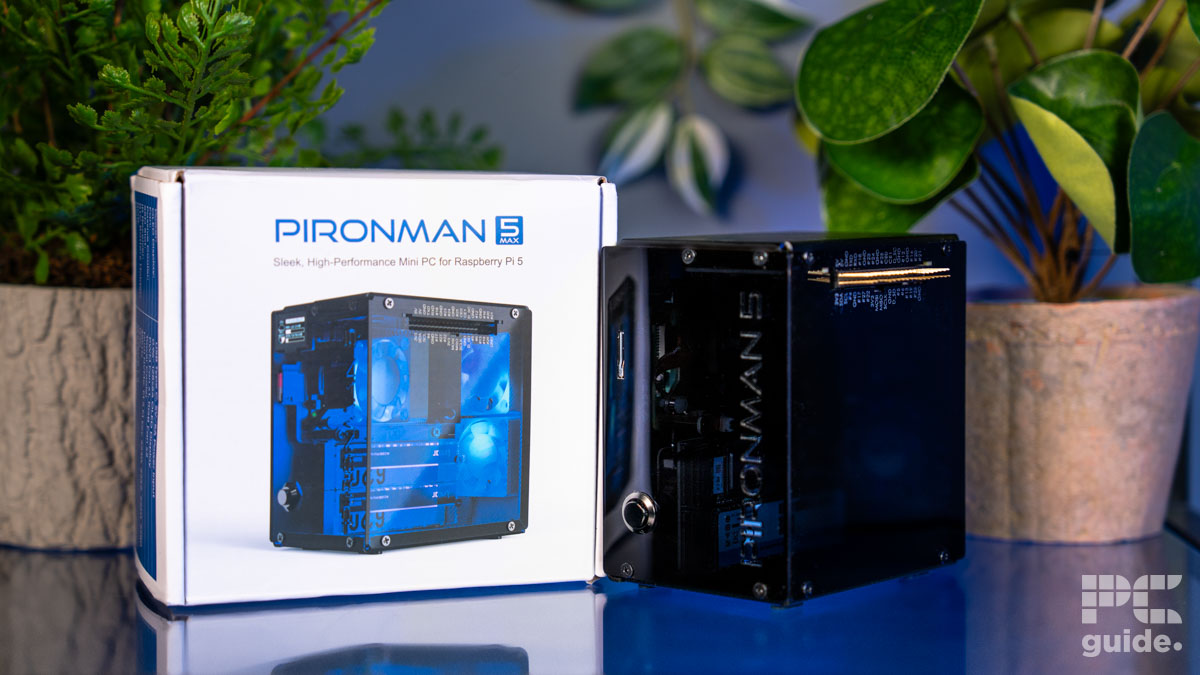
SunFounder Pironman 5-MAX case and box, Image by PC Guide
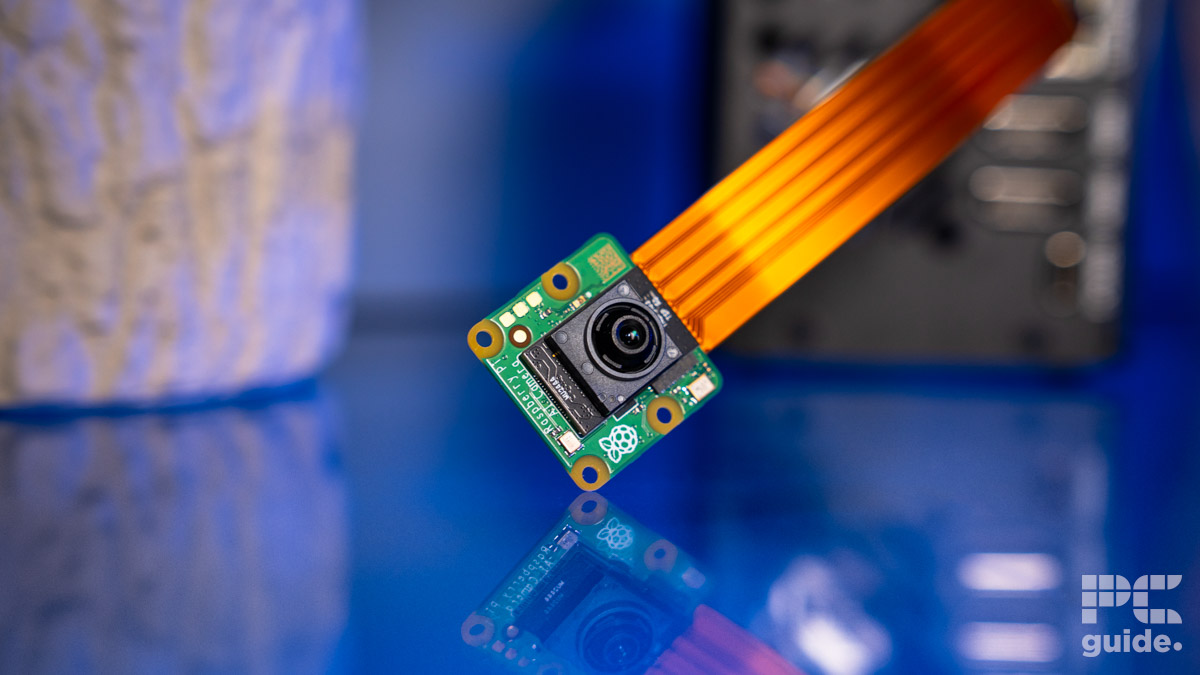
SunFounder Pironman 5-MAX camera, Image by PC Guide
Pironman software and features
While you get the case and RGB fans included in this set, they – alongside the screen – do need the custom code to work. You have to install the pironman5 module to get the system set up and running, as the following will run on your boot after you do that.
pironman5.serviceYou can then access the commands and control it via the terminal. But there is also a handy dashboard you can check out that is a page-based showing of what the OLED screen displays, accessed via:
http://<ip>:34001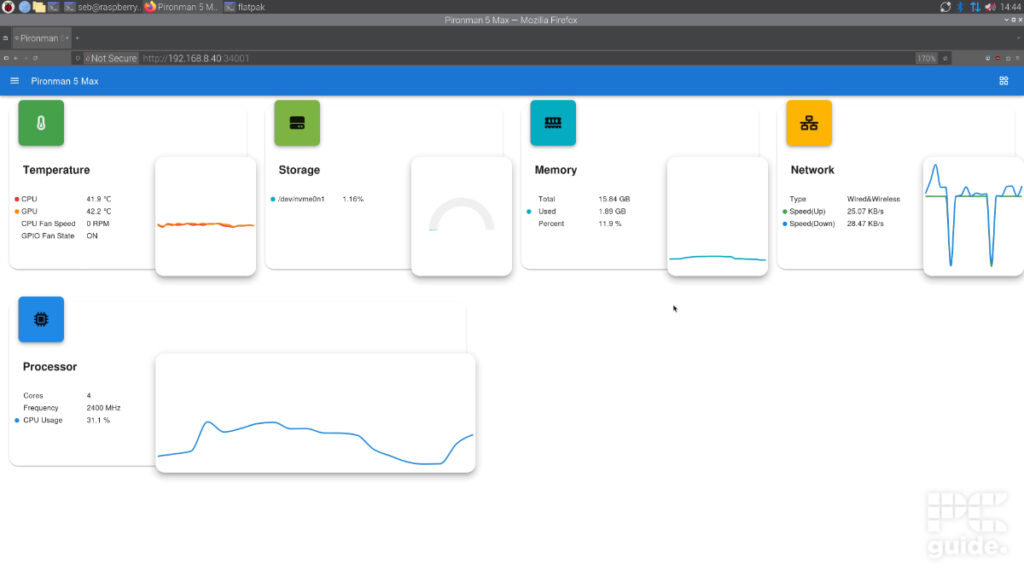
Providing the screen on the case with this data gives a unique look and feel to the case. With a quick tap, you can see the utilization and temperature of the CPU and hardware. Either for a good purpose or for a fun gimmick, it’s integrating it right on display.
The service also controls the lights, and there are plenty of them inside. The fans and lights shine out of the case and do give you a good range of ways to change them up. Giving the whole case that gamer ‘feel’, and a delightful look in general.
It also allows you to turn off the on state for the GPIO when the Raspberry Pi 5 is shut down, which means you won’t have a massive RGB light shining out even when it’s meant to be off.
One of the other suggested uses and options is setting up OpenMediaVault on the device. Turning the system into a NAS rather handily. Along with the ability to use the Pironman 5 in Home Assistant, it is a surprisingly versatile computing device.
Price
The price of the Pirnman 5-MAX is dependent on what you want included, but the base model is available for just $94.99 on both Amazon and SunFounder’s site. UK pricing is slightly less on their site at £70.23 compared to Amazon’s £86.51.
Once you load everything else up, though, it quickly skyrockets. That’s, of course, if you also decide to use everything they offer, like the Raspberry Pi 5. With that, our setup came to a total of $494.96/£365.9, including the extras, two NVMes, and the Raspberry Pi 5 itself.
That’s definitely a more expensive case, even on its own. It’s on the high-end solutions for custom options, but it is rather impressive and has its own hardware and software, so it sort of justifies the cost. There is also a cheaper, smaller option in the Pironman 5-Mini that comes in at $45.99/£34.08 or Pironman 5 standard at $79.99/$59.27.
- Dimension: 111.9 x 78.5 x 117mm (4.4 x 3.09 x 4.6 inch)
- Compatibility: Raspberry Pi 5
Conclusion
The SunFounder Pironman 5-MAX was an enjoyable DIY project to build out the Raspberry Pi 5. Adding plenty more functionality and expansions to the system, it’s a lot more than just a case. Even if it’s a bit expensive and takes some time, it has a lot more to offer than just a standard case.
The OLED screen, RGB lights, active cooling, HDMI expansions, and all the other extra pieces make for a great desk setup for the Pi, while still giving you access to the GPIO and the ability to use it like a normal Pi. Even for a bit of a newbie like me, it was a great kit, not without its downsides, but still an excellent kit to enjoy.
Written by
