How to go to the next line in Excel – 3 simple methods

Table of Contents
Wondering how to go to the next line in Excel? We’ve got you covered.
If you're used to using MS applications, you'll be familiar with the ‘Enter' key, this allows you to move to the next line with ease, but unfortunately, Excel doesn't work this way. So, how do you go to the next line in Excel? Well, we will explain how to do this in this guide.
Amazon's Spring Sale is now live!
Amazon's Spring Sale features deals on everything from the latest CPUs to high-powered gaming monitors.
- AMD Ryzen 9 9900X - 26% OFF NOW!
- AMD Ryzen 9 9950X - 18% OFF NOW!
- SAMSUNG 990 PRO 4TB SSD - 40% OFF NOW!
- SAMSUNG 49-inch Odyssey QD-OLED Monitor - 41% OFF NOW!
- Lenovo Legion 5i RTX 4070 Gaming Laptop - 13% OFF NOW!
- WD_BLACK 8TB SN850X SSD - 32% OFF NOW!
*Stock availability and pricing subject to change depending on retailer or outlet.
So, without any further ado, let’s discuss how to make text go to the next line in Excel.
How to go to next line using keyboard shortcut
Here’s how you can use a keyboard shortcut to quickly go to the next line in Excel.
Step
Select a cell
First, select a cell in which you want to go to the next line.
Step
Use the keyboard shortcut
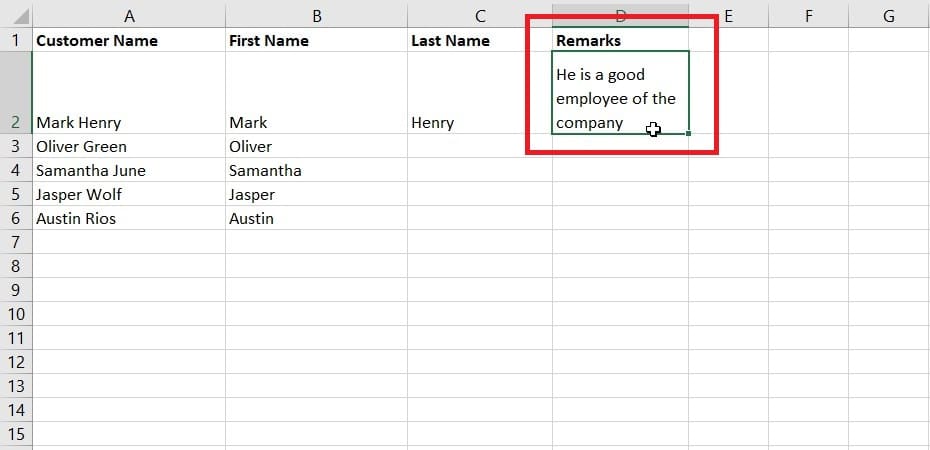
Next, type something in the cell, and then press Alt + Enter on your keyboard to go to the next line.
If you’re using a Mac, you can press Control + Option + Return.
How to go to next line using Wrap Text feature
Another quick way of going to the next line in Excel is by using the Wrap Text feature.
Step
Select the cell
Open your Excel sheet and select a cell.
Step
Click on Wrap Text
Now, go to the Home tab and click on Wrap Text.
This will automatically put the text into multiple lines. However, you will have to adjust the height and width of the row to make it presentable.
How to go to next line using Find and Replace feature
The third and final method involves using the Find and Replace feature to go to the next line in Excel. This may sound odd, but it works flawlessly.
Step
Select the cell and click on Find and Replace
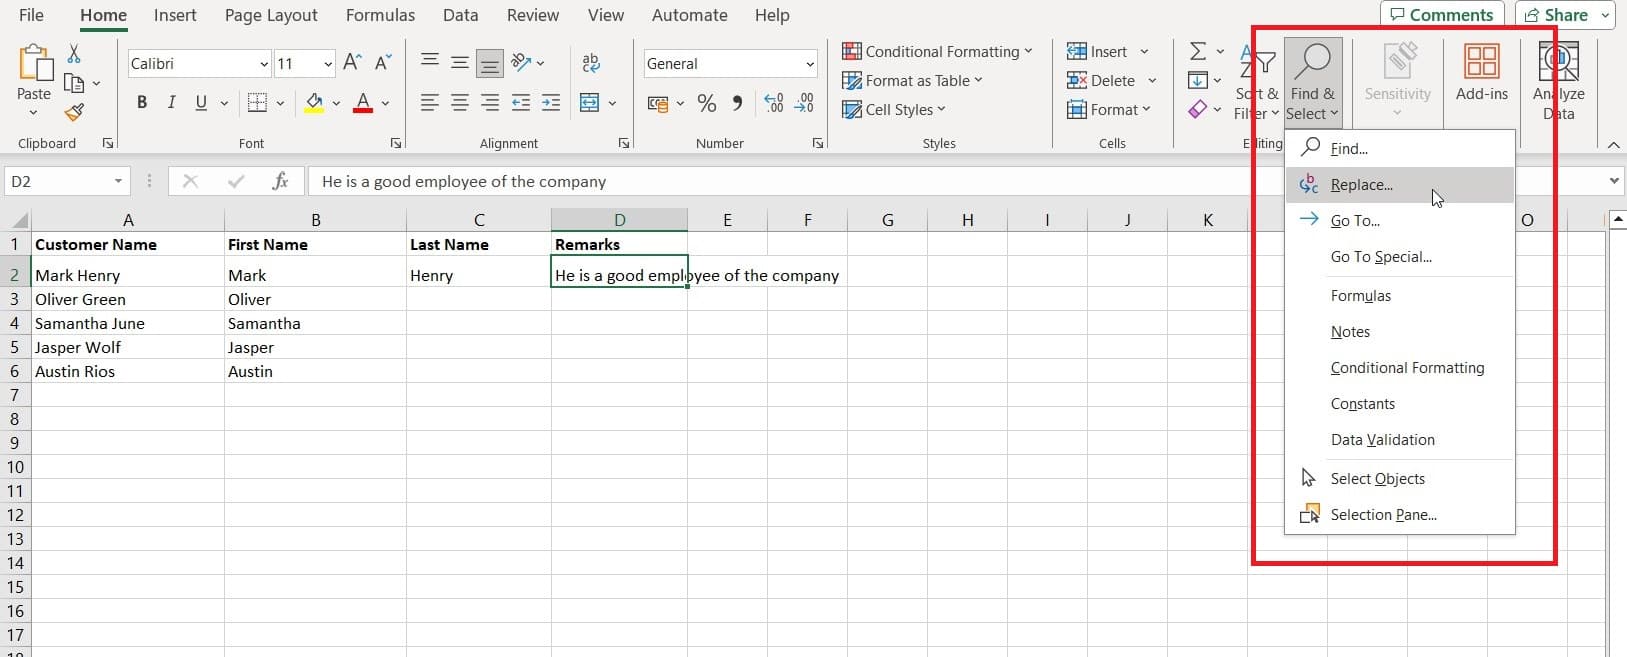
Select the cell in which you want multiple lines and click on Find and Replace. Then, select Replace.
Step
Enter the values
In the Find what: box, press the space bar once.
In the Replace with: box, press Ctrl + J.
Once done, click on Replace All to split the text into multiple lines. You can then adjust the height and width row of the text.
Final Thoughts
This was everything you needed to know about how to go to the next line in Excel. Unlike other Microsoft Office programs, inserting a new line within the same Excel cell can be difficult and unintuitive. However, we show you that it is, in fact, possible if you just follow our simple steps.
Learn more about Excel through these helpful guides:


